Showing posts with label simple. Show all posts

Saturday, 1 October 2022

hair bow


I saw this cute hair bow idea on pinterest and decided to make my own. I followed a tutorial and found the shape bulky in the centre, so I decided to change the pattern and make my own to share with you. I have photographed the three main stages below and you can see the end result, once tied, above. At the bottom of this post is a printable instruction sheet including the template to make your own.


Mx

Thursday, 21 April 2022

Ersa Quilt Pattern


 I'm so excited about my second pattern release! 

This time it is a really nice simple quilt made from half square triangles and squares. There are instructions for yardage or using scraps and some colour inspiration to help you choose.  My favourite is the rainbow colourway, although ombre or single colour look fabulous too. The pattern is beginner friendly, but if you're new to patchwork, you might want to check out my free trimming tutorial here for those perfect points.

You can buy the Ersa quilt pattern from Etsy here.

Check out the upcoming testers parade blog post for more inspiration. Also check out the #ersaquilt on Instagram. I can't wait to see your versions !

For my quilt I used Alison Glass Chroma Fabrics and Dashwood Pop solids in pearl. I used Aurifil 50wt thread in shade 2026. I quilted this myself using a walking foot and tried to compliment the fabric design. I am so happy with my rainbow quilt.

Mx

Friday, 27 March 2020

mini travel sewing case


I have created my mini travel sewing case and I love it. It has a zip pocket and a slip pocket, optional felt needle minder and all fastens with a ribbon. 
I have made two so far, one to keep my sewing essentials in at home. The second is this scrappy patchwork one, that I'm planning to keep in the car with a small cross stitch kit in. Its super neat and perfect for travelling.


If you don't want to use it for sewing, fill it with what ever else you fancy, it also fits a passport and money nicely. 


You can now purchase the #minitravelsewingcase pattern in my Etsy store!


Mx

Sunday, 1 March 2020

mini travel pinnie


Last year I took part in an Instagram sew along called #teenytinypinnieparade and created this special pincushion.
It has magnets inside to be able to attach to clothes or car seat belts for travelling. With features including a puff for pins and needles, plus space to attach binding clips to the side it is just perfect for me.


It worked out so well, I  made a few as little thankyou gifts. I then decided I liked it so much, others might too, so I would make it into a pattern. 


It is available (as an instant digital download) on my etsy store if you fancy making one too!

Mx
 

Wednesday, 12 February 2020

catty corner quilt

I recently got the chance to pattern test the catty corner quilt and I jumped at the chance. I have given my feedback and my quilt is all finished, so thought I’d share more about it here.
Although it was a small timescale, I chose to do the throw size and thought it would be manageable. I really wanted to make a scrappy cotton and steel quilt and this looked like a great opportunity to make it. The material requirements were slightly different to what I expected, but thankfully only needed to buy a couple of cuts to finish it all.
The first step was a fabric pull, I get my sister to help with this part. I think she enjoys it more than me, although she can get bossy at times. We sectioned my fabric in to colours, then ordered the cuts by size. I picked 5 fabrics from the bluebird range for the centres, even though no one would probably notice, I really liked the idea. We looked at the pattern and laid out some fabric to get a feel for how it would look, took pictures then re-arranged until it looked perfect.
 
 
 We originally had both black and navy but felt it was too dark, switched out the teal with cream but it was still just not quite right. We revisited the centres but I didn’t like them as much. I then wondered what it would be like without the black so we could have both the cream and teal... it was a winner.

I always take a photo when I choose fabrics. I have such a poor memory and would easily forget what was meant to go where without one. I did change a couple of fabrics around during the cutting and making process, but overall I mostly stuck with what I planned.


The main part of the pattern is only made of 4 large blocks, which are fairly easy to sew. The clever part of this pattern is in the placement and the extra cutting. Of course I wont go into details... you need to buy the pattern for that!! It is quite a large throw and required a bit of very large cutting, so I thought I’d share a funny progress shot of the measures to keep it in place for trimming...
 

I thought about quilting this throw myself but decided to treat myself to it been long arm quilted instead. I knew I would struggle to get it finished in time to a high standard, plus sending it away also meant I could do some other sewing at the same time my quilt still got quilted. I decided since it was going away, it might as well have a fancy back too. I decided to make an extra block and couple of halves to piece a section of the back. For the remaining section, I chose a cream and pink sprinkle. I had bought a big piece so this was the perfect opportunity to use it.

 When you send a quilt to be long arm quilted, the backing and the batting/wadding need to be 4 inches bigger than the top on all 4 sides. I didn’t quite have enough fabric (plus I didn’t want to loose too much patchwork, so I added extra borders using some cheap fabric my mum had bought years ago. Believe it or not, it was only 30p a metre from a market! The backing did look a bit funny when I sent it off, but this was only temporary. Given it's size, it was rather hard to photograph and this was the best I could capture...


For the quilting I chose a geometric pattern, diagonal plaid, which used squares. I liked the way it reflected the quilt blocks and thought it would look more modern than a swirly design. I’m so pleased with how it looks now the quilt is finished. I got Cath (Cumbria long arm quilting) to trim and attach the binding for me too... did you know they can do that ?! I didn't get it done last year with my meadowland and regretted it as I struggled with the trimming and attaching on a domestic machine with the size and weight of the quilt. Since I didn’t have the time to dither about this one, having it done saved me the trouble. It was lovely to have it come back all ready for me to just hand stitch the reverse of the binding to finish.


I am quite slow at hand stitching and I found the black cotton and binding harder than on previous quilts. Saying that, I probably finished in record time with the deadline spurring me on !! I was so happy with how it looked once finished and was excited to get photos. However, British winter is notoriously quite dark and windy, but luckily we had a window of nice light and took advantage. Mum was on hand to go up the ladder to hold the quilt whilst I took as many photos as possible. It was still quite windy but I think we got a nice photo.


As for the back, Cath did a super job of lining it up with plenty of patchwork on show at the bottom. The wind picked up and the picture isn’t quite as good but it’s the best we could do.


 If you want to see the individual blocks and some more photos of the quilt details, you can see them over on my instagram @craftylilmouse . I love how this quilt looks, it is so bright and modern. It's also lovely that it includes so many lovely cotton and steel prints and to get to use up quite a lot of my stash was a bonus! I think this is a great quilt pattern... if you'd like to make your own, the quilt pattern will be on sale soon. I'd also recommend a visit to stitch and yarn's etsy store for more of her patterns too.
 
Mx

Friday, 27 December 2019

Bunnies and blossoms pouch


I decided to take part in one Christmas swap this year, but wanted something a bit easier than last year. The #simpleandsweetchristmaspouchswap was perfect!
The guidelines were one pouch made to your partners preferences, with a nice size limit (maximum size 15”x12”, minimum 8”x6”). The parcel could also include 1 or 2 Christmassy extras. I was given Naomi as my swap partner aka @naomic08 on Instagram. I was very happy to be making for her, since she had made a wonderful cotton and steel swap parcel for me... see this here. 


Firstly, I decided I would make one of my snappy zip pouches but would enlarge it a little. My final pouch measurements were 10 1/2”x 9 3/4”. I couldn’t decide what fabrics to choose, so I gathered a few options and posted about it on Instagram. I had been eager to use these cute bunnies and blossoms fabrics for a while and was thrilled when Naomi commented she liked them too.  

 
I went for a patchwork panel, to include plenty of the fabrics with a few cute fussy cuts too. Simple straight line quilting, 1/2” apart worked out well too. I used the strawberries for the main pouch lining and the pink lace check for the flap and zip pocket lining. I decided not to quilt the flap and am pleased I didn’t now.


I found the sweet little strawberry bead in my jewellery supplies and made a cute zip pull charm with it. I love the way this pouch looks and hopefully Naomi does too!

My pattern is available on Etsy here, if you fancy making your own version of this pouch.
 
This was also one of my finish-a-long projects. See more of my list here, and visit their blog for more details about the challenge. 


Mx

Christmas coin purse...


This Christmas, I am taking part in the #simpleandsweetchristmaspouchswap on Instagram. For the swap you needed to make one pouch and up to two Christmassy extras. I will be sharing the main pouch after Christmas, I have already shared my first extra here and this is the second extra I sent...

 
It is a simple coin purse for all those festive shopping trips... or I imagine it might hold a small Christmas stitching project.
 
I used cotton and steel Noel and tinsel fabrics, plus some basics in the pink colours. I did some scrappy patchwork to make the most of the fabric I had, plus the chance to include more prints. I did  choose the cute candy cane print for the lining. I added a little star charm to the zip pull as a final detail. Since my partner had said she liked these fabrics, I really hope she likes what I made.


If you want to make your own zip pouch, but don’t know where to start, I made this tutorial a while ago. Read it here!

I am also including this project as one of my finish-a-long Q4 finishes. You can view my list here and learn more about the challenge on their blog here.

Mx
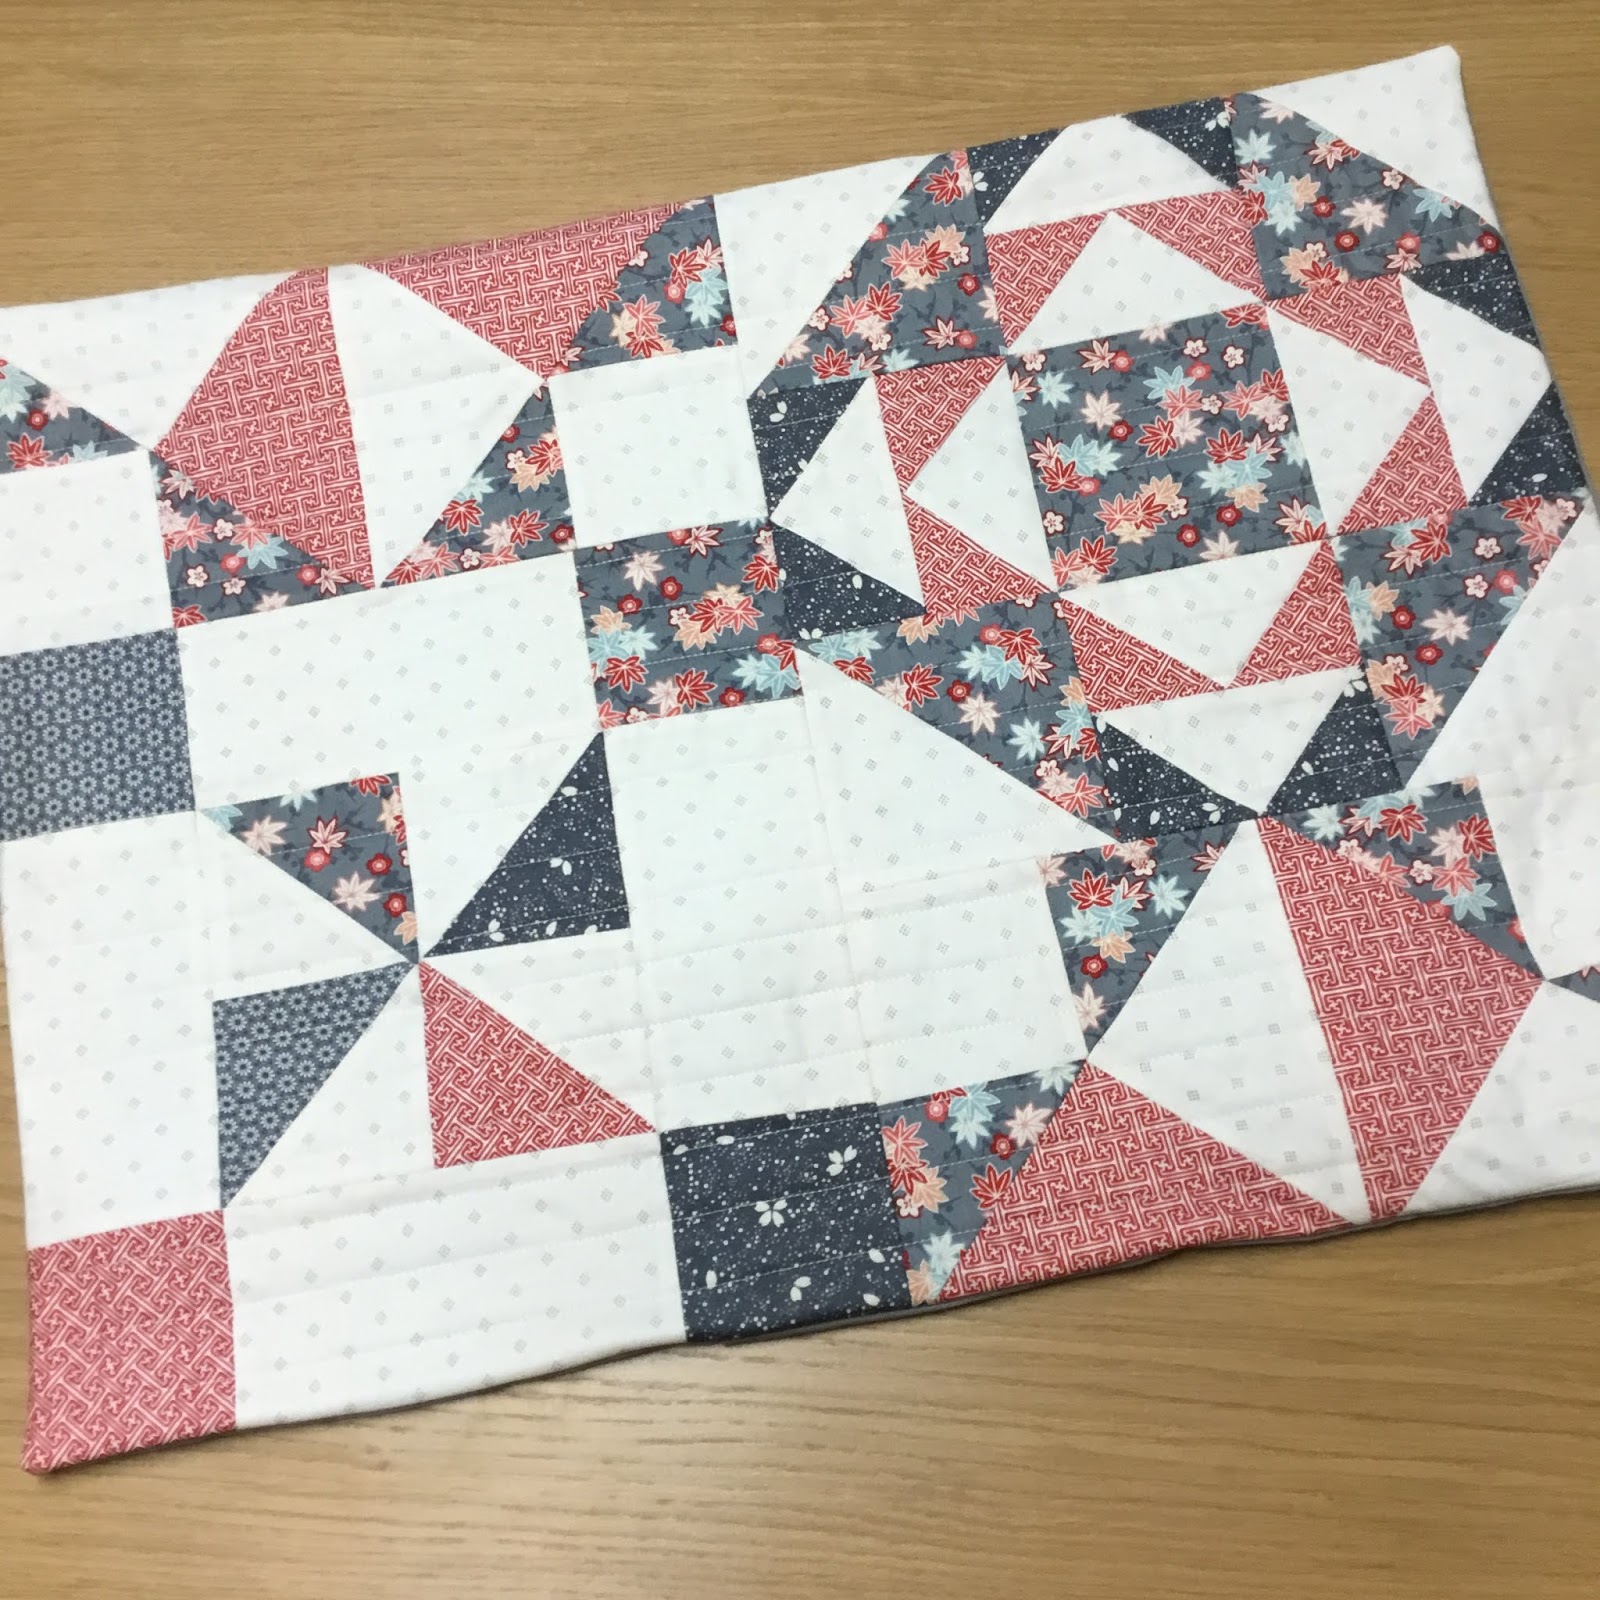
Tuesday, 3 December 2019

Dashwood advent

After making a stocking last year for a friends little girl, I decided an advent calendar would be perfect for this Christmas. I picked out the dashwood studio panel, with a very cute illustration, and little pockets for chocolate coins.
 
 
After I’d cut out the pockets, I decided to wundaweb all of the sides down to help stop it fraying with use. I top stitched across all of the top edges and then stitched all the pockets on to the panel.
I cut a piece of backing and wadding to the same size as the advent panel. I also cut out 4 rectangles of backing fabric to create hanging loops. With these, I stitched 2 pieces of backing fabric wst, then turned it out and repeated to create 2. I topstitched the two pieces in place to the upper section of the backing, leaving a gap between them. I then stitched the advent rst to the backing and wadding pieces, trimmed some wadding from the seam allowance and turned out. I stitched up the turning gap and added some top stitching/quilting to the advent to hold the layers together. I cut a piece of dowel to size and threaded it through the tubes. I then ladder stitched both outer ends closed to stop it falling out. The gap in the middle means you can just hang it up or add a ribbon if you need too. 

 
This is one of my finishalong projects, you can check out the rest of my list here.

Mx

Wednesday, 23 October 2019

escape and create christmas

I saw a post on Instagram asking for bloggers to join Escape and Create and thought it was a great opportunity. I applied, but wasn’t expecting to hear from them. It was to my surprise that they replied to say I was one of the chosen sewers. I am so thrilled to be part of the team. I have just got my first blog post finished and published with them... I am so excited I figured I’d share it here too!!

 
I love Christmas and thought it was a good excuse to make a reversible Christmas patchwork table runner, placemats and coasters. I wrote the blog to include full 'how to' instructions, with extra information like how much fabric to order and a handy cutting diagram to get the most from your fabric.
Since this made it quite a long blog post, I choose to remove the binding instructions, as readers who are already quilters will know how to sew binding anyway. The project is also suitable for beginners though, so I have shared the tutorial on binding on a separate blog post here. This one goes through the method I used on this project, but I also plan on sharing an alternative binding tutorial later so keep your eyes peeled for that coming up.
 
 
So, if you fancy looking at this project in more detail, want instructions to make your own or just fancy a read... go check it out on the Escape and Create page here. You can also find a great choice of fabrics and patterns on their website too, so I'd recommend a look.
 
This project was also included in my Q4 finish-a-long, so I can tick it off as complete and you can see my list here.
 
Mx

Thursday, 17 October 2019

Binding tutorial: method 1

There are two main methods of binding that I use. The first is a simple binding for smaller projects and the other I mainly use for quilts. I thought I'd write a tutorial for each. The first one today and then the second next month.
Method 1 uses 2” strips of fabric and is sewn on to your project with a 1/2” seam allowance. I sometimes join on the bias however in this example I have used straight seams. The benefits of straight seams are that it requires less fabric and is easier to sew.
 
  
 Cut 2” strips the width of fabric (110cm = WOF)
Place 2 strips right sides together and pin the 2" width at one end. Sew together using a 1/4” seam allowance, then press the seams open. 
 
Press the strips in half lengthways, wrong sides together. Then, bring the long raw edges into the middle crease and press along again.


To attach the binding to your project:
1. Clip the binding onto the bottom edge with a few inches extra at the end for joining later. Stitch the binding on using a scant 1/2"seam allowance.
2. Measure and mark 1/2" from the corner and stop stitching when you reach the mark.
3. To shape the corner, fold the binding down wrong side together, vertically in line with the edge of the project, to create a 45 degree angle on the corner. Holding the corner in place, fold the binding back up and clip in place ensuring it is aligned along the corner edges.
4. Stitch from the bottom edge up to the next corner, stopping 1/2” before the end.
5. Repeat step 3 for each corner and continue sewing until you have about 3” before you reach the start of the binding, then stop.
6. To join the two ends, mark a line about 1” in from the end then fold it back on itself, wrong side together. Lay the other end of the strip over the top, right sides together and pin, only catching the top 2 layers of fabric.
7. Fold over to check, that it lays flat and the binding strips meet at the marked line. Make sure to secure the join in place with pins before you move it to sew.
8. Move the binding so the join overhangs the project. Stitch along the marked line to join the 2 layers of binding together. Once sewn, double check the binding lays flat along your project and trim to leave a 1/4"seam allowance, then press the seam open.
9. Stitch the joined section of binding to the project, again using the scant 1/2" seam allowance.

To finish your binding, turn over your project. Bring the binding over to the back, folding the raw edge in and the folded edge down. Clip to hold in place and hand stitch in place on the reverse. I use a ladder stitch although a slip stitch would also be fine. Alternatively, you can use a machine to top stitch close to the edge of the binding.
Mx
 

Saturday, 23 March 2019

Pretty little mermaid


Last year this pretty little mermaid cross stitch kit was a free gift with a magazine. It was a fun little project to stitch in the car. I then left it unfinished til today. I added some pink felt on the reverse and used DMC threads (E316 & 48) to stitch around the outside of the mermaid. I then trimmed both fabric layers to the same size. 
This is one of my finish-a-long projects and I’m so happy I finished it. It looks so cute, especially in its gifting card, that was supplied in the kit.
To see my other finish-a-long projects click here!

Mx


Saturday, 9 February 2019

My first blocks


 These were the first patchwork blocks I ever made and am so happy to see them finally made into something. I went to a patchwork class at a local shop, where every class you made a new block with the goal of having a sampler quilt at the end. I let my sister choose the fabrics with the intention of her having the quilt as a gift. Sadly though, the shop closed when we only had 7 blocks made. We didn’t have enough blocks to make a quilt and I wasn’t too thrilled with the designs to just make repeats. Without much experience the blocks just got shoved in a cupboard while I did other projects, until a few months ago. My plan was to make them into cushions for Christmas, however, I had lots of other gifts to make and these got pushed to the bottom of the list with the promise that I’d do them as soon as I had time.
She had a couple of large cushions that had covers which really didn’t match the décor. We had a discussion and I came up with this solution. I used 2 full blocks and split the 3rd in half, once joined together they made just the right sized cushion fronts. I added some batting to the back of the patchwork and did some straight line quilting about an inch apart. I backed the cushions with some plain grey fabric that I got from IKEA and did an envelope back to make them super simple. The blocks worked out to be enough to do both large cushions, one in each colour way.
Since I had one block left over, I made one more smaller cushion. The block was slightly too small for the cushion she had, so I simply added a border to the block. I used some of the blue fabric I had left over to tie the cushions together a little more. I also finished this cushion with an envelope back in the same grey fabric.
These cushions were simple to make and I’m so happy with them. It’s a shame they weren’t finished earlier, however, they probably wouldn’t have been made the same or turned out as nice. They are quite a quirky design but fit both my sisters personality and room perfectly.
Mx


Sunday, 13 January 2019

GU cheesecake pincushion


I have made a few of these pin cushions now and personally I love them. They recycle a gu cheesecake jar (old style with straight sides), they are a really nice size and because it's also a little heavy, it can double as a pattern weight.
I choose to trim mine with some lace and thin ribbon, but you could use whatever you prefer. I think pom Pom trim would be so fun!

To make your own, you will need:
the pattern and instructions sheet
fabric
thread and needle
hot glue gun
trims

I sew mine on my machine, but you could use a small back stitch to hand sew yours.
 
If you share your pincushion online please make reference to this blog and if you use Instagram, don’t forget to share your pincushions with the #craftylilmousepatterns

Happy stitching 
Mx

Wednesday, 2 January 2019

Blue liberty pouch


I made a patchwork panel using liberty fabric in blue shades. I was originally making something else but that didn’t go to plan!! Since I didn’t want this panel to go to waste, I made a pouch instead.


I decided to make the pouch to hold some scissors and a rotary cutter so I added wadding for protection. I wanted the closer/flap of my pouch to be in a solid colour, so I used some art gallery pure elements fabric. I also added interfacing to this and the lining for some stability. I used a kam snap fastening to be easy to use. 
 
 
I made this for my mums birthday, unfortunately I had to cut my panel in half to make the pouch the right size so the patchwork isn’t as even as i would have liked, but she likes it and that’s all that matters.

This was on my finish-a-long list of projects to do and you can read more about that here!
Mx

Thursday, 31 May 2018

home sweet home ...

I bought a cheap cushion to customise for some screen sensations home décor. I simply centralised the 'home sweet home' screen on the front of the cushion cover and printed with 'potting soil' ink to tone in with the neutral check. I think it makes for a simple but effective way to personalise your home and this screen is perfect for the job!!
If you fancy screen printing at home, check out my blog post here all about screen sensation... plus there is a discount code to get 25% off supplies at crafting.co.uk
Mx

Thursday, 24 May 2018

simply screen printed totes

I have customised plain white cotton and calico tote bags with screen sensation screen prints. I have used  the 'dog', 'gothic peony', 'kaleidoscope', 'plumage' and 'plumage & folliage' screens with 'black', 'chrysanthemum', 'harbour blue', 'raspberry' and 'turquoise' inks. The screen prints add a bit of personality to a plain tote, perfect to use for shopping or gifting to others!

If you fancy screen printing at home, check out my blog post here all about screen sensation... plus there is a discount code to get 25% off supplies at crafting.co.uk
Mx

Tuesday, 3 April 2018

Screen sensation


One year ago, an at home screen printing system was launched, called screen sensation. It was something new and quite exciting, so I bought the first kit and have added to my selection of designs with the new screen collections released since. I mainly use my screen sensation to decorate tote bags, clothes and print my own fabrics, however, the possibilities go far beyond this.

Screen sensation is made up of 3 parts... 
the kit, the screens and the inks:
  • The kit includes a base unit, frame, squeegee, stir sticks and a collapsible ink bowl
  • The screens come in two sizes (12x12" & 5x7") in a wide variety of designs. You simply fix the screens to the frame using screen sensation fixing tape. This tape has been formulated especially to use with the screens, to be safe for use on the emulsion layer. If you are feeling really creative there is also a kit available to design your own screen.
  • The ink is water based, drain safe and washes out in cold water. Once the ink is fully cured (about 7 days) onto a solid surface or heat set on fabric (iron on reverse for 2 mins, washer safe to 40'c) it becomes permanent. The inks are very thick and need to be stirred before use. There is a lovely selection of colours available, but you can also mix them together to create your own custom colours.

How to use your screen sensation:
  1. Use the fixing tape to attach the screen to the back of the frame, where the screen sensation logo is. Also consider that if you have text on your screen this needs to be the right way up when printing (so backwards when taping). For the best quality of print the screen must be fixed so it is drum tight. At this stage, you may also wish to mask off areas of the design. Simply tape over the section you don't want to print (see image below). Once fixed, slide  the frame into the base unit.
  2. Place the item you are wanting to screen print onto the base unit. If you are printing onto fabric it is best to iron it first to remove any creases and put a piece of card/paper behind where you will be printing (inside a t-shirt for example) to catch any ink which could go through the layers of fabric. Push the base unit lid down to hold the item in place.
  3. Give the inks a good stir before adding to the top of the screen. It's better to have a lot of ink on as you don't want to run out and you will scrape the excess back into the pot when you have finished printing so it doesn't go to waste!! You can use multiple colours at a time to create different effects. I use less ink when doing this as you don't want to put mixed colours back into the original pots. You can still reuse this ink though, just buy empty pots to put your mixed colours in.
  4. Pull the ink across the surface of your screen using the squeegee at a 45 degree angle. I like to spread my fingers over the length of the squeegee to get even pressure. You don't need a lot of pressure as too much can wrinkle the screen and ruin your print, (you can do a dry run to check if you're unsure). When you print occasionally you feel like you have missed a bit, in this case you can just add a little bit of ink to that piece with the small squeegee. Although not advised, if you are worried you have missed quite a lot, you can carefully reprint the screen pressing lighter on the squeegee. I have done this with no problems but there is a risk of getting a blurred image.
  5. Finally, lift the lid to reveal your print. Remove the printed item from the base unit and set aside to dry. I often hang my bags and clothes onto a clothes airer to allow them to dry flat without taking up all of the counter tops.
  6. When you have finished printing your chosen design, lift the frame out of the base unit, remove all the fixing tape (if it doesn't have any ink on this can use re-used) and wash your screen in cold water. The water must be cold or it will set the inks and ruin the screen. Once you have washed your screen and removed all the ink residue, lay this flat to dry on a towel. You don't want any fluff sticking to the screen so it is best to use an older towel.
  7. Once your screen is fully dry, it can be put back in its packaging for protection and kept ready to use again. Once your prints are dry don't forget to heat set them or leave them to cure for 7 days.
Alternatively, if you are printing a bulky item that wont sit flat inside the base unit, you can print using the frame separately from the base unit. To do this, tape the screen on the opposite side of your frame (without the logo) ensuring your design is seen in reverse at this stage. Then, lay out your item that you are wanting to print directly onto a hard and sturdy flat surface. To print, turn the frame over so the logo is facing up towards you and hold it down firmly in position on the item. It is important not to move the frame during printing as this can smudge the print. If possible, I find it's best to get someone else to hold it while you print. Once set up, you can simply follow the instructions above from stage 3 onwards, (except at stage 5, simply lift your frame up in one smooth motion, ensuring it separates from the print item as the ink can hold the print to the screen.)

If you are interested in learning more, you can visit the screen sensation website to find out more information and videos demonstrating the system.

If you want to screen print at home, you can get 25% off any screen sensation purchase at crafting.co.uk ...simply checkout using the special discount code: SSBL25-OHC21
(valid until 30 June 2018)
Mx