Showing posts with label purple. Show all posts

Tuesday, 31 December 2019

Glam bag

I made this bag as part of a Christmas gift for a friend. She's a beautician so when I saw these fabrics, I knew they would be perfect for her bag. I mixed prints from the 'Kiss me, Kate' range by See Kate Sew for Riley Blake and 'Glam Girls' by American Dream House for Michael Miller.
 

I designed the panels to mix the fabrics and spread the colours. I then worked out the quilty maths and cut my pieces as follows:
 
lips: 15 1/2" x 3 1/2"  +  14 1/2" x 3 1/2"
xox: 3 1/2" x 4 1/2"  +  3 1/2" x 4 1/2"
bows: 9 1/2"x 2 1/2"  +  3 1/2" x 5 1/2"
lipsticks: 6 1/2" x 6 1/2"  +  6 1/2" x 4 1/2"
eyelashes: 9 1/2" x 4 1/2"  +  3 1/2" x 4 1/2"
stripe: 6 1/2" x 4 1/2"  +  6 1/2" x 5 1/2"
 
The panel was made using the quilt as you go method with 1/4" quilting and seam allowances. I then added the sequin print to the top and base with 1/2" quilting. I created the handles with the same sequin fabric, with interfacing for strength and batting for comfort.  
 
 
I boxed the corners on the base and lined with the bows fabric to finish. I also added a little handmade label into the side seam.
 
 
I'm pretty pleased with how the bag turned out and think it's a useful size... Thankfully my friend is also pleased with it!! This is one of my finish-a-long projects which you can find here.
 
Mx

Sunday, 29 December 2019

Butterfly cross stitch

 
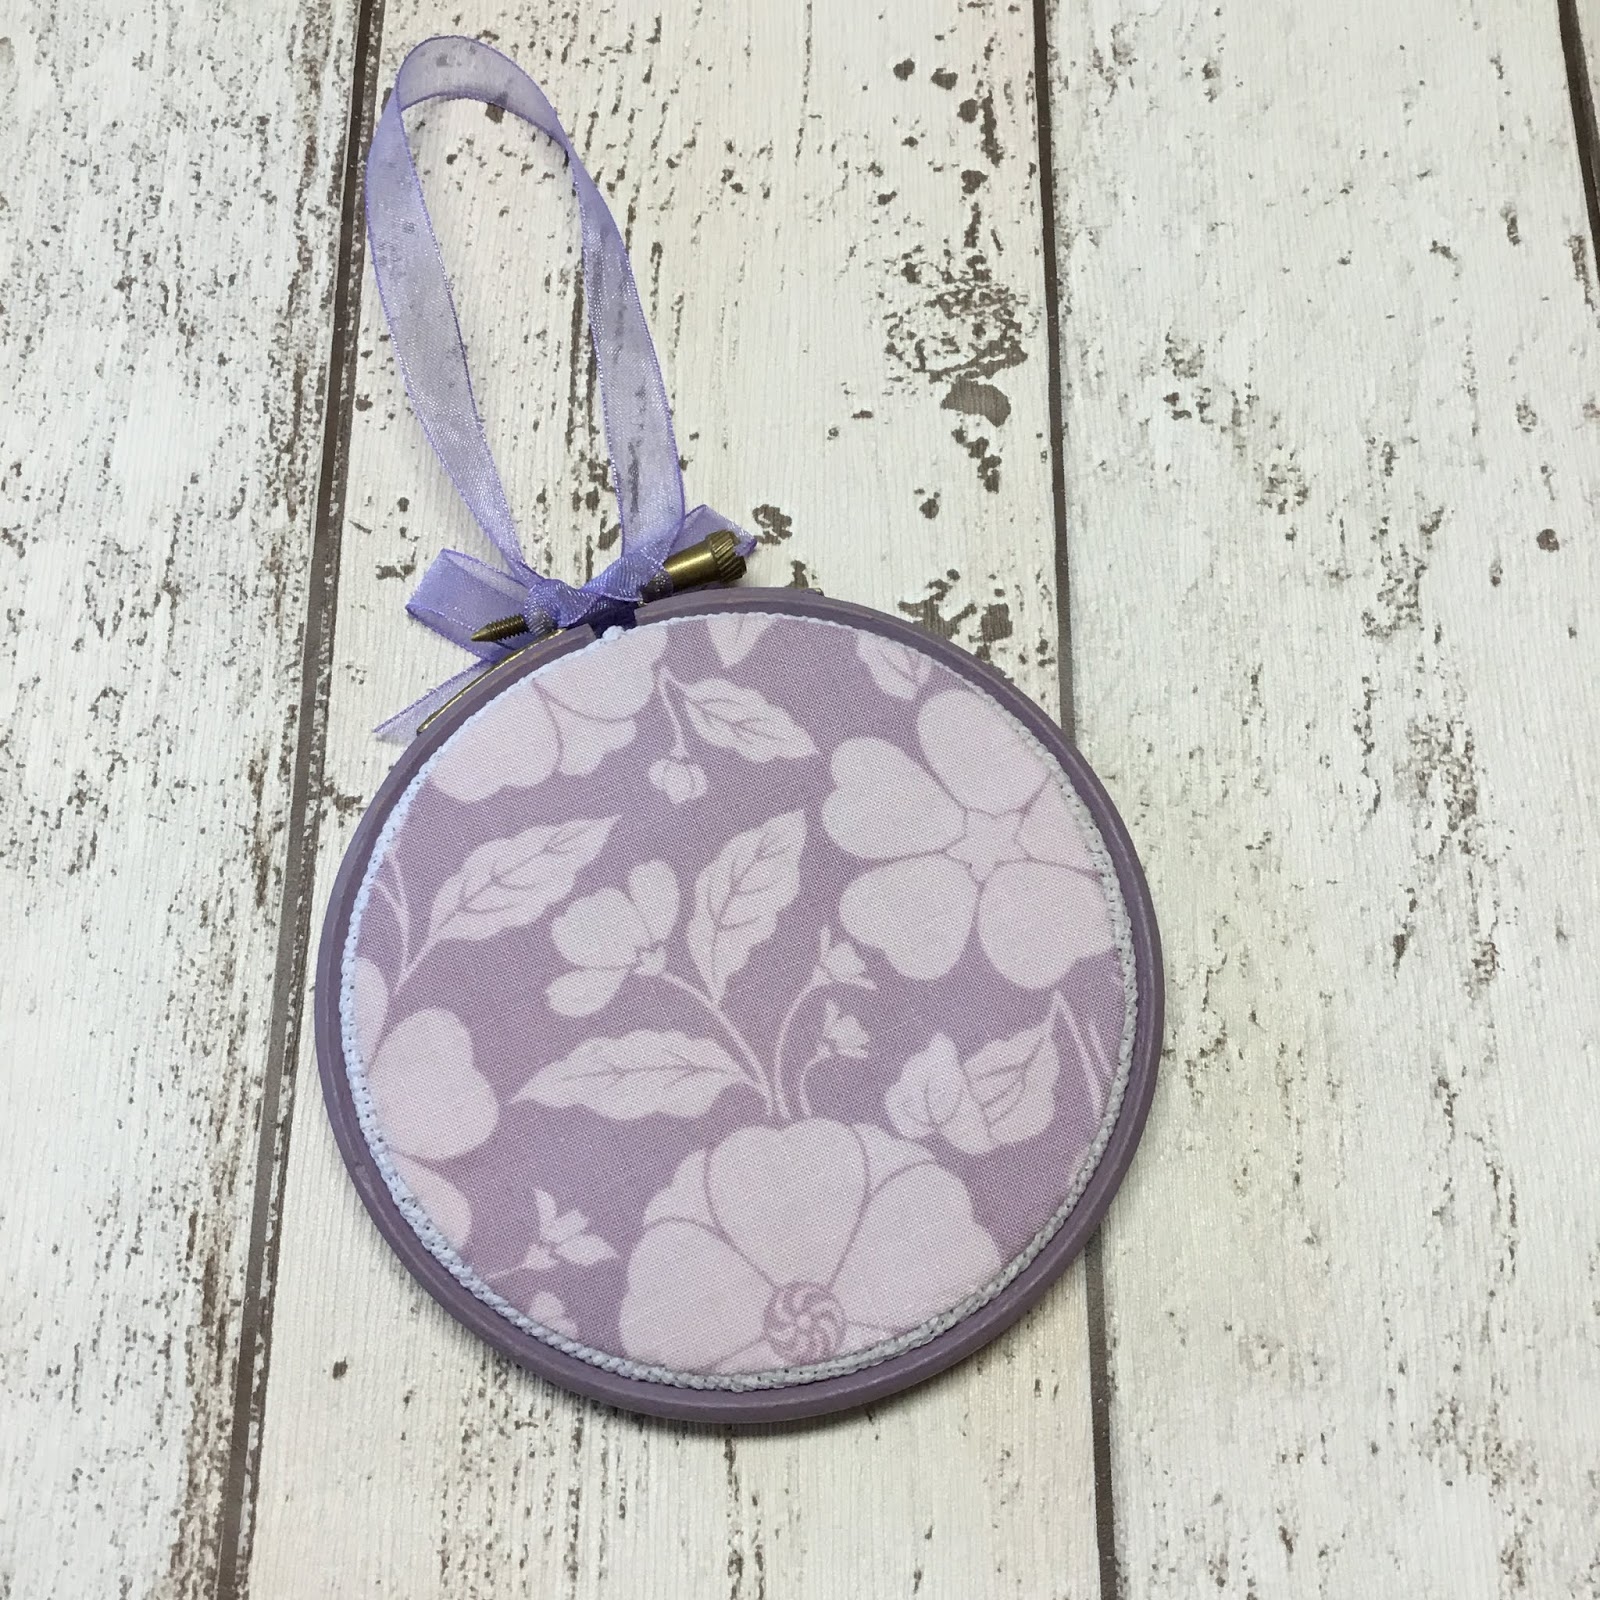
I made this little gift using the butterfly hoop kit from cross-stitch crazy magazine I got a while ago. I followed the kit to stitch up the butterflies on the front, but didn't like the plastic hoop supplied with it. I decided to paint a wooden hoop the same size using my own custom mixed lilac shade of Annie Sloan (I'm afraid I can't remember which colours went into it!).
 
 
I added the coordinating fabric to finish the back of the hoop, first glued and then ladder stitched to secure it in place. The final touch was some organza ribbon to create a hanging loop and bow to cover the screw.
 
 
I finished this project earlier, but couldn't share until now as it was part of a Christmas gift. It is on my Q4 finish-a-long list which you can find here ....
 
Mx

Wednesday, 3 April 2019

Send a little love swap...

I signed up to take part in the IG based swap for valentines. It was the #sendalittleloveswap2019 which was a quite fun little swap to take part in. I signed up just before I made my Q1 finish-a-long list so I decided I would add it to my list. I knew it would be an easy finish since I hate to let people down, so I knew it would be completed on time. This Blog post about it is little bit late though. I have the worst memory and basically forgot to write it til now when it’s time to link up our finishes. I would forget my own head if it wasn’t screwed on!
On to the swap...
It was a small swap that was to be love themed and opened on Valentine’s Day. There was a £10-£12 budget and you needed to include:

  • A heart shaped item
  • Something edible 
  • Stationary 
  • Craft notion
  • Handmade item

I was partnered with @susyb65 and her inspiration mosaic was brilliant. There were so many wonderful ideas , I was very tempted to do a few of them. The swap did say 1 handmade item though and given personal time restrictions I decided it was best to just make the one thing and buy the others.


I found a very simple ceramic hanging heart decoration, it was embossed with the word love and I thought was quite nice. I had noticed we shared the love of malteaser buttons so got the biggest bag I could find. For stationary I found a couple of notebooks with hearts on and thought they were so lovely (wish I had bought myself some too) of course I just had to include a coordinating pen too. I was spoiled for choice when it come to picking a craft notion. I spotted these cute love themed ribbons and since sue does multiple crafts I thought they would be perfect.


Lastly was the handmade item, this was more challenging deciding what to make. I was all set to make a draw sting project bag/basket, when sue made herself one. I finally opted instead to create my own zip pouch pattern. Fabric choice was the next decision, I posted a couple of fabric options on ig and was very happy when sue commented her favourite. 
It was a nice pouch to make and after a few suggestions to make it in to a pattern, I am now in the process of doing so! I’m so excited but more on that in the next few months.

Now to share what I received from the lovely @michellehollyoak


I was sent some malteser buttons, a pen and little heart shaped paper clips, some Riley Blake fabric and a needle felting kit. She also made a lavender filled heart (with her home grown lavender) and a crochet market tote. A hexie coaster was also sent as a little extra.  I love all my gifts and am especially excited to try the needle felting. This swap made me feel very spoilt this Valentine’s Day.
Mx 

Tuesday, 8 January 2019

12daysofchristmasswap


I signed up to do the #12daysofchristmasswap2018 on instagram a few months ago. The idea is to make and buy 12 gifts for your partner to open on the 12 days after Christmas.
It is a secret swap and you are assigned a partner and no one knows who is making for who. When you sign up you fill out a form telling your partner your preferences and make a mosaic and post to instagram for more inspiration.
My partner was Helen, known as @polly_dolly_wolly on instagram, these are the gifts i sent...


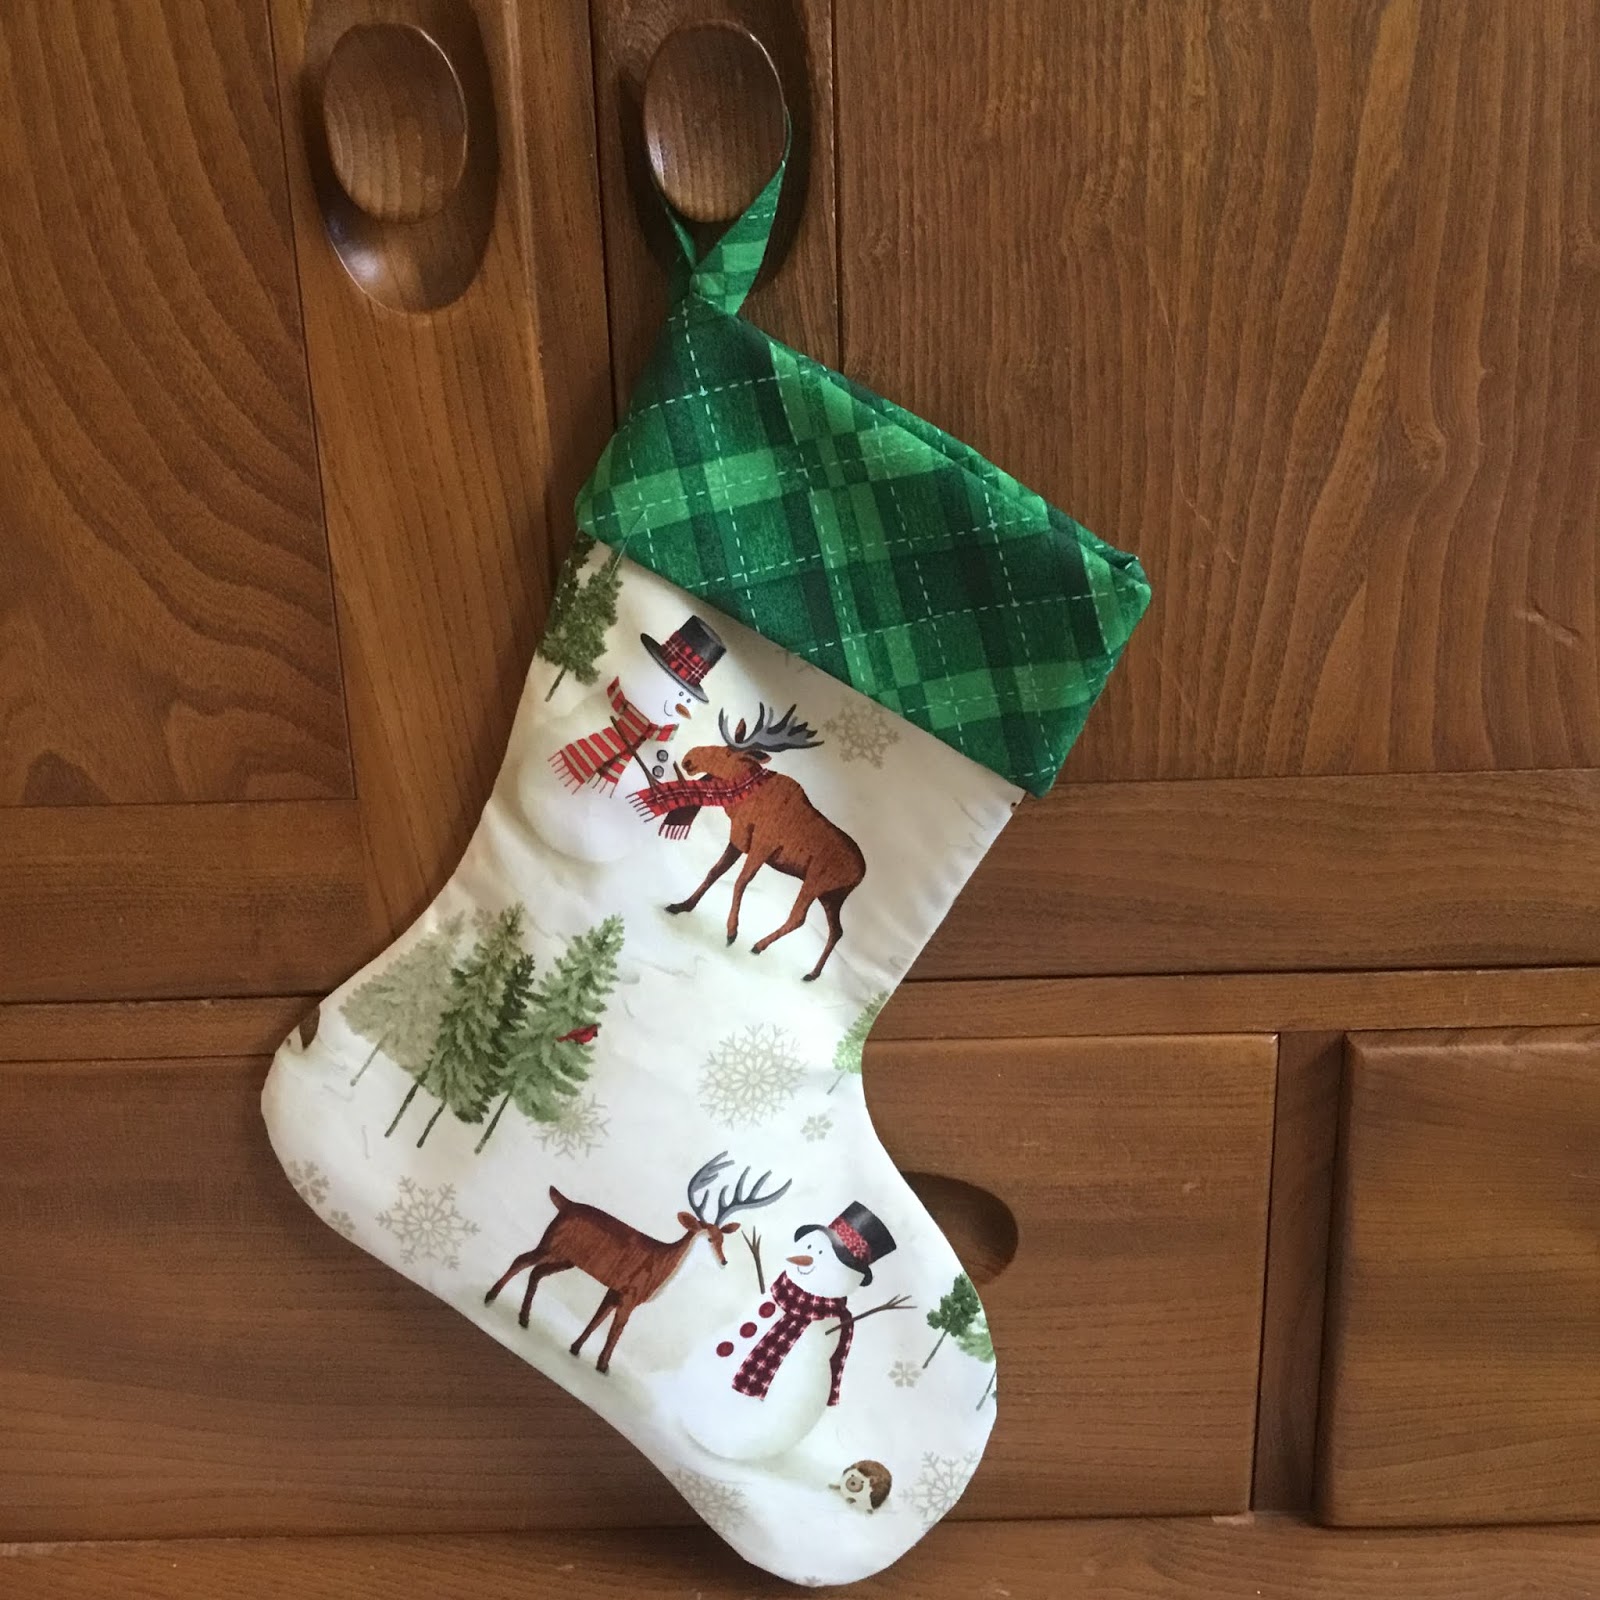
My first make was this Christmas stocking, using a fabric that was trational but still cute. I added the green cuff to be more Christmassy and fussy cut the characters to show them all. 


Next make was these 2 felt decorations, I chose the designs and cross stitched the centre panels. I added a felt border and back and blanket stitched together, also adding some stuffing for a plush feel.
 
 
Next was a partly bought and partly handmade gift. Since I didn't know her scent preference I purchased a selection of Christmas scented Yankee Candle tea lights along with a glass holder. I then made a hexagon shaped box for them to be gifted in. I added an acetate lid and some shredded tissue to give a more professional feel.
 
 
I made a zip pouch with a matching key fob for her next gift. I used a variety of coloured fabrics to make a patchwork panel and mixed it with some linen/calico fabric. I added a wipe clean lining and one of my handmade labels inside.
 
 
I chose a bright coloured zip that I felt worked with my fabric choices. The final touch was a charm for the zip pull. I used some jewellery supplies and chose this fun bead that matched the colour of the zip.
 
 
I screen printed a tote bag with a kitten design, using my screen sensation system, kipton the kitten screen and potting shed ink.

 
The next two gifts were a pin cushion and a needle book. I created the pattern for the pin cushion a few years ago and have made a couple before. For this one, I chose some bright coloured vintage sewing themed fabric and added lace and purple ribbon trims to the jar. 
 

I used the Aneela Hoey pattern for the needle book, doing the same adjustments as I did for the one I made in the sew along. I used the fabric to match the pincushion and combined it with some cream linen. I used some decorative stitches on my sewing machine with purple thread to add some detail on the pockets and on the front. 

 
The other gifts I included were a map puzzle, lindt chocolate, an organizer, loccitane soap and hand cream. I also sent some haberdashery items that I thought she might like; a needle egg, sparkle embroidery thread packs, vintage lace (that I found at a antiques fair) and some vintage buttons (that were from my granny).
 
I love gifts to be perfect for the person receiving them so I always put a lot of thought into gift giving. I was rather stressed at times about this swap, but was happy with what I sent. Thankfully Helen likes hers gifts and I even managed to choose some of her favourite things. 
 
These items were also on my finish a long list and although I knew I needed to finish them, it was quite hard not sharing any progress so this was an extra bit of motivation. You can read more about that here.
 
Mx

Thursday, 24 May 2018

simply screen printed totes

I have customised plain white cotton and calico tote bags with screen sensation screen prints. I have used  the 'dog', 'gothic peony', 'kaleidoscope', 'plumage' and 'plumage & folliage' screens with 'black', 'chrysanthemum', 'harbour blue', 'raspberry' and 'turquoise' inks. The screen prints add a bit of personality to a plain tote, perfect to use for shopping or gifting to others!

If you fancy screen printing at home, check out my blog post here all about screen sensation... plus there is a discount code to get 25% off supplies at crafting.co.uk
Mx

Friday, 11 May 2018

colourful creations...


 I took some basic white tote bags and customised them using two processes to create these colourful creations. To get the background colour, I first dyed the totes using inkodye. Each bag was scrunched and folded in different ways to create the tie dye effect. Although the dye can look great on it's own, I decided to add another layer to some using screen sensations prints. I have used the 'dog', 'fantasy flight', 'gothic peony', 'kaleidoscope' and 'plumage' screens with 'black', 'chrysanthemum' 'raspberry' and 'shadow purple' inks. I think these make the perfect gift for somebody who likes to be unique, since no dyed bag comes out the same and the screen adds a bold dash of personality to each one.


If you fancy screen printing at home, check out my blog post here all about screen sensation... plus there is a discount code to get 25% off supplies at crafting.co.uk
Mx

Wednesday, 29 July 2015

pleated treat...


I used this purple floral fabric from rose & hubble with a coordinating cream floral fabric (which doesn't have a name sorry!!) to make another zipped pouch. If you want to make your own, follow the link below to see my other blog post with the video tutorial:
 
 
Mx

Friday, 24 July 2015

tweet tweet...


I thought I'd share some more of my hand stitched felt key rings with you. I found a template on pintrest and printed it out. I then used this to cut the felt pieces to make the birds. Each one has two pieces for the body and two wings, I used a different shade of the coloured felt for the wings and chose embroidery floss to match. I laid the pieces out with a wing on each body piece making sure they were facing the opposite way so they would come together to make a bird. I then secured the wings with blanket stitch on the blue one and backstitch on the others. I added French knots in black thread to create eyes. I then stitched the two body pieces together using blanket stitch. Once part way round, I added stuffing to give the birds some shape and secured a loop of ribbon to attach the key ring and completed the stitching to close the gap. These were nice easy shapes to cut and sew, so they would be perfect for beginners !
 
Mx 

Tuesday, 16 June 2015

money, money, money!!

 
i made this little apron to keep money secure when doing a craft fair or market stall. i recycled some jeans that didn't fit as the main material for this project. If you want to make your own, follow the steps below...
  1. cut off the leg to the required length, then cut up both of the seams (you could just cut one seam and keep the other as the base of the apron).
  2. if you want extra detail, add this now, (I added an applique butterfly with free motion stitching to the front of mine.)
  3. add the zip to the top of the apron on the front and apron tape to the back section (make sure its long enough to fasten around your waist). 
  4. put right sides together and stitch all the way around the rectangle (no need to leave a gap for turning, just remember to undo the zip enough to turn the fabric through!!)
  5. once you have sewn that, overlock or zigzag stitch around again for strength.
  6. turn out and press.
You now have a finished money apron. the next steps are not needed, so if your just a beginner or prefer a simple design you can stop and admire your work. If you want to add more, follow these last two steps...
  1. mark a line where you would like a divide then draw a line to about half / three quarters way up, then sew up this line.
  2. add bias binding around the edges for extra colour and decoration.
 
Mx

hoot!!


i hand-stitched this cute owl key ring from some felt. to make a pattern i used the SU! owl punch to cut a piece of paper. i photocopied this to enlarge to the size i wanted. (i think that keyrings need to be big enough to be able to sew and stuff but not too large for general use.) i cut all my pattern pieces out in felt and used some embroidery thread/floss to attach the appliqued elements. when i was happy with my design i attached a loop of ribbon to the back piece of felt. i blanket stitched the 2 pieces together, leaving a small gap to be able to stuff it. (a nice padded effect is good, but do not over stuff). once stuffed, finish the blanket stitching to close up the gap and add your keyring to the ribbon loop.

more felt projects coming soon...
 
Mx