Showing posts with label sewing. Show all posts

Saturday, 13 May 2023

Sew hot long arm quilting service

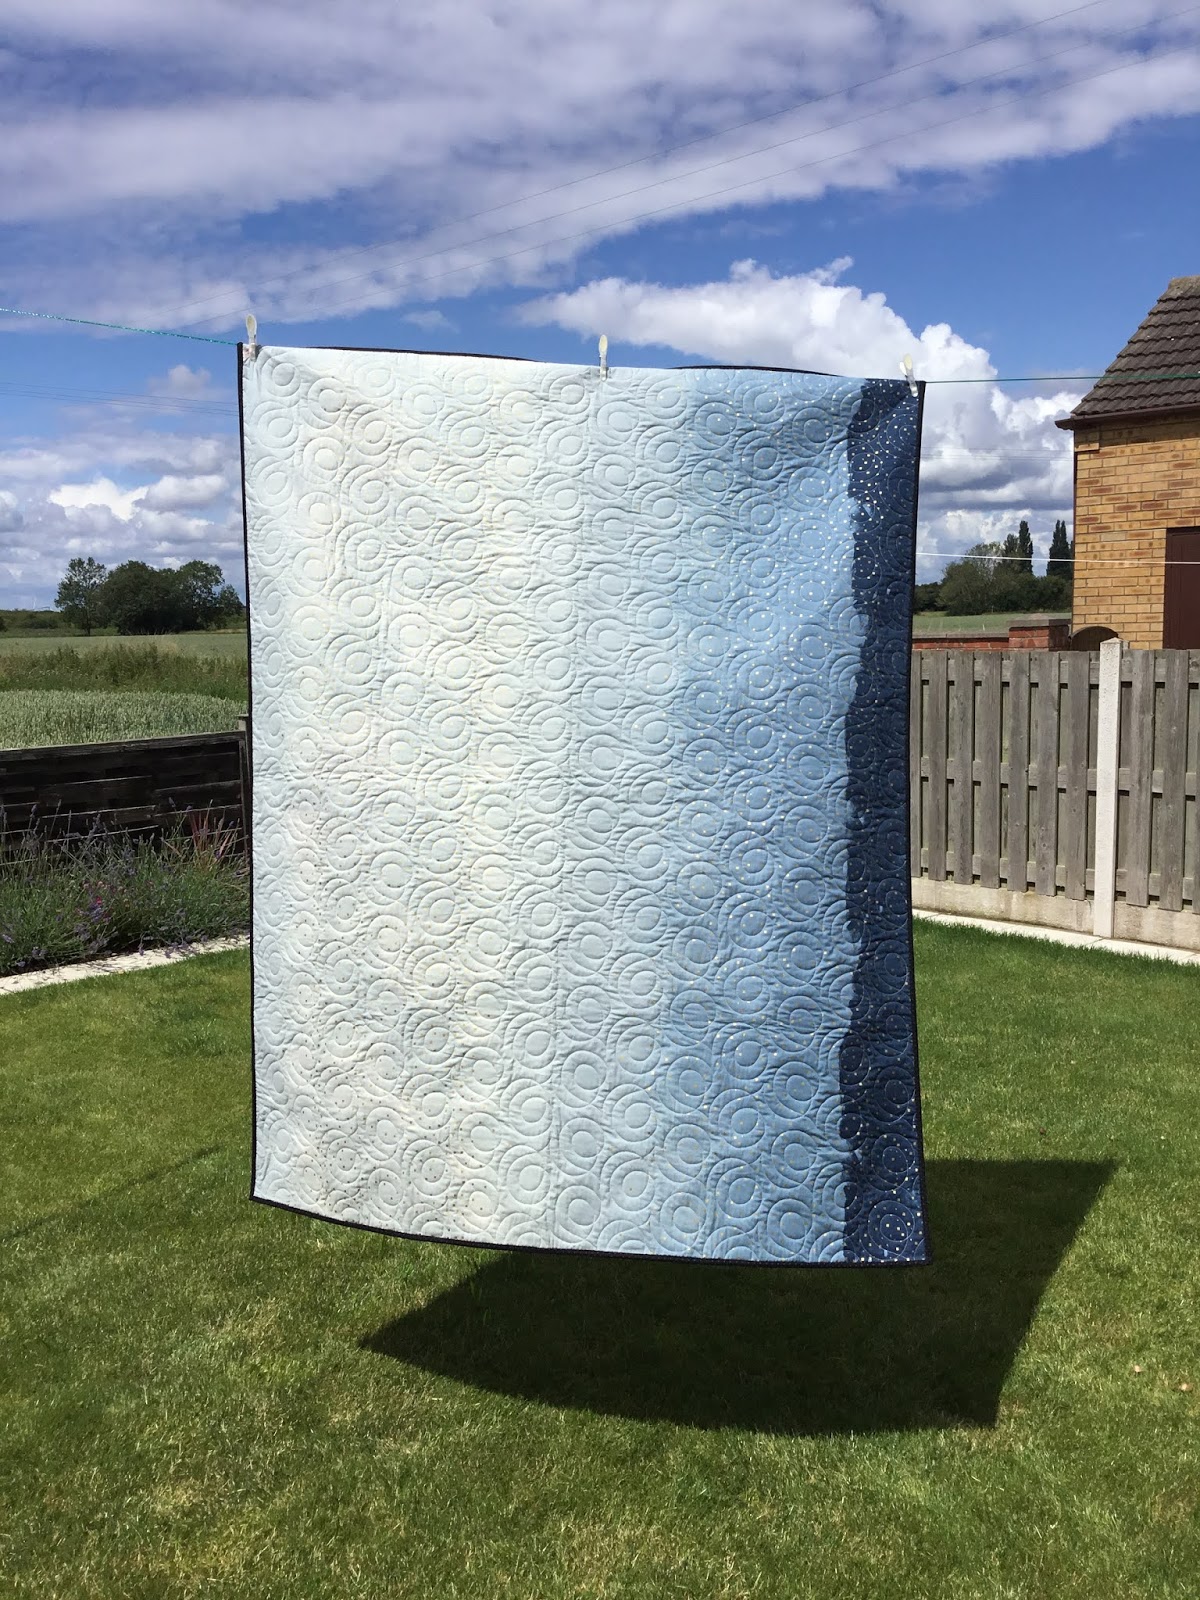
 It is no secret that I love getting my quilts long arm quilted. It is a super time and energy saver. I have had Cumbrian Long-arm quilter do so many of my quilts and I will always recommend her. However I was intrigued to see what it would be like to have my long arm quilting done by someone else. 

I was chosen to be a Sew Hot brand rep this year and it just so happens that as well as been a fabulous sewing shop, they also offer a quilting service. This seemed like the perfect time to try it. 

I had previously bought this Ruby Star Society unicorn panel (sadly sold out now) and was desperate to get it quilted and on my bed. I won a giveaway for fabric from the USA, so I chose a wideback that I loved but couldn’t find in the UK. It seemed like the perfect fabric choice for me and this quilt (Ruby Star Society have released a standard width fabric that is similar so would be a good alternative here.)

Next was the most difficult part of getting your quilt long arm quilted, choosing your design! Sew Hot have a great selection on their website, however nothing was really catching my attention. There is the option to visit 2 websites and have even more choice though. After a little searching, I found what I thought was the perfect design for this quilt, the swivel circle. 

They matched the thread colour perfectly to the quilt. After doing the quilt, it was time to do the pillows I sent. I wanted them to match, but the design I chose was quite large, so I was asked if I wanted to alter the size. I said 'yes please' and they did. I am so pleased they asked and I did as they look so much better for it. 

 One downside, is they don’t offer a binding service. The quilt comes back trimmed though, so putting the binding on myself isn’t too bad. 

Now it’s time to relax with some hand stitching, there is quite a lot so I might be a while. Finished quilt reveals coming soon hopefully.


Mx

Sunday, 30 April 2023

First Sew Hot brand rep parcel…

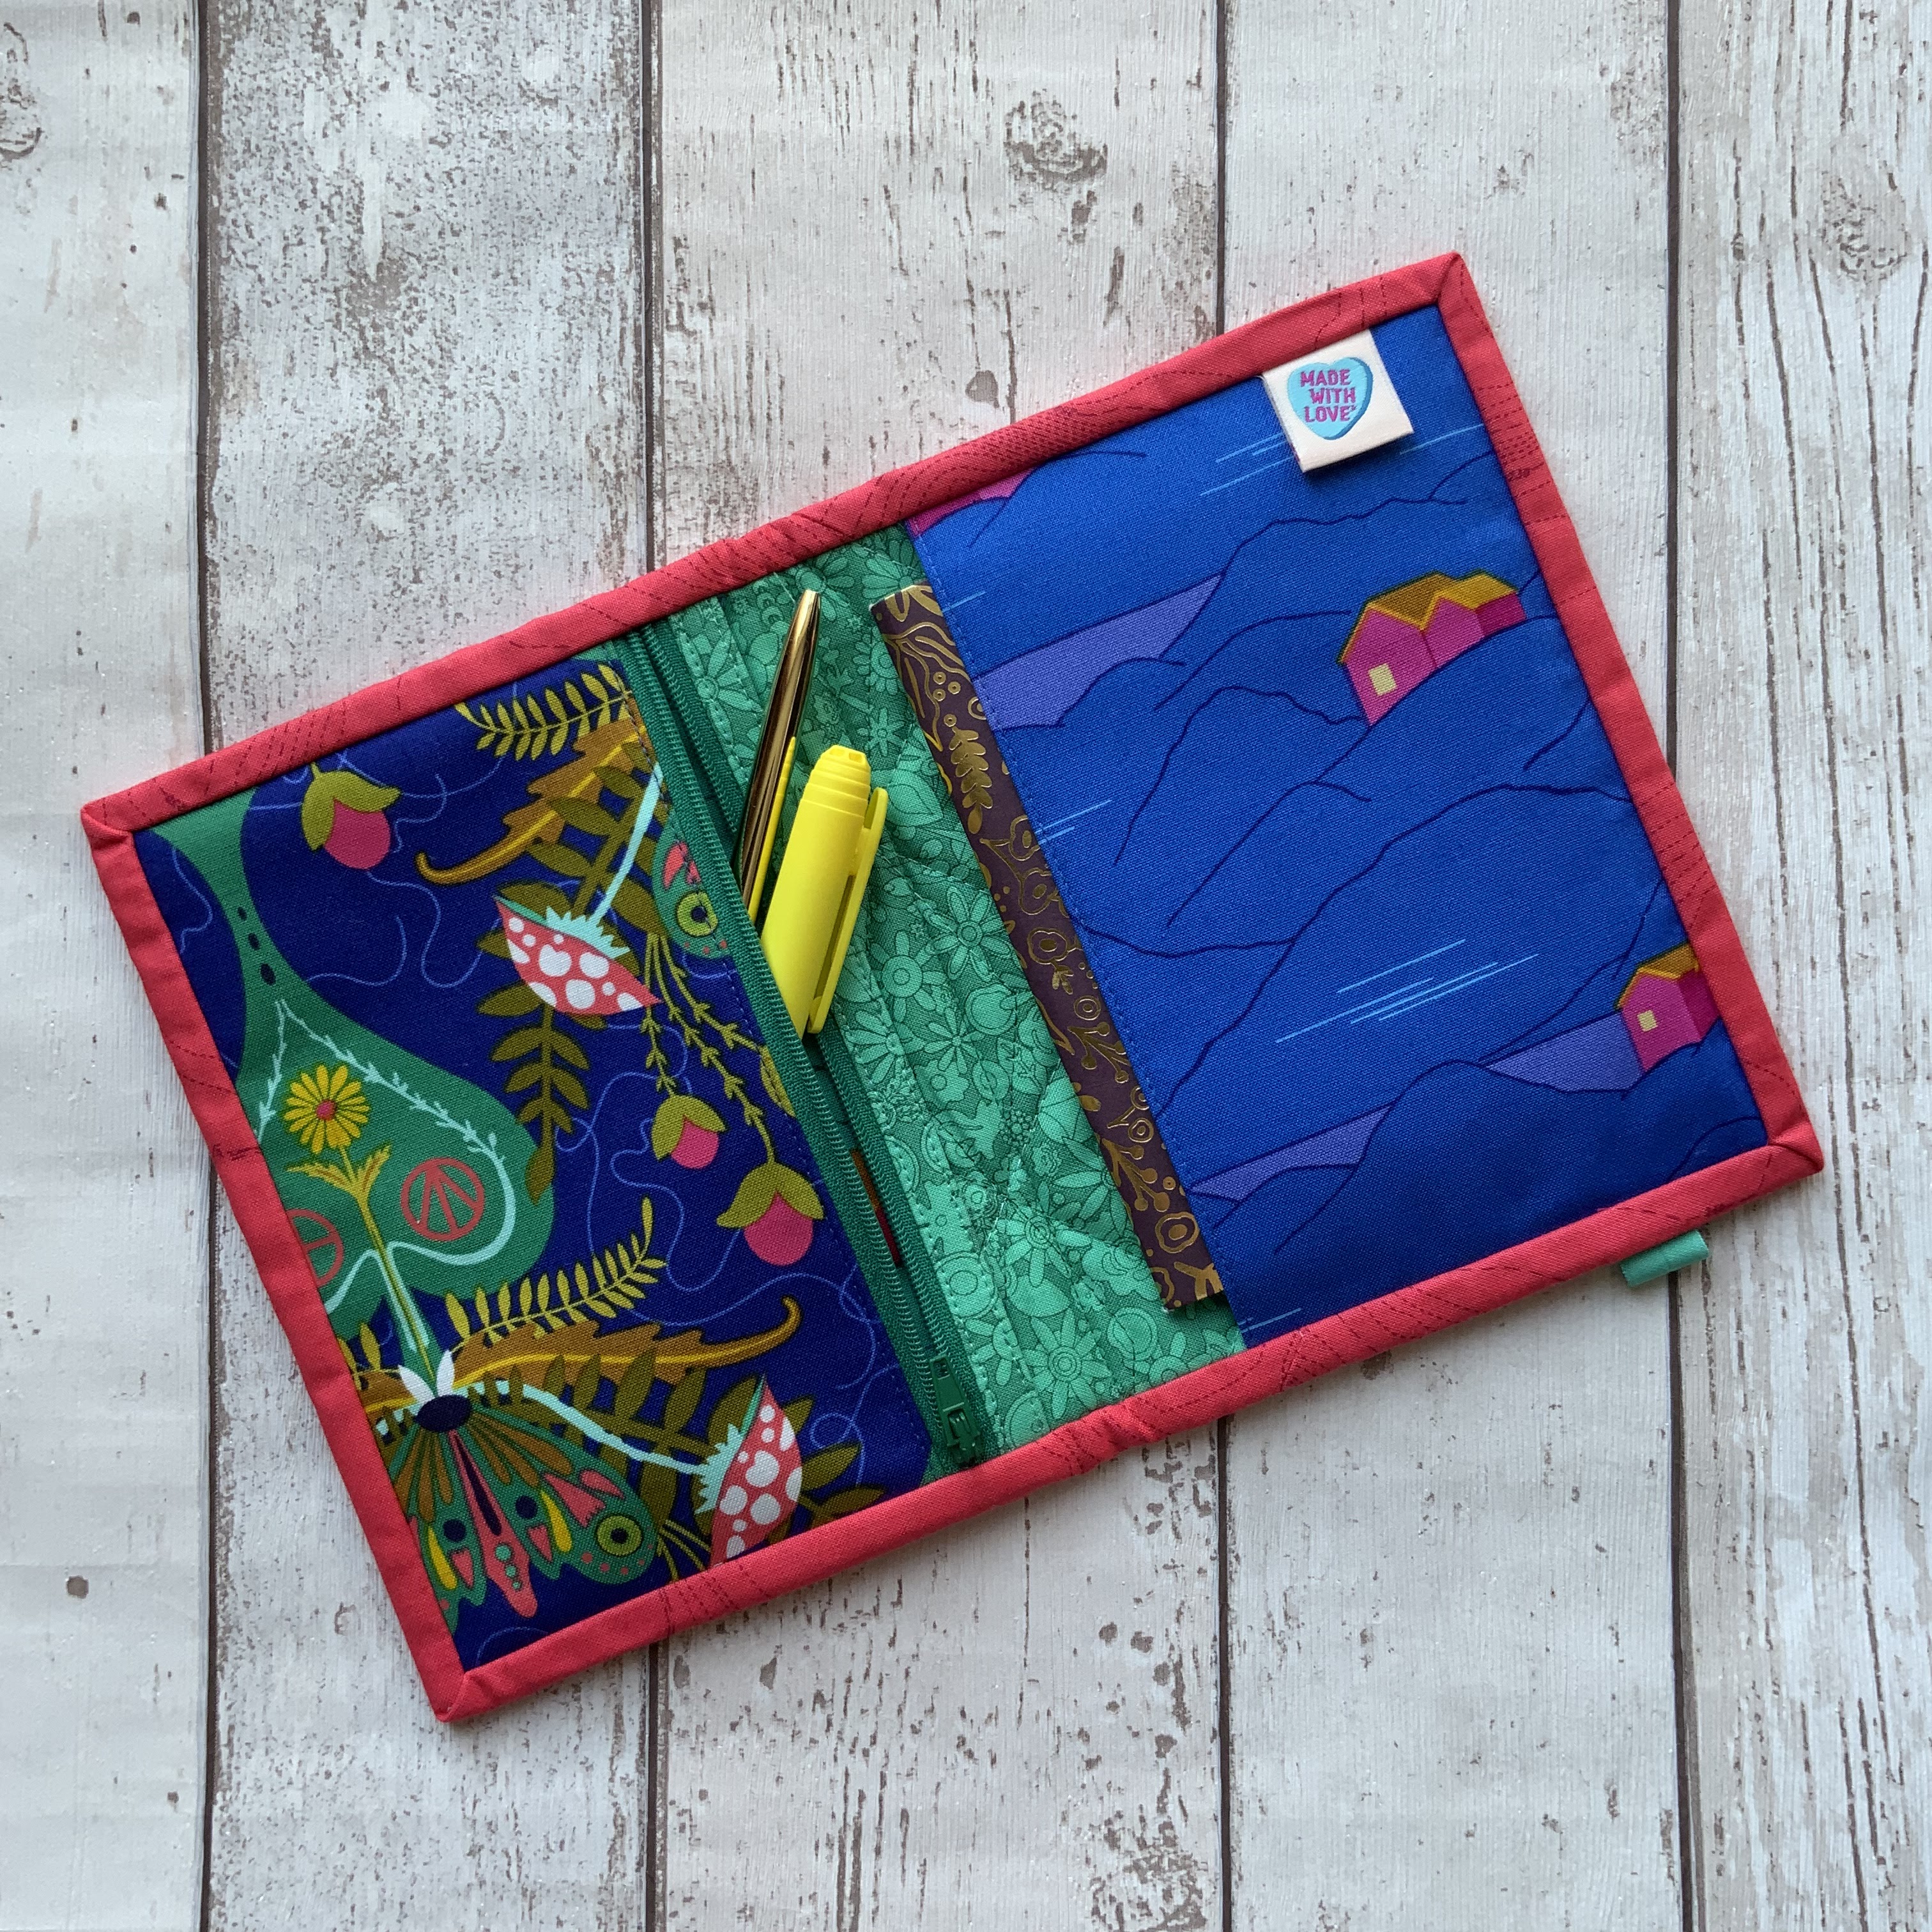
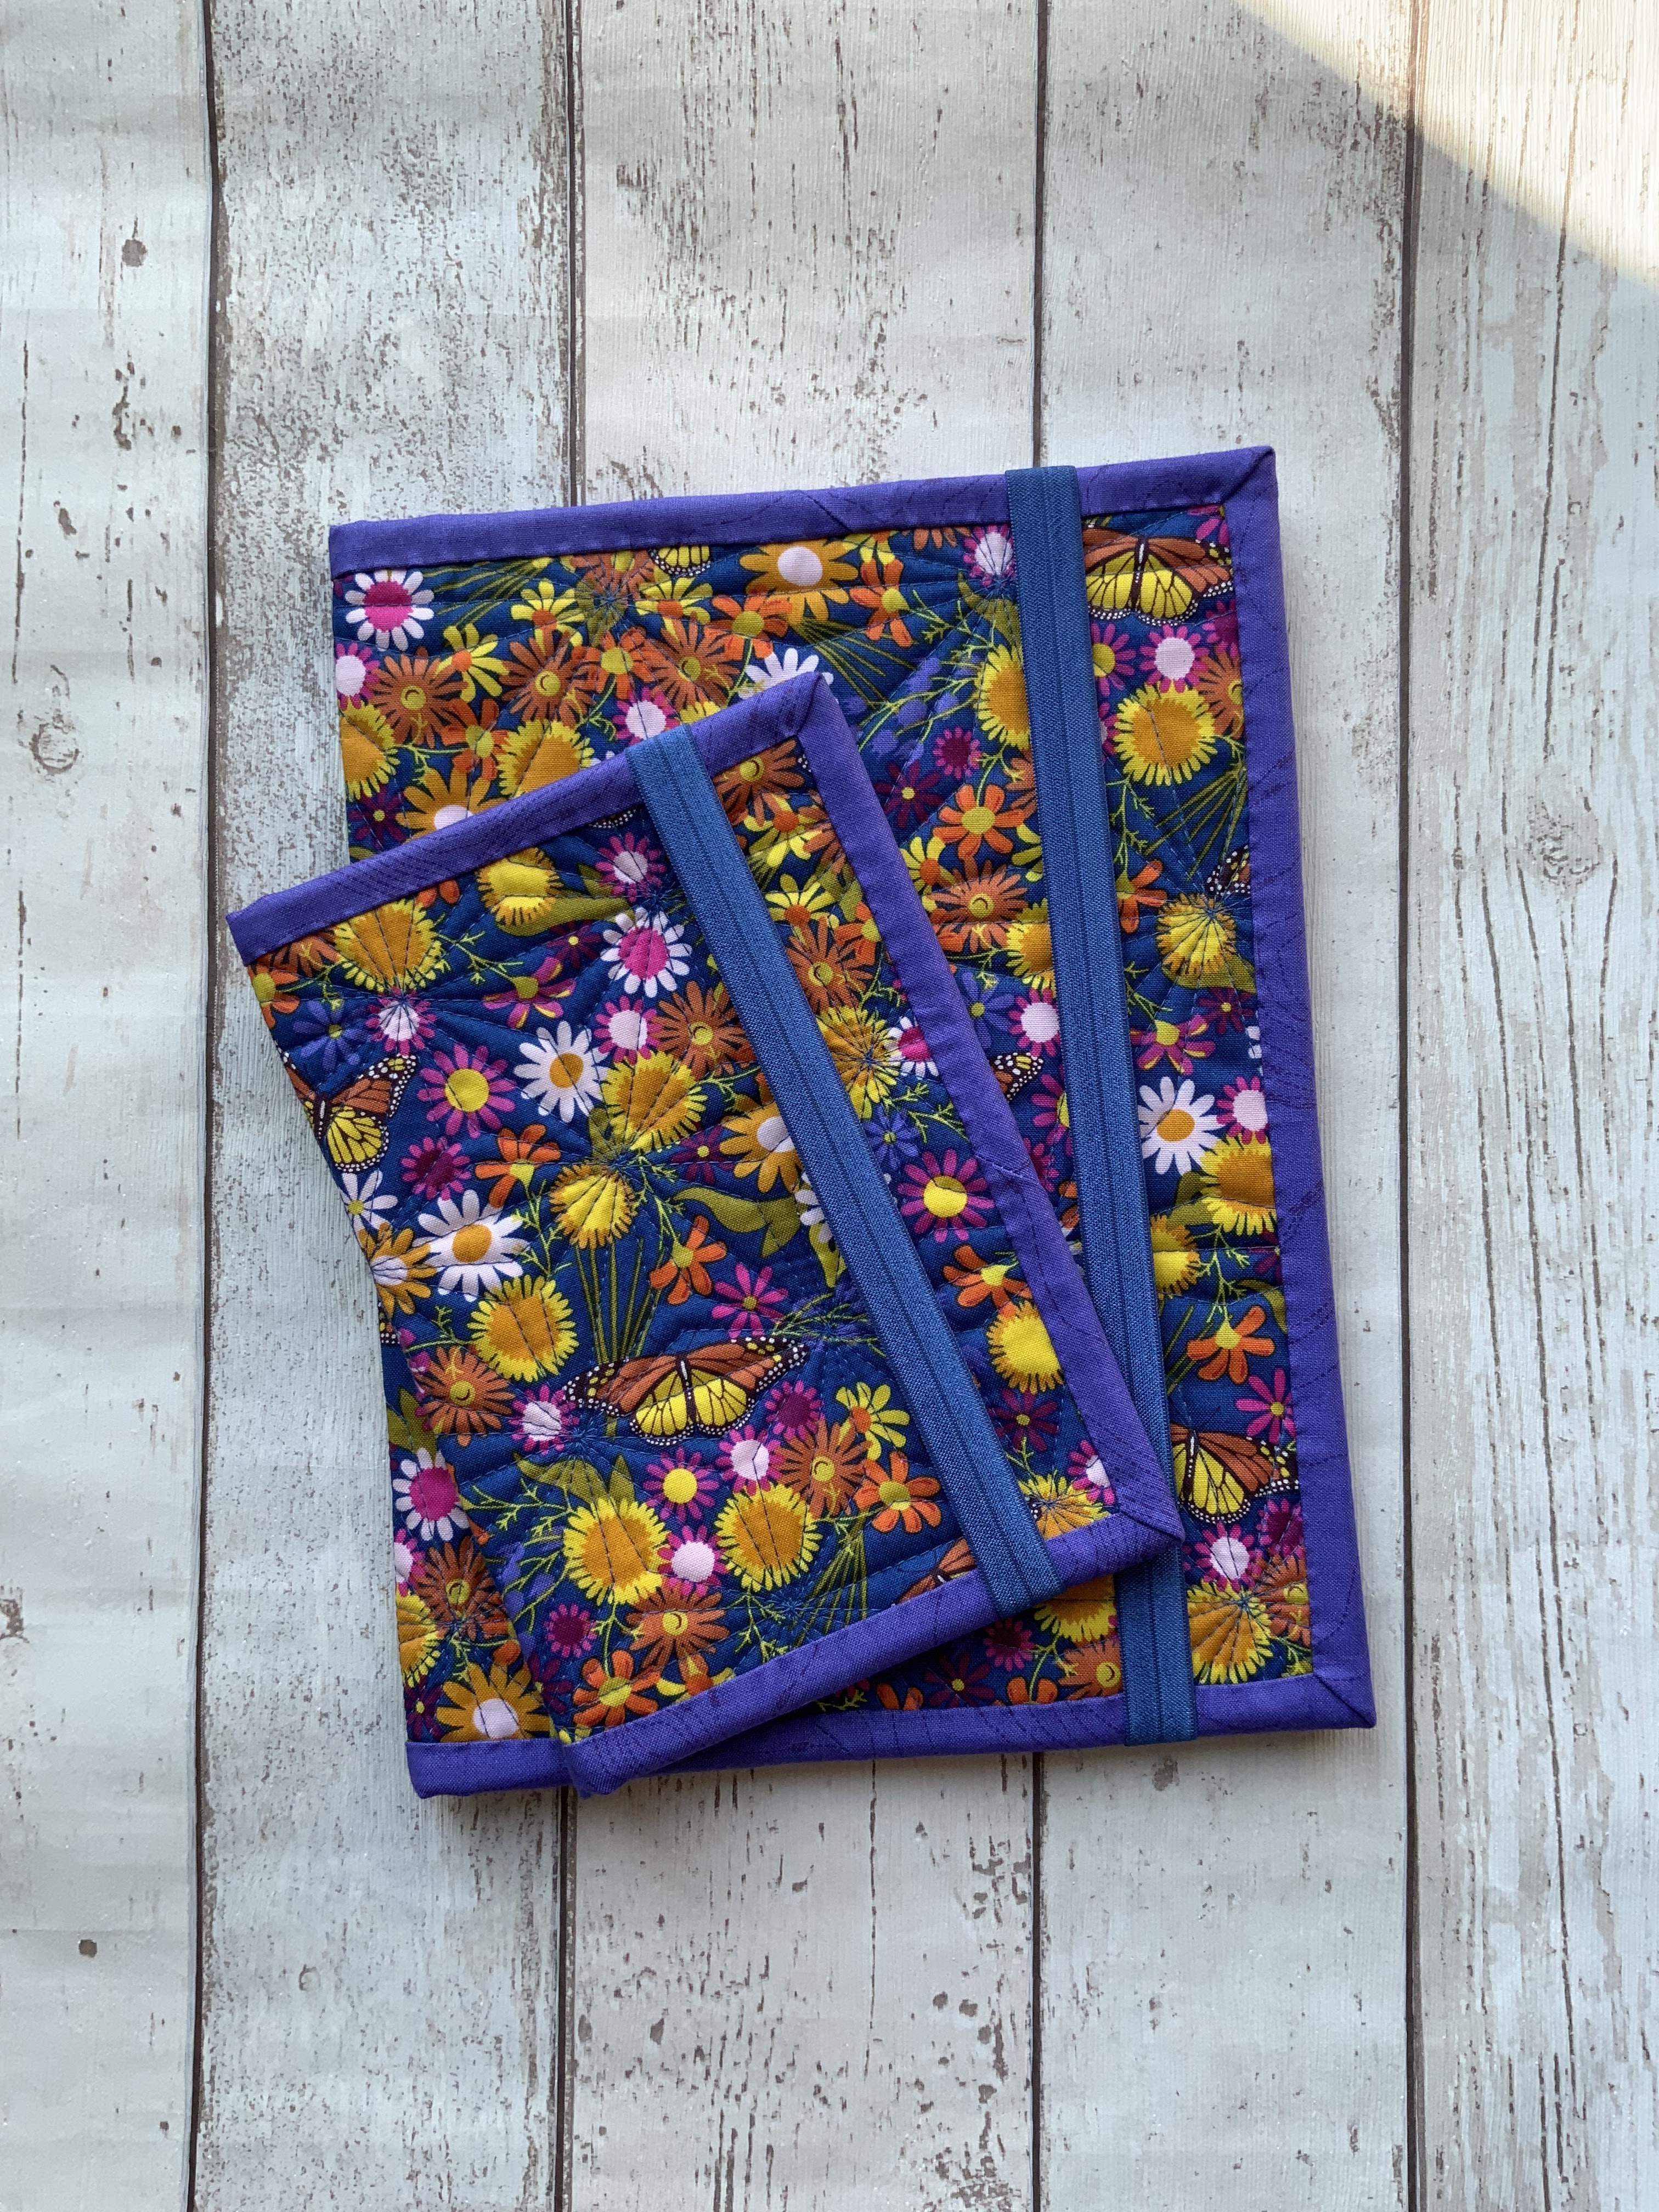
I was so excited to receive my first sew hot brand rep parcel this month. I was sent the new Alison Glass ‘Wildflower’ fabric range. I must admit I was a little unsure about some prints in the collection, however my sister liked them. So I decided to split the collection into two fabric pulls and make us both some pouches.


My sister hasn’t got a maxi travel sewing case yet, so I thought it was time I made her one. Of course, I wanted to make her a mini travel sewing case too. My sister said she wasn’t doing as much sewing lately but could use a pouch for her tablet, notepad and stationary for uni. I had to make the maxi travel sewing case, 1” taller to accommodate her Samsung tablet. I split the top slip pocket into 3 sections. I used foam instead of my usual batting and interfacing selection. I thought it would give her tablet a bit more protection. I was also interested to see how it would turn out, it is lovely in my opinion, and I would definitely try it again. I also switched out the ribbon for elastic on the mini case. I have done this with a couple of my cases and it makes it very user friendly. 

I took inspiration for the quilting from the walk book by jacquie gering.  I have both of the walking foot quilting books and find them so useful. I actually scaled down the design for the smaller pouches as I felt it would work better to see more of the design. I definitely aren’t confident enough at quilting to do a full quilt but I think doing these small projects is building my skills and confidence. The quilting definitely popped more on the foam and the variegated thread adds interest, so I am very happy with that. 

For my fabric selection, I decided I might as well make myself another maxi and mini travel case set. I have made several and use them all. I think I might not use this set for sewing too, so I didn’t add the needle keeper felt. I am thinking of the maxi for stationary and the mini for in my handbag. I think it will work well for those little bits I always have in my bag, like plasters, tablets, lip balm and tissues etc, only time will tell though. 

Overall I am very happy with how all the cases look in the end and we are both looking forward to using them. I am also very excited to receive my next brand rep parcel, of course I will come back and blog about that one too. 
More photos of this and my other makes are over on Instagram @craftylilmouse if you fancy having a look. 
Mx

Pattern used are the #maxitravelsewingcase & #minitravelsewingcase available to buy in my Etsy store here.
Fabric used are Alison Glass 'wildflower' collection, supplied by Sew Hot.
Other supplies used:
Aurifil 50wt Threads: 2235,4662,2730,2530,1148,2235,2730,2135,2535&1243.
Fold over elastic
Vilene Interfacing F220.
Vlieseline sew in bag foam 


Saturday, 1 October 2022

hair bow


I saw this cute hair bow idea on pinterest and decided to make my own. I followed a tutorial and found the shape bulky in the centre, so I decided to change the pattern and make my own to share with you. I have photographed the three main stages below and you can see the end result, once tied, above. At the bottom of this post is a printable instruction sheet including the template to make your own.


Mx

Sunday, 8 August 2021

My wheel chair cover


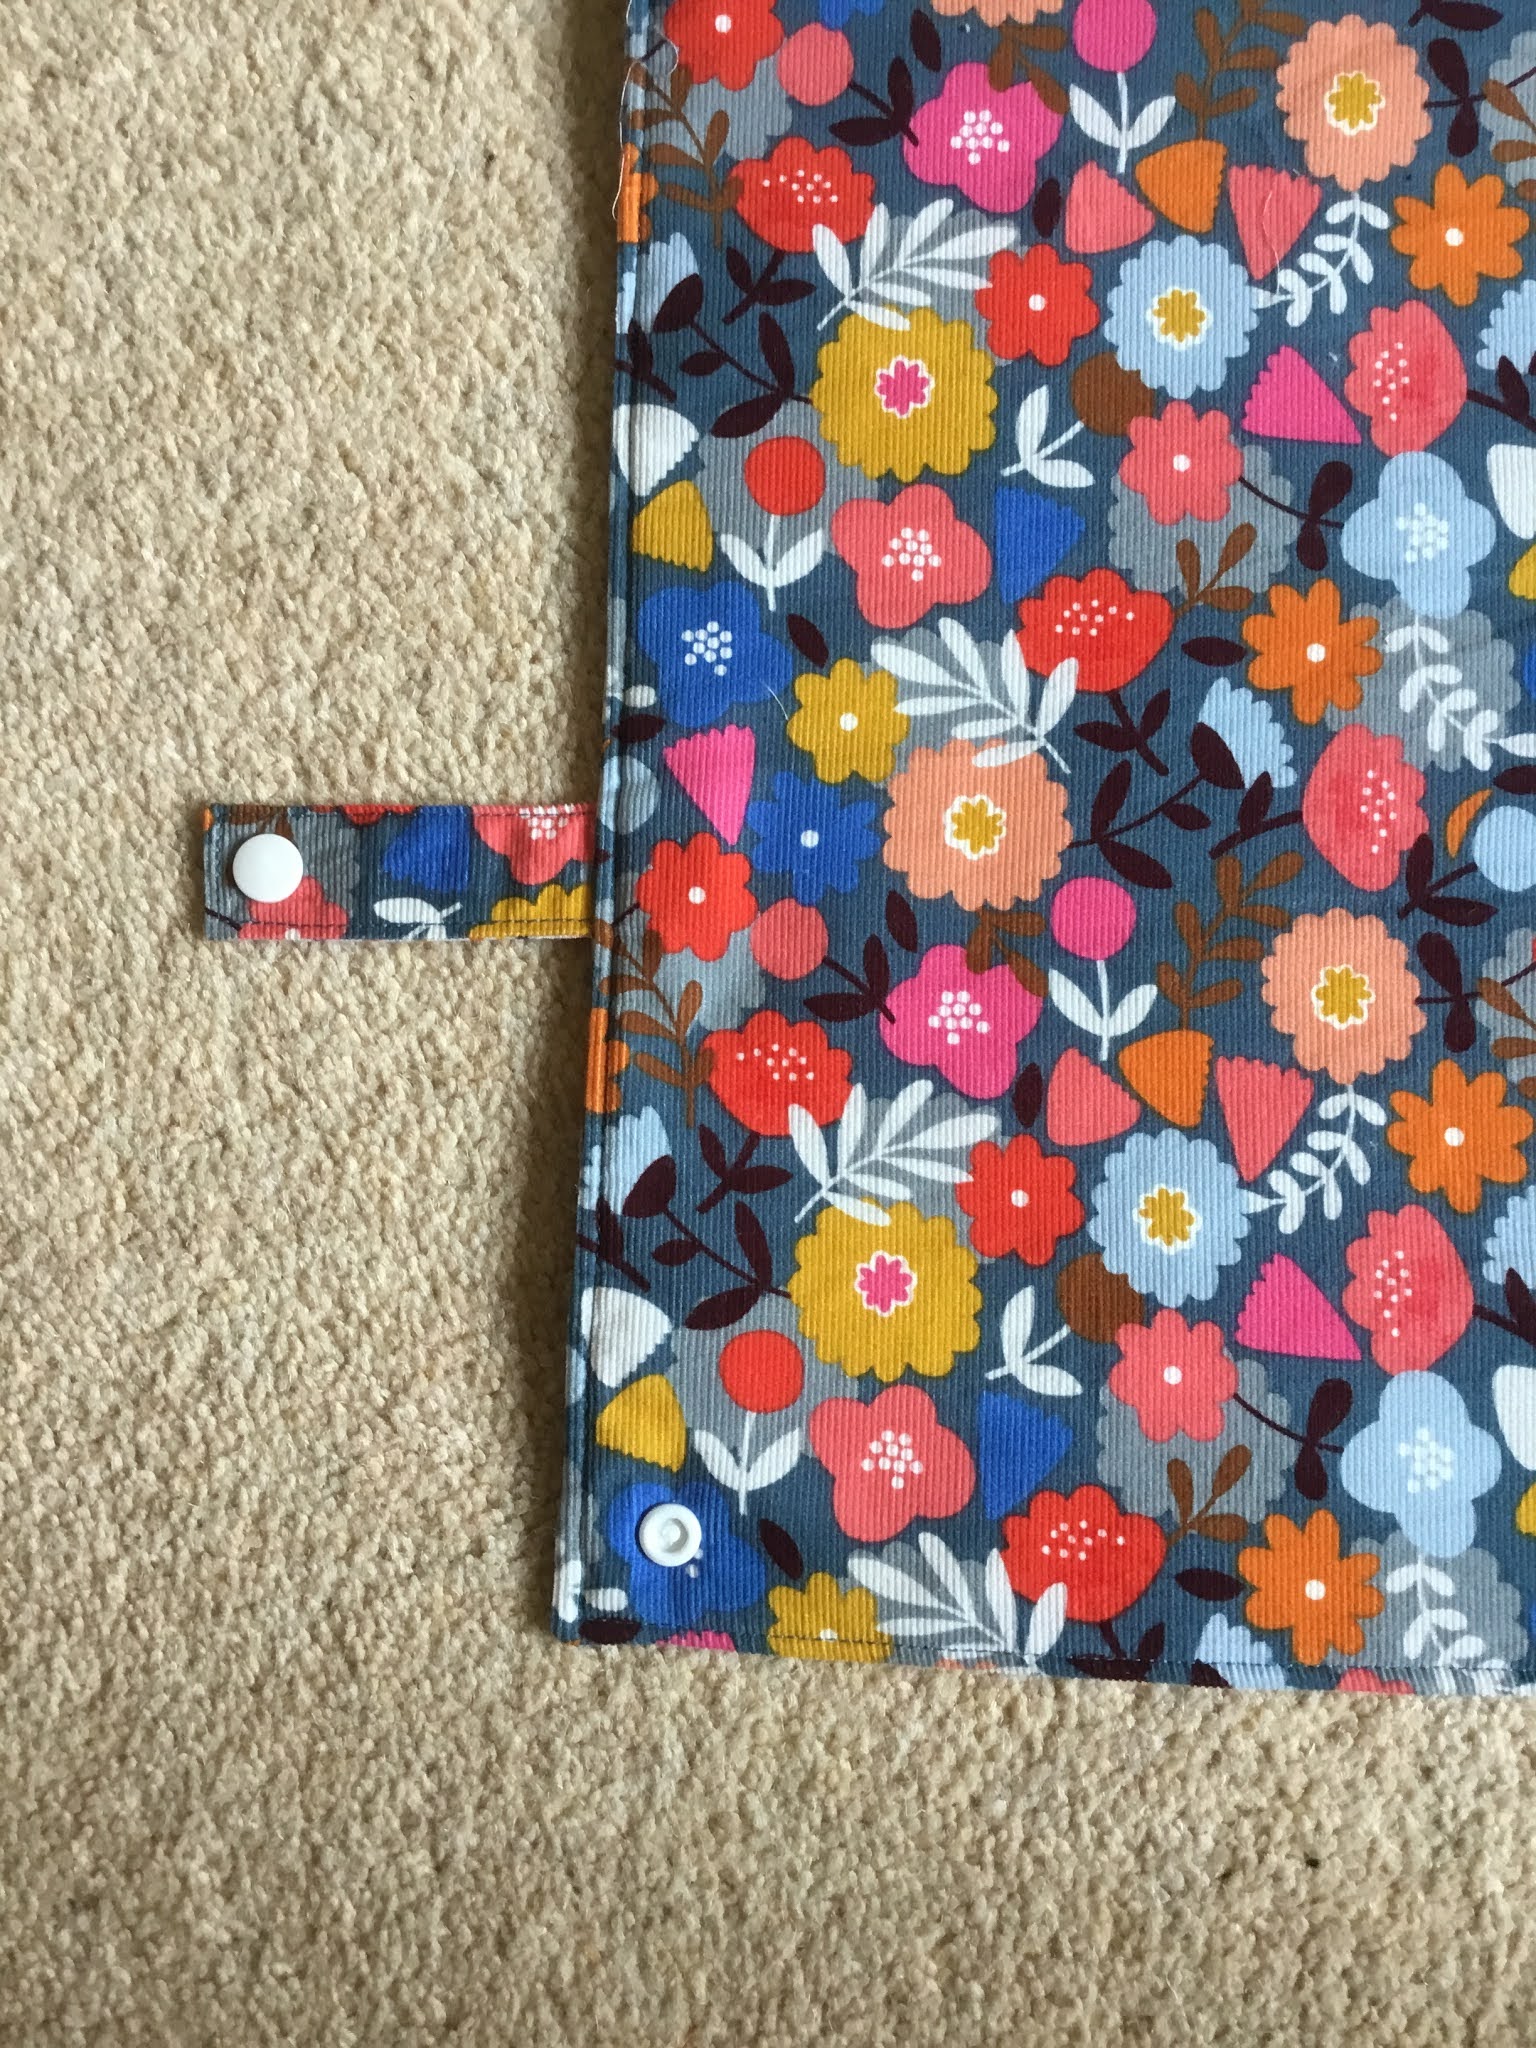
So I recently bought a wheel chair for myself. It took a bit of shopping around and trying different ones to find the best fit. I went for the excel G Logic (18" standard seat) in the end. However it came with a bright orange and black seat (other colours are usually available). Of course there is nothing wrong with this, but it isn't really my style, so I wanted to make a cover for it. I knew I needed to make it removable for washing so I used snap fastenings as they are quick and easy. I also wanted it reversible to be able to change the look, but also if I spilled anything, it can be quickly flipped until washing. I picked out a lovely patterned piece of cord fabric for the front, hopefully for some durability, and a cotton which I quilted for the reverse.  I will say the cord is totally not necessary and cotton for both sides would work just as well, you could also try a canvas or denim. 


I didn't take any photos during construction, so this can't be an in depth tutorial unfortunately. However these are the measurements and some instructions, which you might find useful I you want to make one. I will say not all wheel chairs are one size so unless you have the excel G logic, you will have to tweak them a bit. The main thing would be to measure the width of your seat and use a tape measure to check if you need to add to the length, making sure it folds over at the top and under at the front, remembering to add seam allowance too.


Measurements (HxW) :

main panel- 2@ 40 1/2" x 18 3/4" (plus 1x batting and 2x interfacing)

tab 1- 4@ 3" x 1 3/4" (plus 2x interfacing)

tab 2- 4@ 3" x 2 1/4" (plus 2x interfacing)

tab 3- 4@ 1 1/2" x 3" (plus 2x interfacing)

5 sets of kam snaps 

Instructions :

  1.  Cut out the 2 main panels. For the first one add interfacing to the wrong side of the fabric. For the second piece of fabric, place wrong side to the batting and then add interfacing to the other side of the batting. Use a longer stitch length to quilt and hold all 3 layers together (for this side I cut the fabric bigger than needed then trimmed back after quilting).
  2. Next make the 6 tabs. Interface the fabric then place 2 pieces right sides together. Sew 3 sides (leaving one Height side) , using a 1/4" seam allowance. Turn out through the unsewn edge, press and top stitch for a neat finish. 
  3. Baste the tabs in place, with the raw/unsewn edge at the outer edge of the main panel. If you are using a different fabric for each side, check the matching fabric is right sides together. Tab 1 should be placed 3/4" from the top edge of the main panel. Tab 2 should be 5 1/4" down from the top edge. There should be 2" between tabs 1 and 2. Tab 3 should be 5" up from the bottom of the main panel. I would recommend placing on the chair, to check your happy with placement before doing the next step. 
  4. Place one of the main panels right sides together with the other main panel that has all 6 tabs basted in place. Sew all the way around the edge, using a 1/4" seam allowance. Remembering to leave a turning gap at the bottom.
  5. Once sewn together, turn out through the gap. Press and hand stitch up the turning gap. Don't worry if its not too neat, as it will not be seen easily under the wheel chair. Top stitch all the way around the edge for a neat finish, remembering to keep the tabs out of the way of this stitch line.
  6. Add the snaps in place. You may wish to put it on your chair to check and mark placement of your snaps. The bottom snaps that go with tab 3 are placed through the main panel 3/4" in from the bottom corner.  
  7. Finally fasten the cover in to the wheel chair and crease where the back of the seat meets the base. Use a hera marker or pins to mark the line, then top stitch along it. This is not necessary although does make the cover sit in place better.
The full cover laid flat.

Tab 3 and snap on main panel.

Tab 1 & 2 on main panel.

I hope these instructions and few photos make it understandable and will be useful if you are wanting to make one yourself.
Mx 

Friday, 11 December 2020

christmas gift cushion

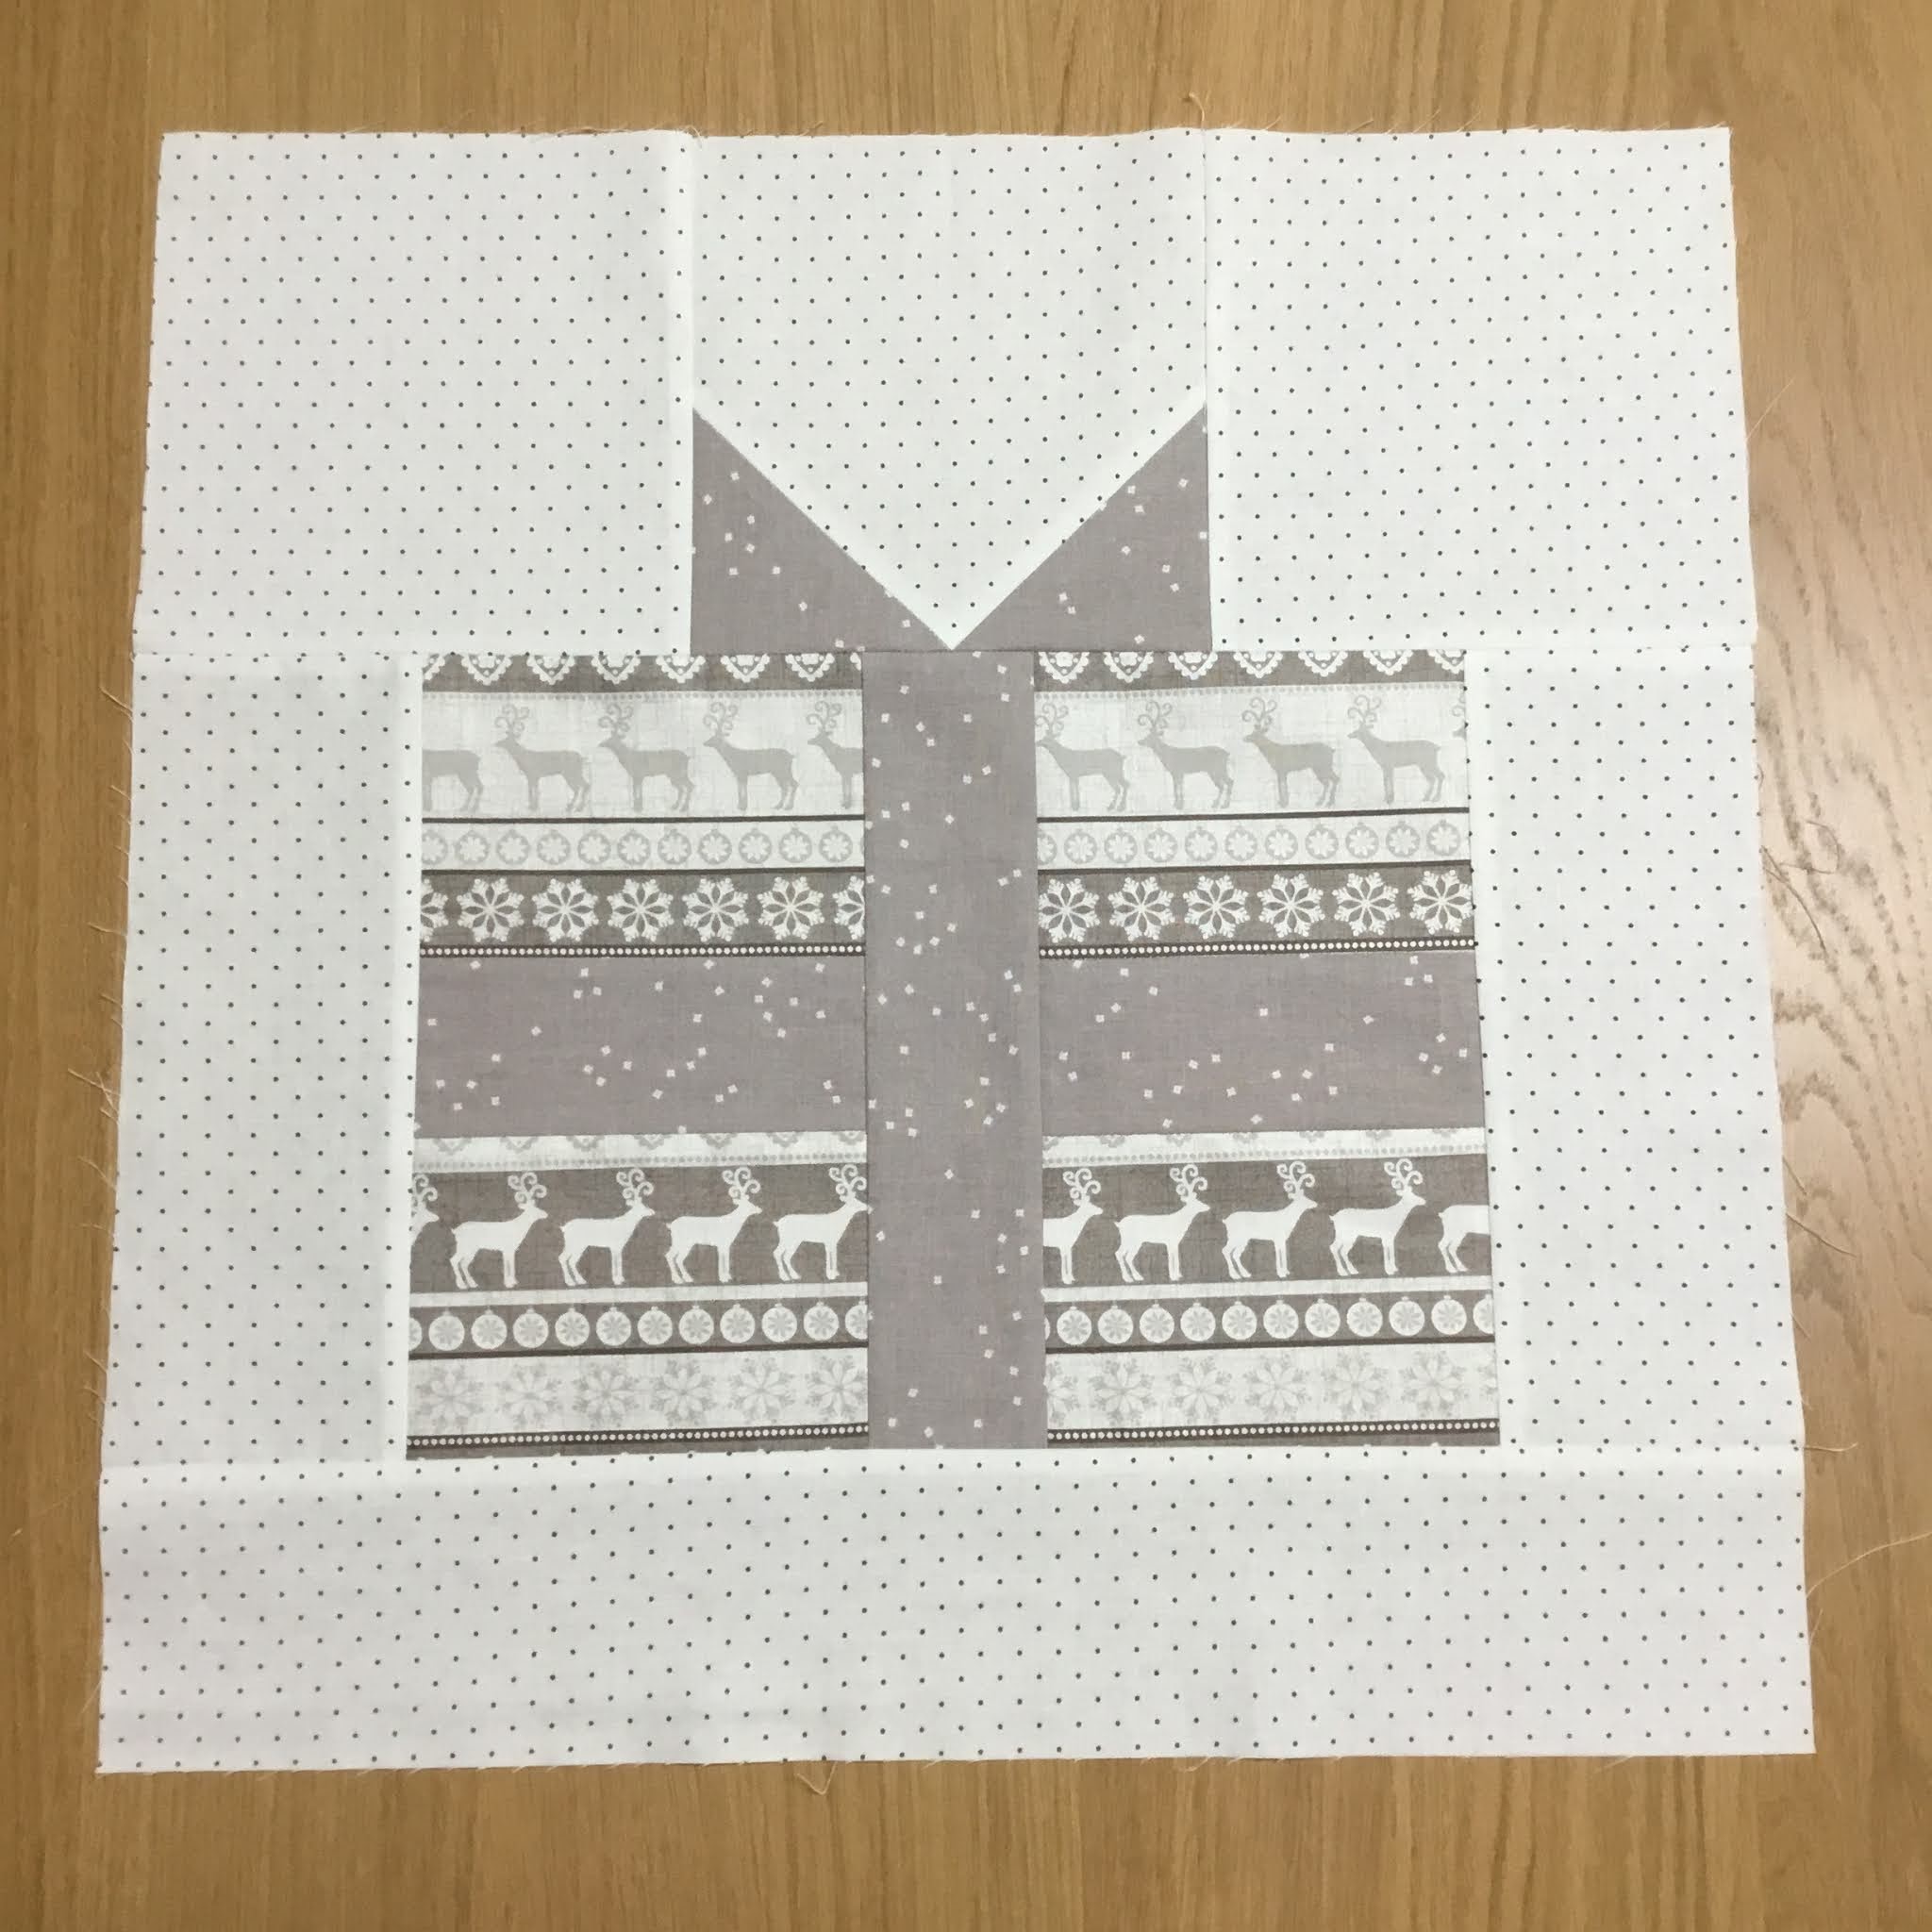
 There are so many present style patchworks about and most are free. However they weren't quite the right size and had extra seams... so I made my own and thought I'd share it here with you.

It is really simple patchwork and easy for a beginner, (an advanced stitcher will have it made in no time!)

So here we go... all measurements are height x width. Seam allowances are 1/4" unless otherwise stated. The finished cushion is 17" square, although larger borders could be added to make it bigger.

Background: cut 3@ 6 1/2" x 6 1/2"

                 2@ 9 1/2" x 3 1/2"

                 1@ 3 1/2" x 18 1/2"

Ribbon: cut 2@ 3 1/2" x 3 1/2"

            1@ 2 1/2" x 11"

            1@ 9 1/2" x 2 1/2"

Present: cut 1@ 8" x 11"


To assemble:


1.  Take a 3 1/2" ribbon square, on the wrong side of fabric draw a diagonal line from corner to corner. Place it on top of one of the 6 1/2" background pieces, right side together, and sew on the line across the corner.
2. Trim away the corner to leave a 1/4" seam allowance. 
3&4. Press seam open. Repeat for the other bottom corner.


5. Sew a 6 1/2" background square to both sides of the finished block, using a 1/4" seam allowance. Press seams away from the center.


6. Cut the present fabric in half horizontally. Place the matching ribbon piece in the middle and sew. Press seams open.

7. After stitching the ribbon, cut in half vertically this time. Add the next ribbon piece in the same way, this time press the seams in towards the centre. It will look like this...


8.  Place the 9 1/2" x 3 1/2" background pieces right side together on each side of the present. Press seams away from the centre.

 
9. Once you have the present section all sewn, add the ribbon section to the top. Press this seam open. Then add the remaining background piece to the bottom, press seam away from the centre, to complete the block.


This is what the back will look like.


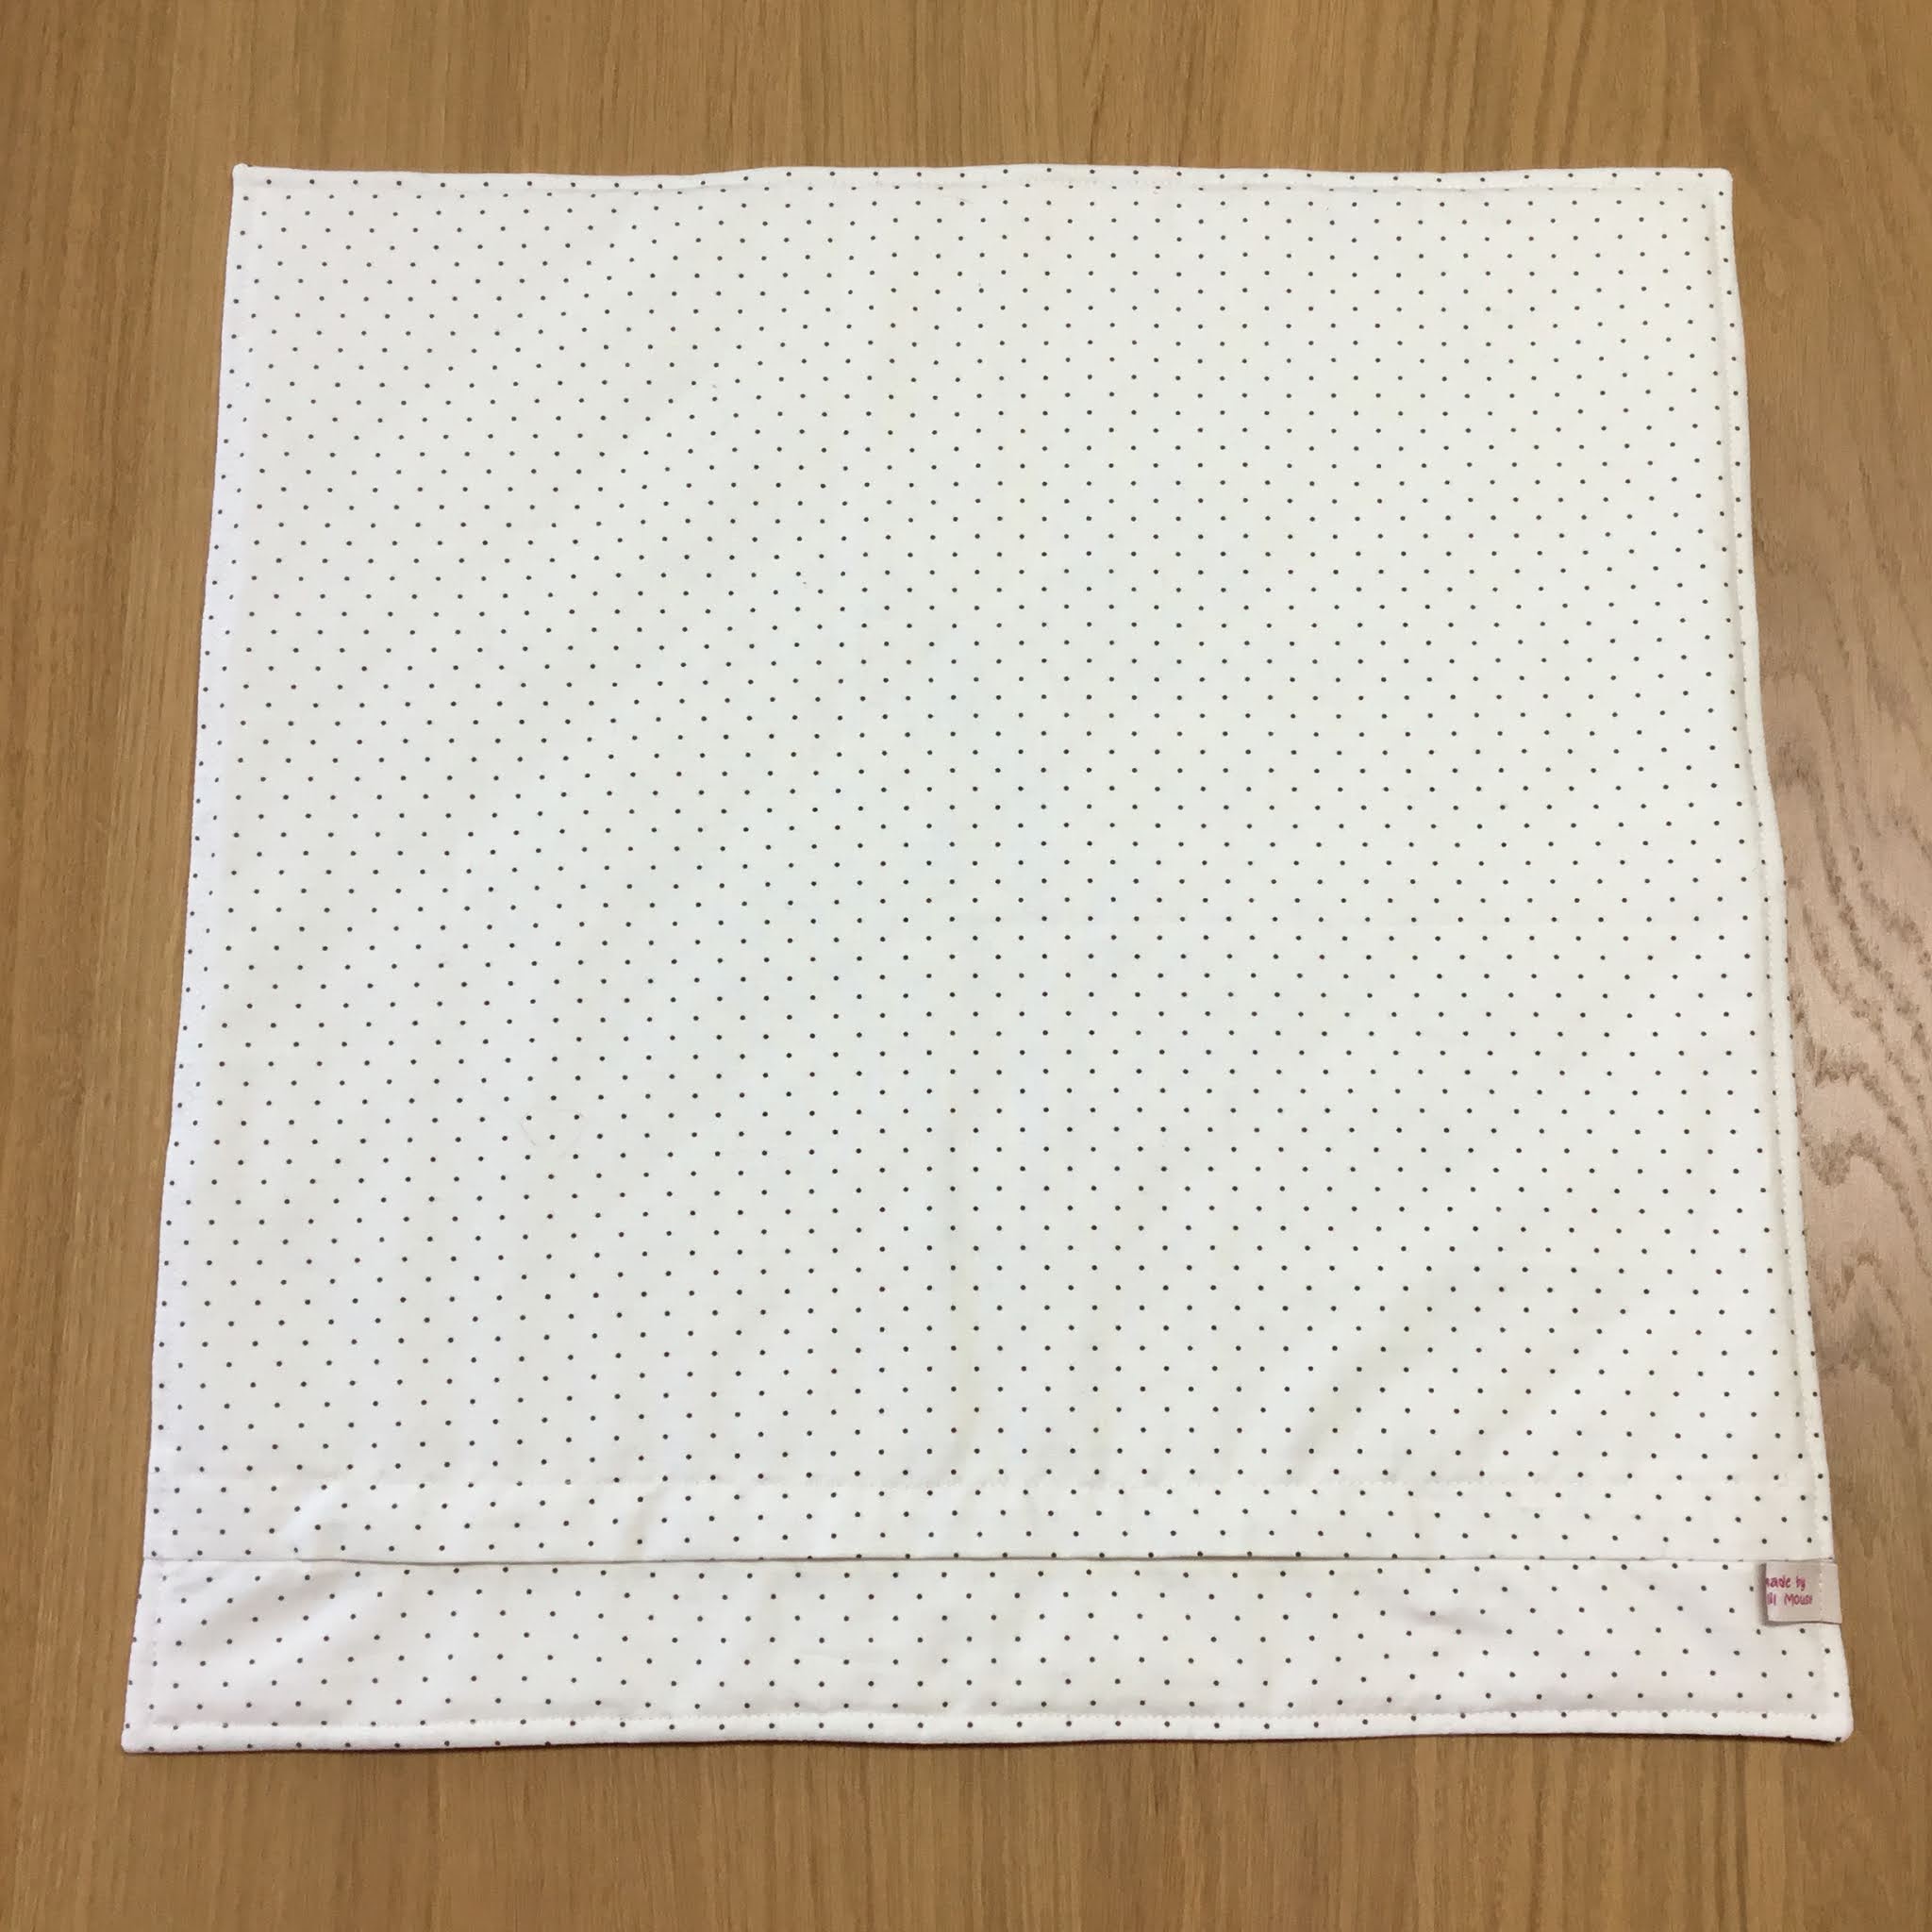
To finished my cushion, I quilted using a 2" grid on the diagonal. I made a cushion back using my method (find the tutorial here). To keep it simple I didn't add binding this time, choosing the turn it through method and adding a top stitch 1/4" in from the edge.


 I hope you liked the tutorial and I would love to see your finished projects too. Please tag me on social media @craftylilmouse and use the #craftylilmousepatterns
Mx


Saturday, 18 July 2020

My #100daysusingcottonandsteel project finished!

Let’s face it my #100dayproject2020 did not go entirely to plan. There's some projects on my list I intended to do and didn't, some I actually finished and a few I started, but are still in progress. So here's a run down of the projects I made...

The postage style quilt- I was super pleased to get it slightly bigger than I expected at 84 inches square. This was 441 4” squares in the end! I chose a quilting design that needs custom quilting by a long armer and there was quite a wait list, so it will be a while before I get it back to bind and finish. We will all just have to wait a while for those photos, but here is the finished top before the quilting!

The scrappy triangle cushion- this was finished early in the project. I pieced and then hand quilted it. I am super happy with how it looks and it's now in full use in the lounge. Tutorial blog for that is here!

Patchwork tote- well this was worked on a little in the middle of the 100 days but left until the last push to actually finish. I went with using only melody miller designed fabrics in the end and love the way it turned out.

Pin badge banner- made for my sisters birthday. I have been wanting to make one for ages, so I’m pleased I have made one now. I added a rainbow panel to the top for some fun colour. I also made her a key ring with the perfect selvage too!

A rainbow jelly roll quilt- so technically I didn’t use a jelly roll at all, which would have made it so much easier. Anyways, I am so happy with my new quilt. You can see and read more about it here including where to get the free pattern to make your own!

Selvedge cushions- I always wanted to use the fun selvedges from my stash but I wasn’t sure what for exactly. I took inspiration from a quilt a lady was making on instagram. I didn’t have any where near enough for a quilt, so I made a pair of cushions instead. They look so fun with my quilts and other cushion in the lounge.

I made 2 pouches- one to join in with a sew along, (although I didn’t like the original size so changed everything.) I made another where I supersized the idea to be a pencil case, again using all my own measurements and a different construction method to make it work.

A fabric bookmark using a few scraps, which I was going to give away but ended up keeping in the end... I did gift something else instead !!

I also made a few smaller projects: a #weeboxybasket (pattern by sweet cinnamon roses), 2 key rings using selvedges, which feature the fun text and prints to make them extra special for myself and mum and a simple hair ribbon, made using lawn fabric for extra softness.

It wasn't just me using my cotton and steel stash in the 100 days... My mum used my mini travel pinnie pattern (available in my Etsy store here) to make a gift for my sister.
My sister is also in the middle of using my stash to make herself a quilt too! I didn’t take photos to share but I finished cutting out my entire ice cream soda Epp quilt. I also cut out and have started a triangle quilt, more will be shared for that soon, hopefully. I also used some stash doing a giveaway of 70 precut hexies. 

So overall during the project I might not have finished everything but I feel like I got a lot made so I’m happy with that. I did however end up purchasing a few bits, mainly large cuts for backings and a few basics. This definitely wasn’t helpful in reducing my stash. In fact even though I have made so many things, including cutting out 5 quilts, I still don’t look to have used much!
I learnt I actually like doing my other hobbies still and miss them if I give something else too much attention. I also feel a little lost now my challenge is over and my focus has been removed.
I think going forward I need to set smaller goals to get the sense of achievement, but definitely make time for other activities I enjoy too. 
Mx

Tuesday, 14 July 2020

My rainbow jelly quilt!


I saw this rainbow jelly roll quilt pattern, designed by ruby star society, on Instagram. Ruby star society hosted a quilt along and I was so desperate to take part. Unfortunately I had too many projects started already, but I couldn’t resist any longer, especially since it is a free download from the moda fabrics website here. 

Technically I didn’t use a jelly roll at all, which would have made it so much easier. Instead I stuck with my 100 days using cotton and steel project and used some of my stashed cotton and steel prints. My sister helped me raid my stash and find the fabrics that were long enough. We then put them into block combinations with little ombré colour groups and cut the strips to size. It took a while to cut out but it was worth the extra effort. I also made more work for myself by making 2 extra blocks (20 more stripes) to make the finished quilt longer. Luckily, I wasn’t too difficult to piece together although the blocks are quite large and I wish my quilting ruler was longer for the sub cutting! I'm pleased I made it bigger though as it definitely makes it a more useable size for us as a family. 


We had a nice bit of sunshine when I finished the top so I managed to get photo in the garden before it was sent away to be quilted. I sent it away to Cath at Cumbria long arm quilting for some of her magic. Although the quilt wasn't huge, I didn't really fancy quilting it myself and I love the swirl design we picked for the quilting. The swirls are much more decorative than I could do and think they work lovely with the patchwork. Cath attached the binding to the front and I sat with a few films to hand stitch the binding to the back. 


I am so pleased with my final quilt and it is on the sofa with my catty corner quilt, looking great together!

Mx

Sunday, 26 April 2020

scrappy triangle cushion

I made this cushion using my cotton + steel fabrics as part of my #100dayproject on Instagram. I grouped the fabrics into colour families and pieced half square triangles around a central economy block to create the design. The cushion finishes up at 18". If you would like to make your own, here's how to do it …


To create the patchwork, you will need to cut: 

1 blue square @ 4 3/4"

4 yellow triangles
8 navy triangles
20 cream triangles
20 pink triangles
12 peach triangles
4 teal triangles

 For the half square triangles, I use the easy angle ruler and cut to a 3 1/2". If you don't have this ruler, cut squares at 3 7/8th" and split on the 45 degree angle. 


For the economy block, position the first two triangles opposite each other, RST onto the central square. Align along the outer edges, pin and sew. Press open, then repeat for the remaining two sides as seen above. Trim the finished block to a square (this should be 6 1/2"). 


 To construct the half square triangle blocks, place two triangles RST, pin and sew along the long edge. Press open and trim to a square, removing the dog ears on the corners. Ensure all of the half square triangle blocks are the same size (this should be 3 1/2"). 


To put the cushion top together, I like to lay out all of my cut pieces to check I'm happy with the layout. I then stitch the centre block, followed by the surrounding half square triangles. I like to chain piece, so I prep all of the blocks and then stitch and press in stages. To join the blocks, I group into 4 patches around the centre, then piece together as shown above. 


I chose to hand quilt the top to highlight the diamonds created by the colours. I used aurifil 12WT and echo quilted, using a large quilting hoop to help with the tension as I stitched. Of course, you could machine quilt if your preferred. 


To finish the cushion, I created a concealed zip back (tutorial post here) and bound the edges with 2 1/4" binding (binding tutorial post here) for a neat finish to coordinate with my catty corner quilt (see here).


I'm pretty pleased with how this turned out and Millie approves too. I hope this blog helps you to create your own version. Of course, you can switch around the colour schemes for completely different looks to make use of your fabric scraps. 

Mx