
So I recently bought a wheel chair for myself. It took a bit of shopping around and trying different ones to find the best fit. I went for the excel G Logic (18" standard seat) in the end. However it came with a bright orange and black seat (other colours are usually available). Of course there is nothing wrong with this, but it isn't really my style, so I wanted to make a cover for it. I knew I needed to make it removable for washing so I used snap fastenings as they are quick and easy. I also wanted it reversible to be able to change the look, but also if I spilled anything, it can be quickly flipped until washing. I picked out a lovely patterned piece of cord fabric for the front, hopefully for some durability, and a cotton which I quilted for the reverse. I will say the cord is totally not necessary and cotton for both sides would work just as well, you could also try a canvas or denim.


Measurements (HxW) :
main panel- 2@ 40 1/2" x 18 3/4" (plus 1x batting and 2x interfacing)
tab 1- 4@ 3" x 1 3/4" (plus 2x interfacing)
tab 2- 4@ 3" x 2 1/4" (plus 2x interfacing)
tab 3- 4@ 1 1/2" x 3" (plus 2x interfacing)
5 sets of kam snaps
Instructions :
- Cut out the 2 main panels. For the first one add interfacing to the wrong side of the fabric. For the second piece of fabric, place wrong side to the batting and then add interfacing to the other side of the batting. Use a longer stitch length to quilt and hold all 3 layers together (for this side I cut the fabric bigger than needed then trimmed back after quilting).
- Next make the 6 tabs. Interface the fabric then place 2 pieces right sides together. Sew 3 sides (leaving one Height side) , using a 1/4" seam allowance. Turn out through the unsewn edge, press and top stitch for a neat finish.
- Baste the tabs in place, with the raw/unsewn edge at the outer edge of the main panel. If you are using a different fabric for each side, check the matching fabric is right sides together. Tab 1 should be placed 3/4" from the top edge of the main panel. Tab 2 should be 5 1/4" down from the top edge. There should be 2" between tabs 1 and 2. Tab 3 should be 5" up from the bottom of the main panel. I would recommend placing on the chair, to check your happy with placement before doing the next step.
- Place one of the main panels right sides together with the other main panel that has all 6 tabs basted in place. Sew all the way around the edge, using a 1/4" seam allowance. Remembering to leave a turning gap at the bottom.
- Once sewn together, turn out through the gap. Press and hand stitch up the turning gap. Don't worry if its not too neat, as it will not be seen easily under the wheel chair. Top stitch all the way around the edge for a neat finish, remembering to keep the tabs out of the way of this stitch line.
- Add the snaps in place. You may wish to put it on your chair to check and mark placement of your snaps. The bottom snaps that go with tab 3 are placed through the main panel 3/4" in from the bottom corner.
- Finally fasten the cover in to the wheel chair and crease where the back of the seat meets the base. Use a hera marker or pins to mark the line, then top stitch along it. This is not necessary although does make the cover sit in place better.
 |
| The full cover laid flat. |
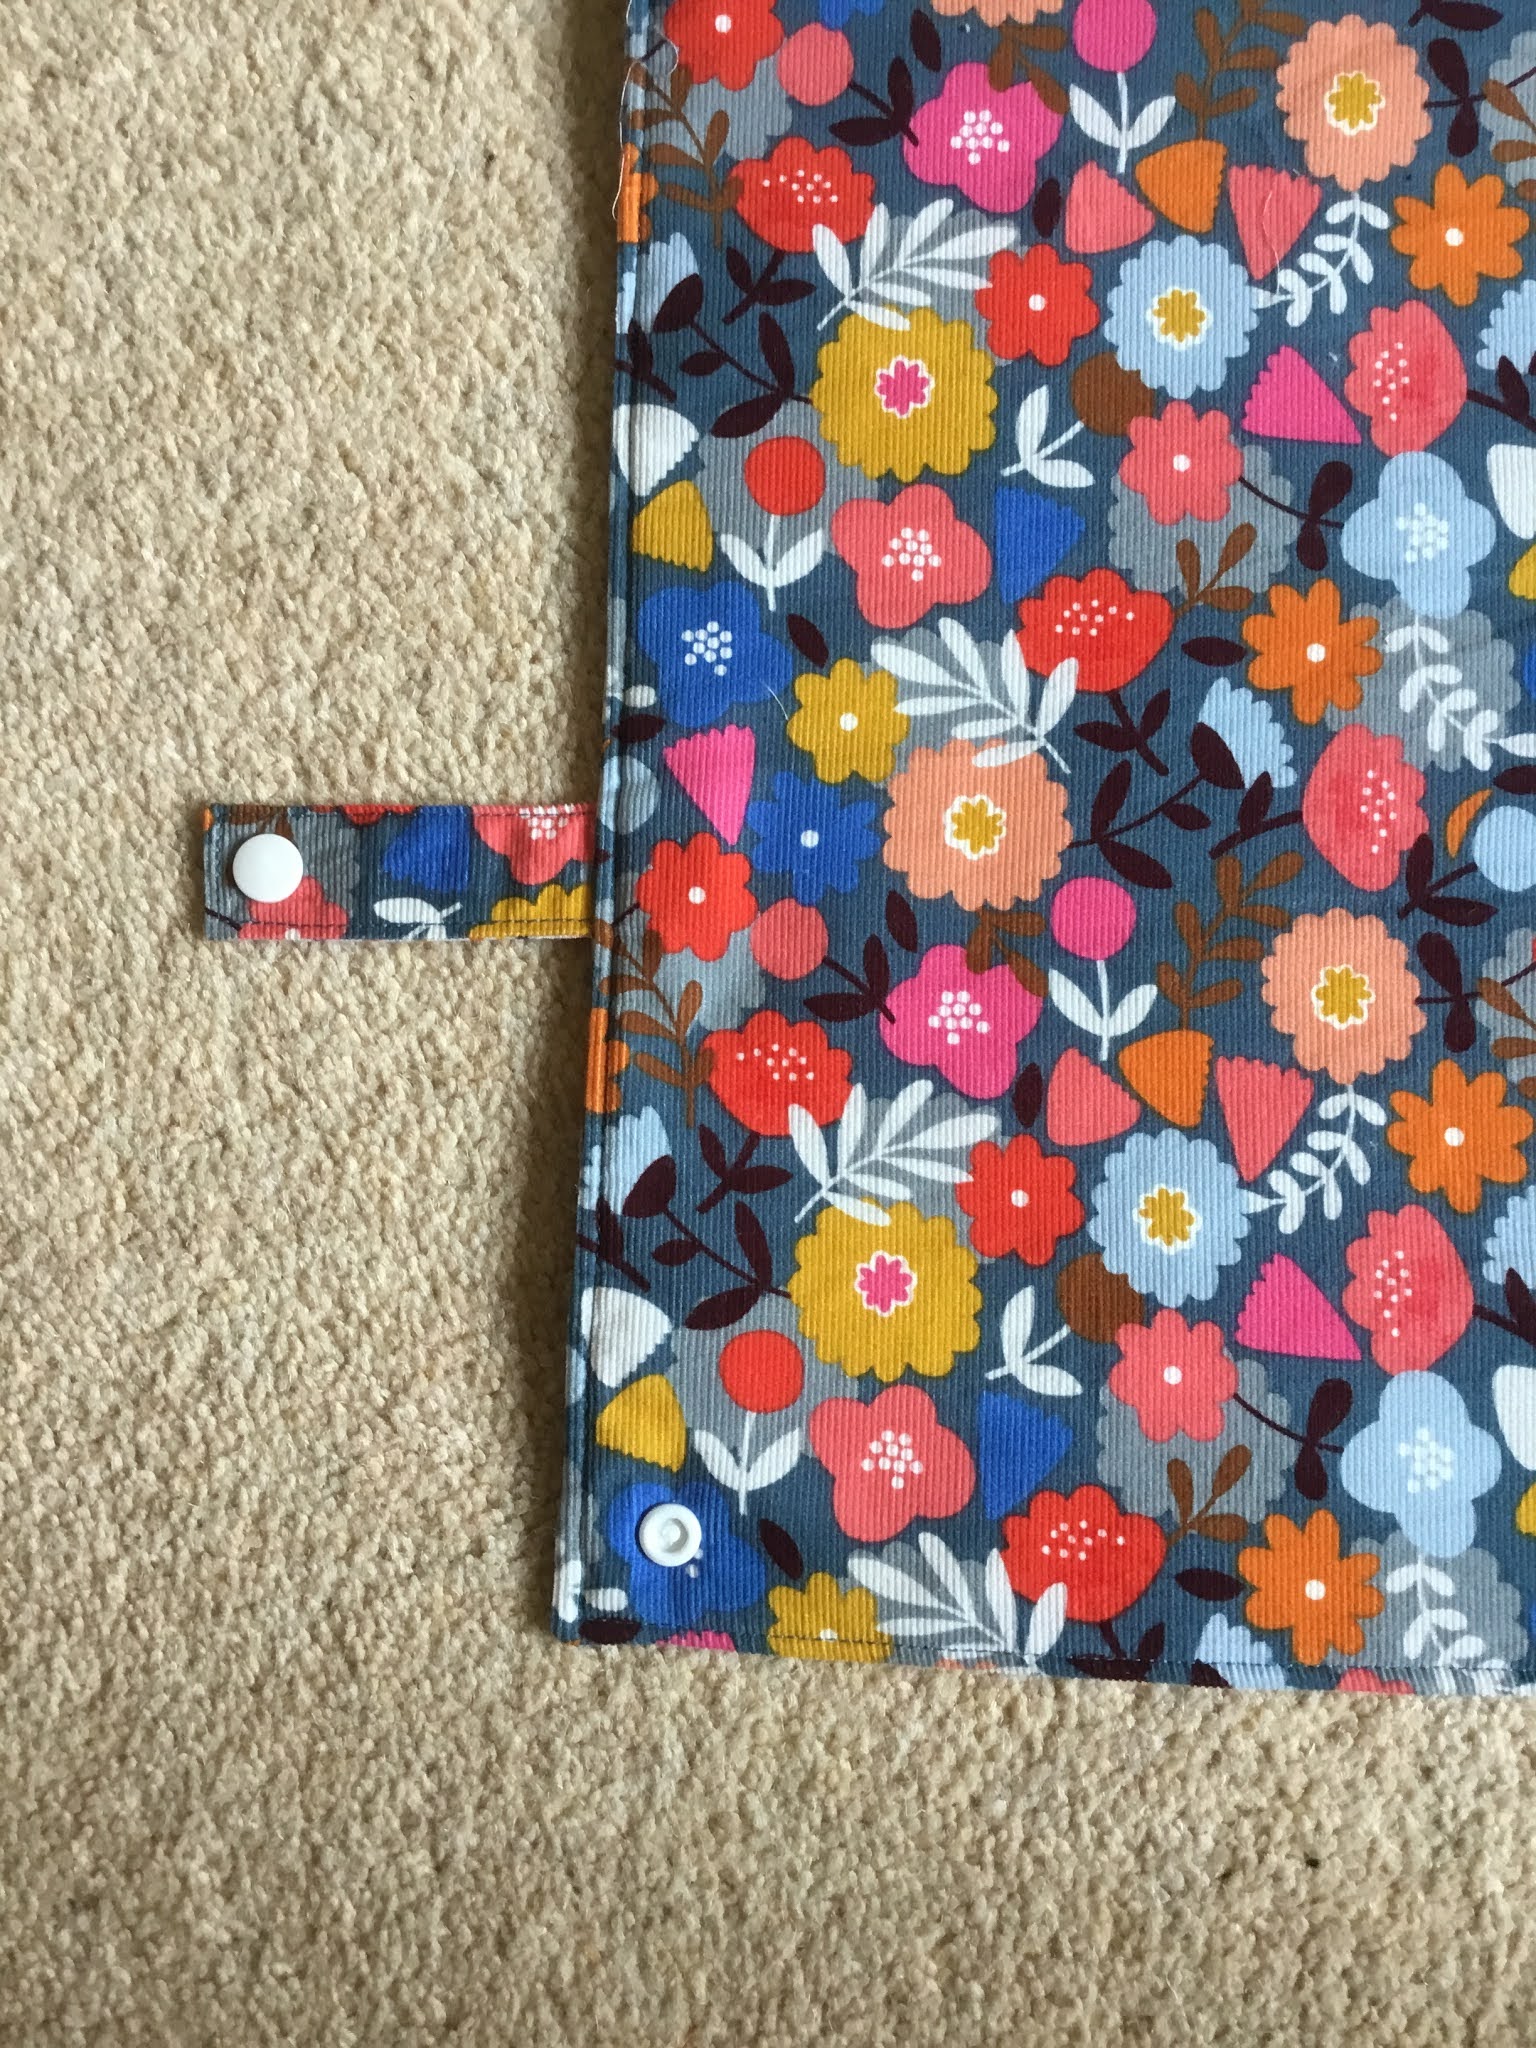 |
| Tab 3 and snap on main panel. |
 |
| Tab 1 & 2 on main panel. |
No comments:
Post a Comment