There are so many present style patchworks about and most are free. However they weren't quite the right size and had extra seams... so I made my own and thought I'd share it here with you.
It is really simple patchwork and easy for a beginner, (an advanced stitcher will have it made in no time!)
So here we go... all measurements are height x width. Seam allowances are 1/4" unless otherwise stated. The finished cushion is 17" square, although larger borders could be added to make it bigger.
Background: cut 3@ 6 1/2" x 6 1/2"
2@ 9 1/2" x 3 1/2"
1@ 3 1/2" x 18 1/2"
Ribbon: cut 2@ 3 1/2" x 3 1/2"
1@ 2 1/2" x 11"
1@ 9 1/2" x 2 1/2"
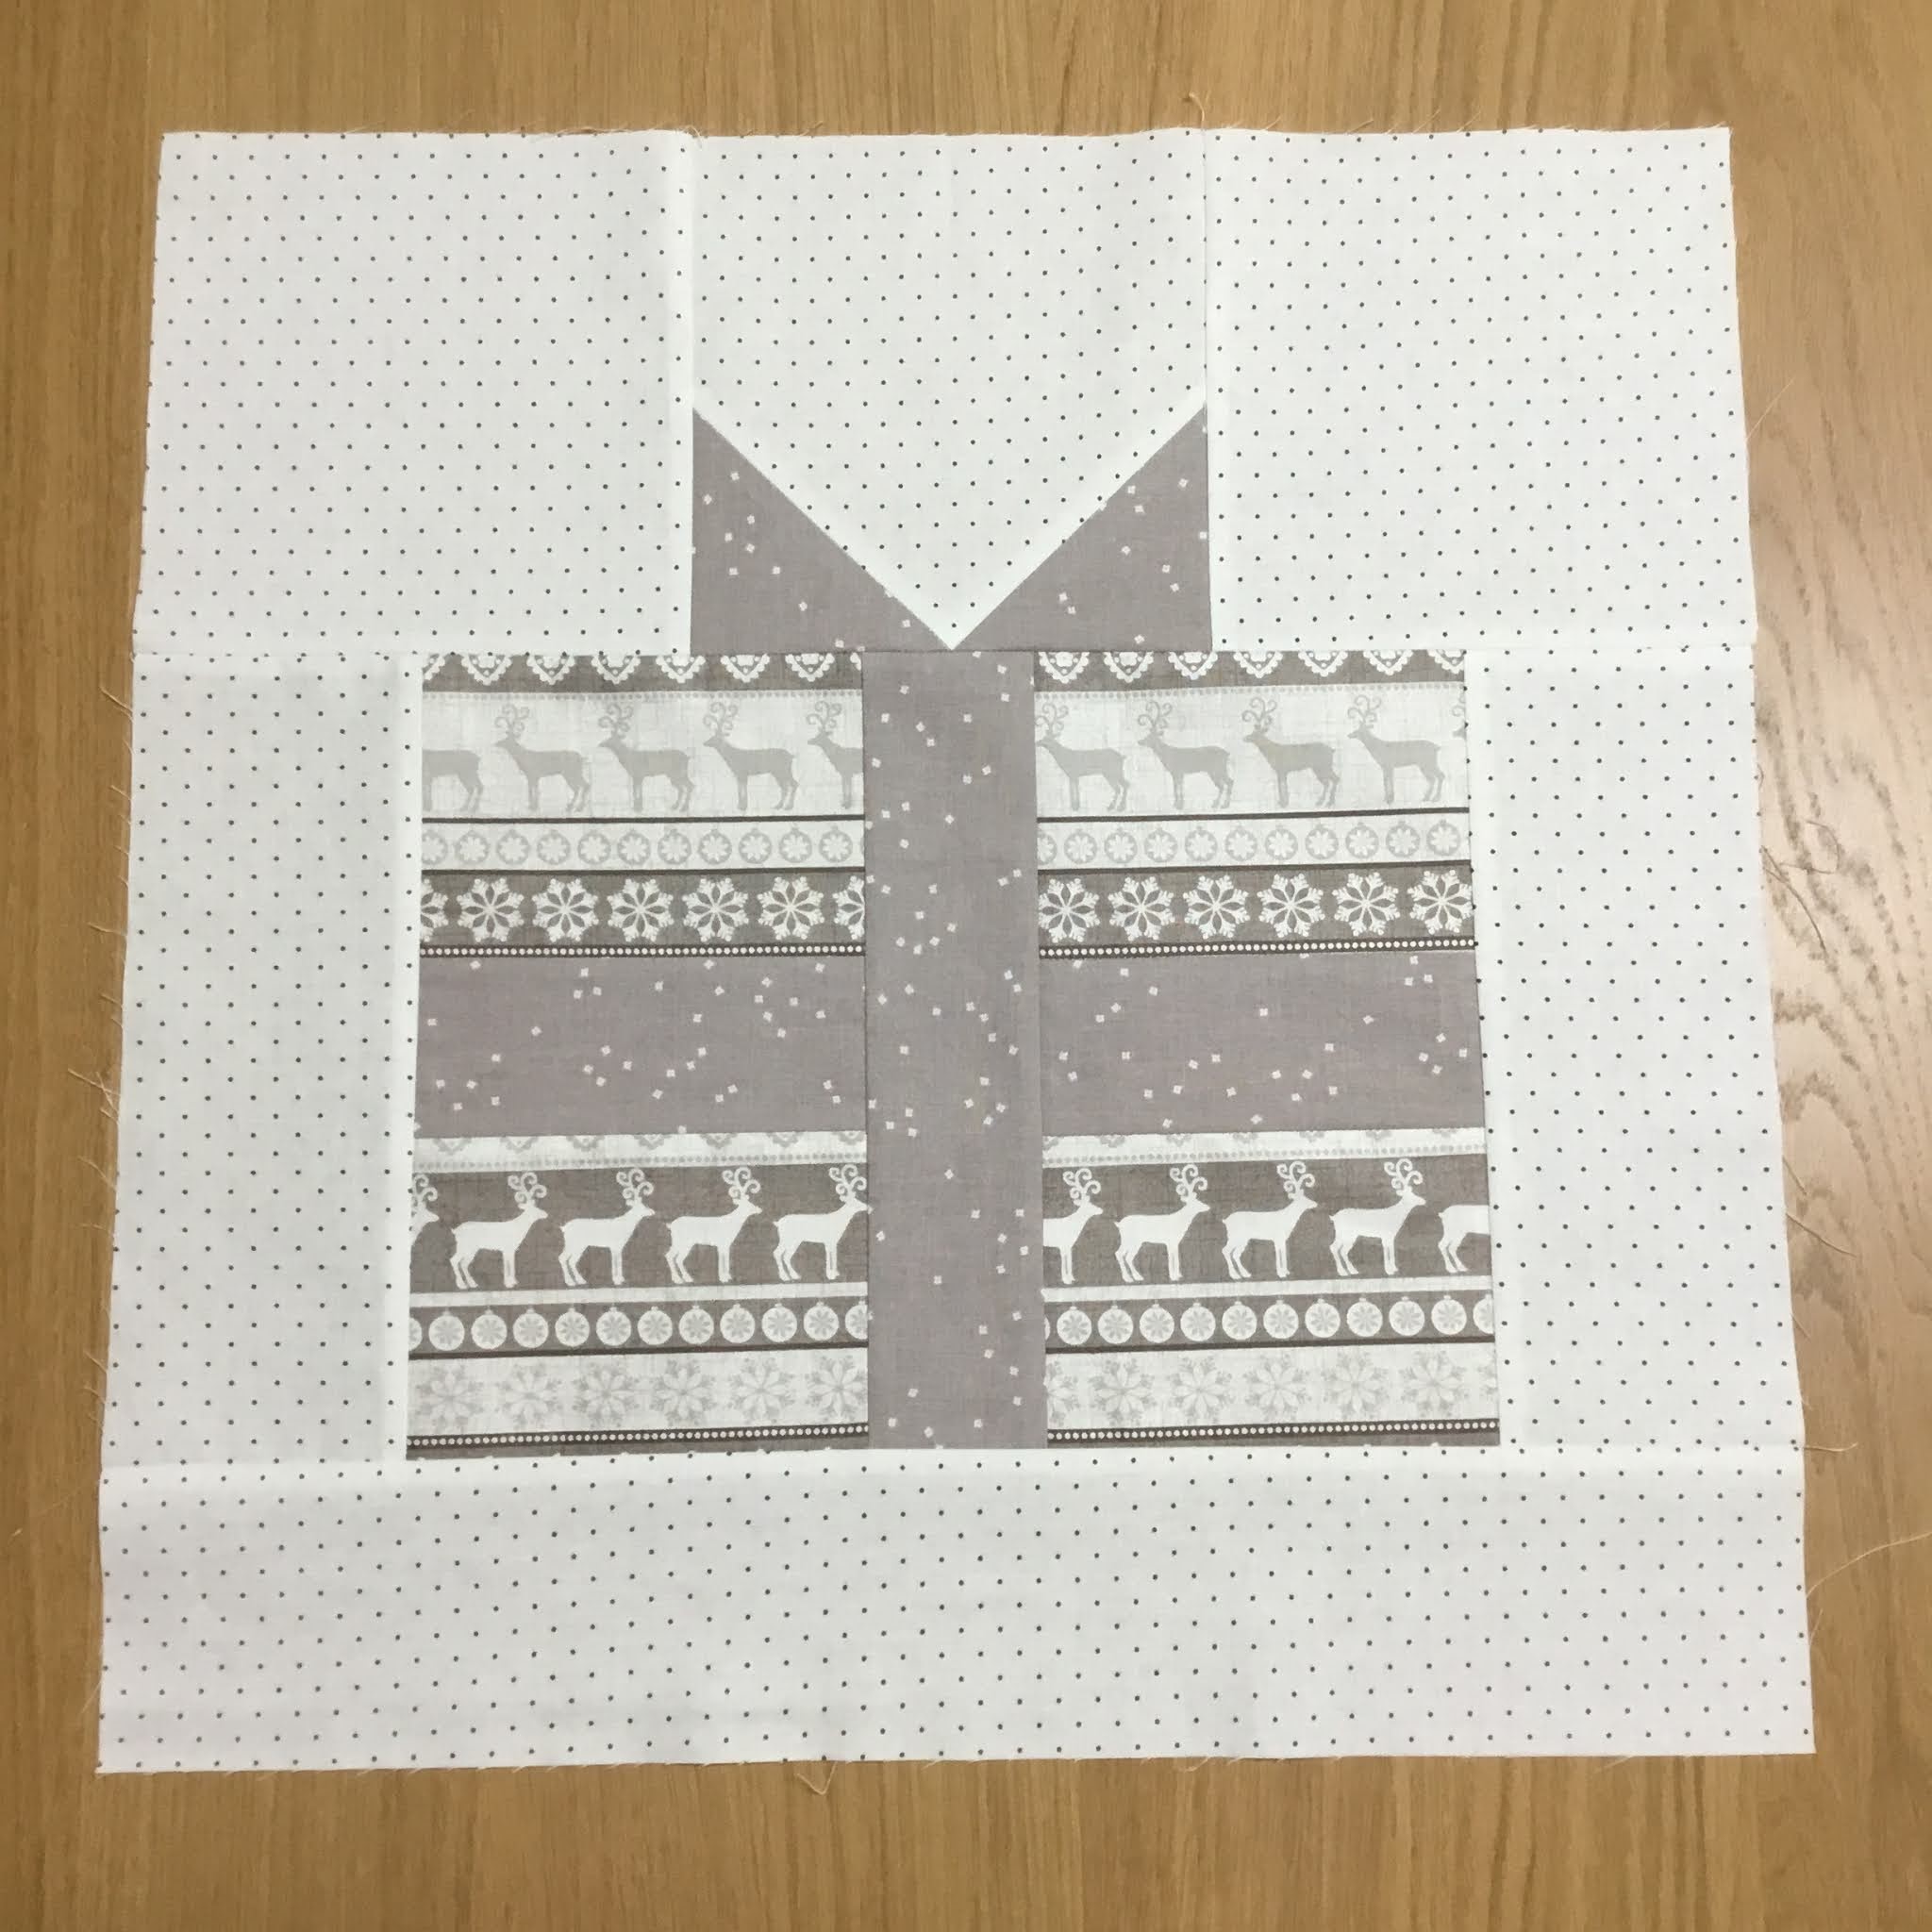
Present: cut 1@ 8" x 11"
To assemble:

1. Take a 3 1/2" ribbon square, on the wrong side of fabric draw a diagonal line from corner to corner. Place it on top of one of the 6 1/2" background pieces, right side together, and sew on the line across the corner.2. Trim away the corner to leave a 1/4" seam allowance.
3&4. Press seam open. Repeat for the other bottom corner.
5. Sew a 6 1/2" background square to both sides of the finished block, using a 1/4" seam allowance. Press seams away from the center.
6. Cut the present fabric in half horizontally. Place the matching ribbon piece in the middle and sew. Press seams open.
7. After stitching the ribbon, cut in half vertically this time. Add the next ribbon piece in the same way, this time press the seams in towards the centre. It will look like this...
8. Place the 9 1/2" x 3 1/2" background pieces right side together on each side of the present. Press seams away from the centre.
9. Once you have the present section all sewn, add the ribbon section to the top. Press this seam open. Then add the remaining background piece to the bottom, press seam away from the centre, to complete the block.
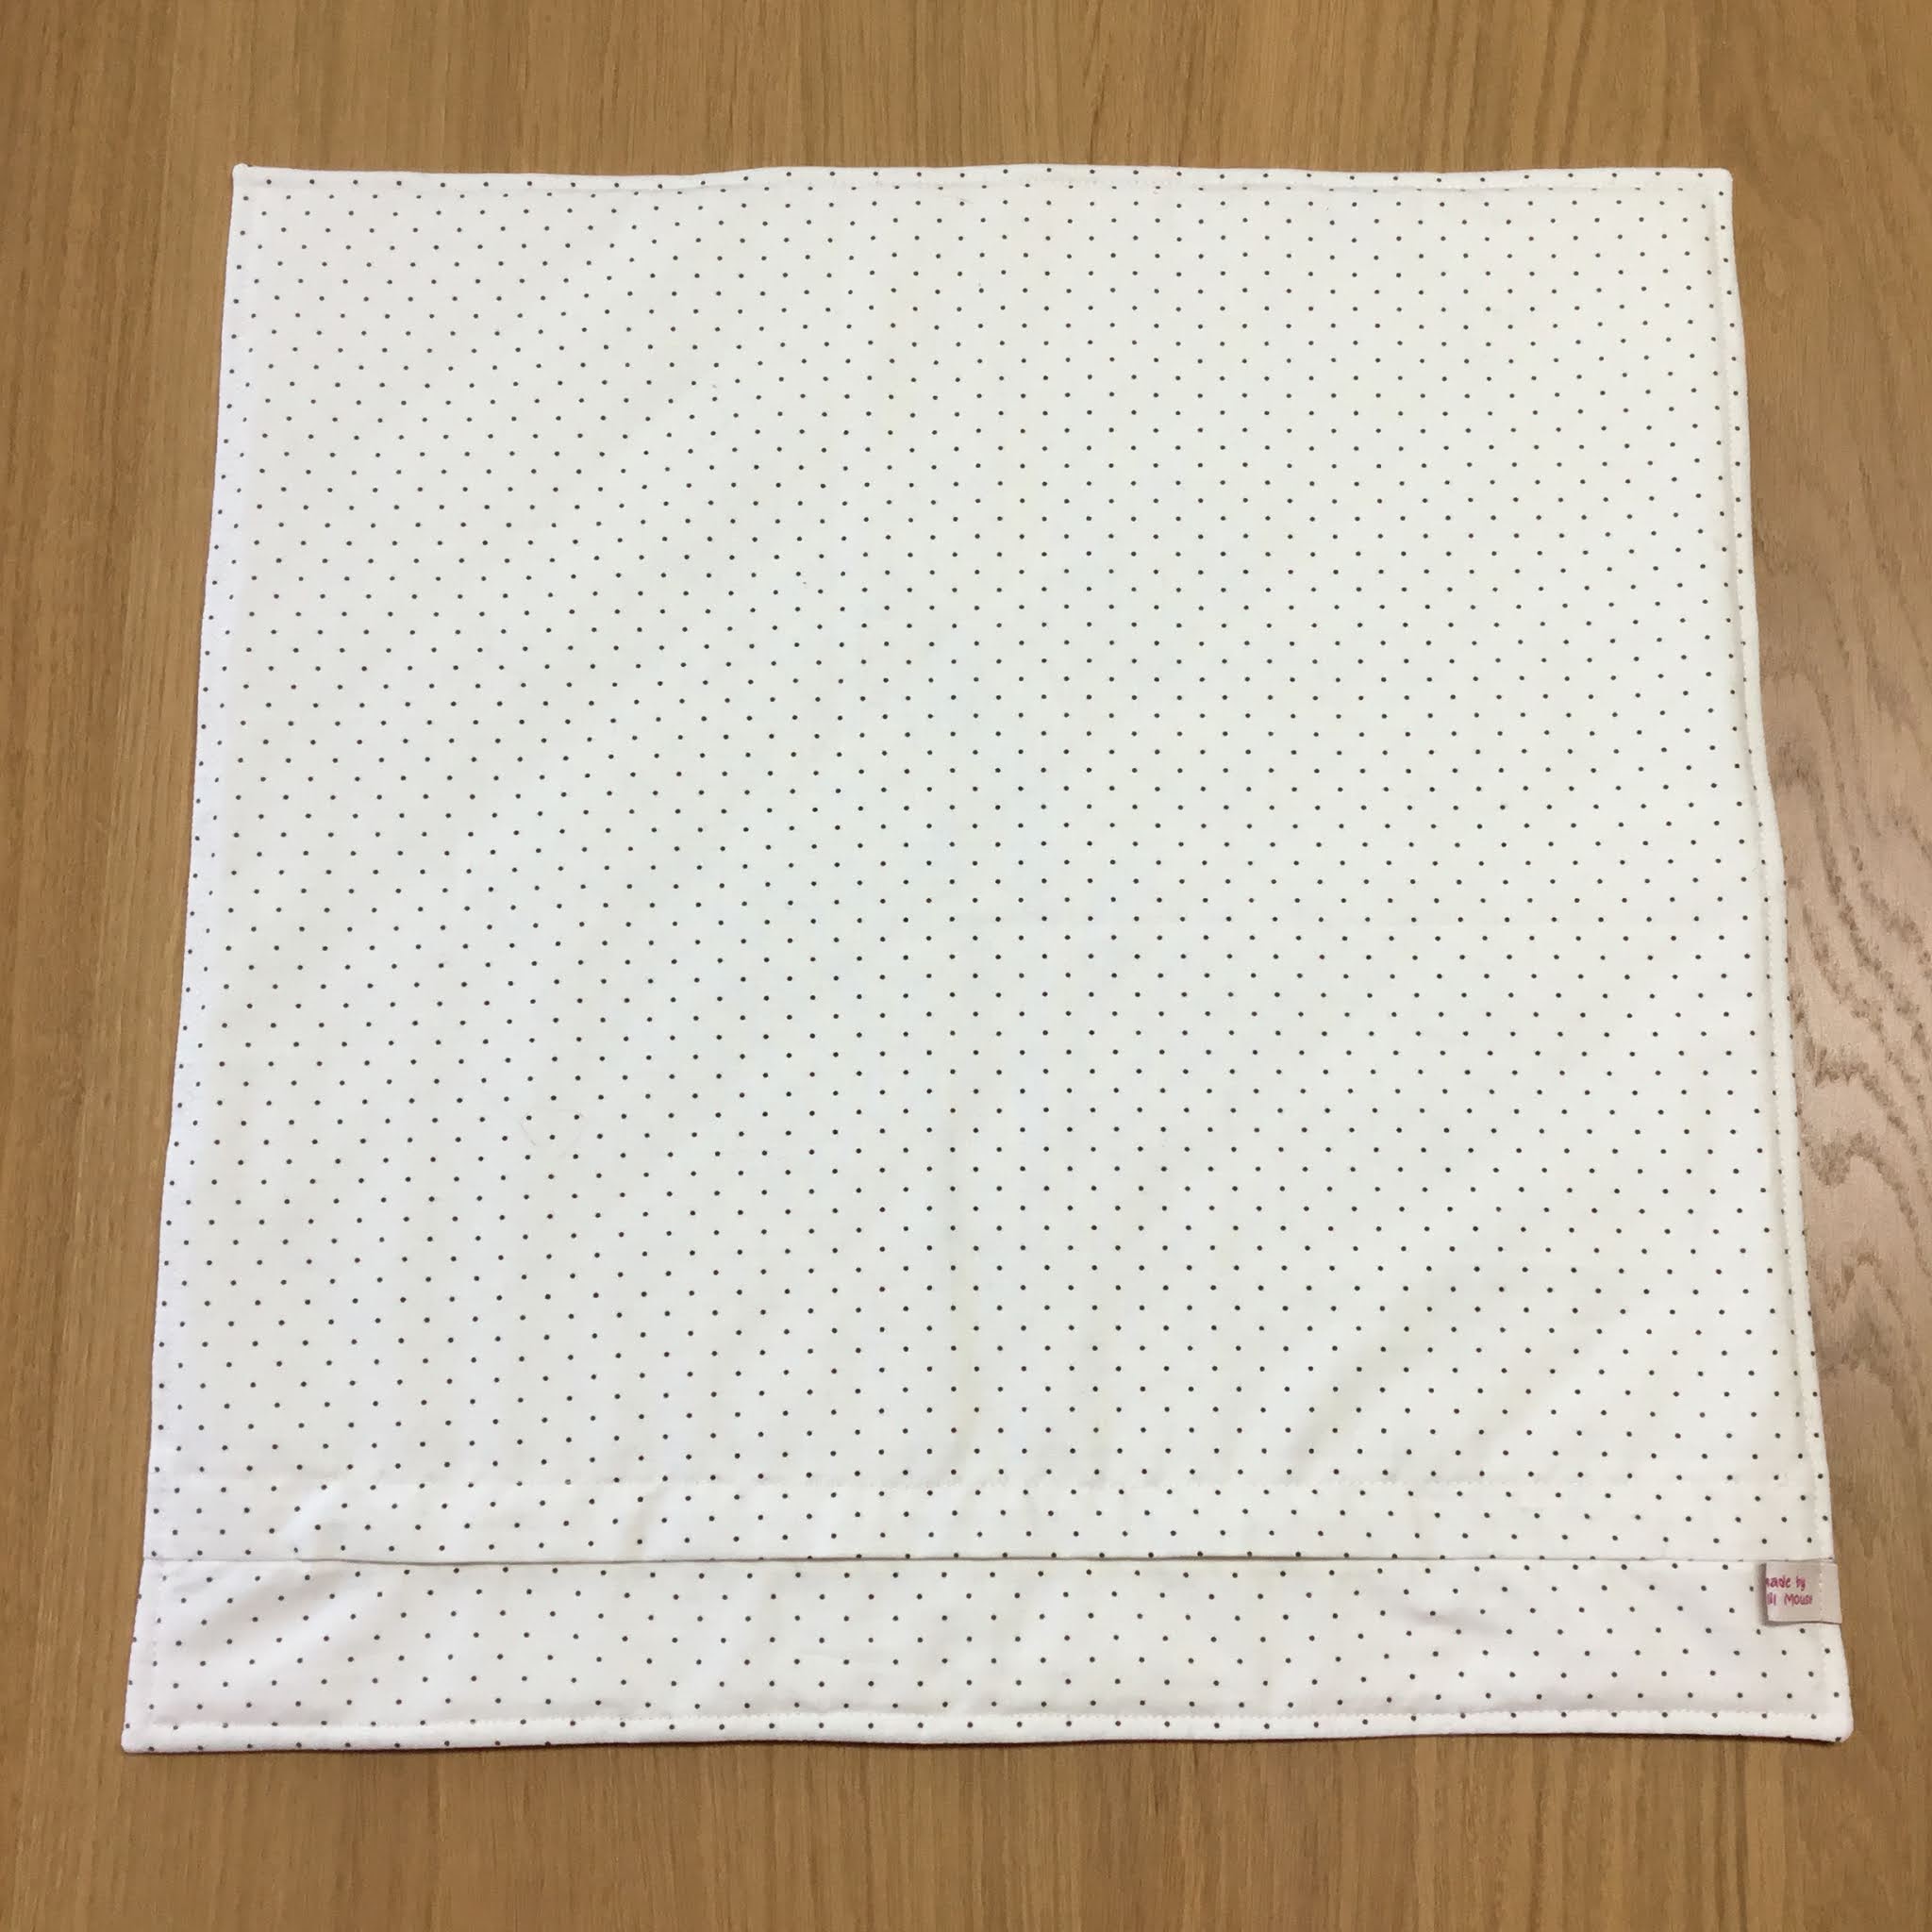
This is what the back will look like.
To finished my cushion, I quilted using a 2" grid on the diagonal. I made a cushion back using my method (find the tutorial here). To keep it simple I didn't add binding this time, choosing the turn it through method and adding a top stitch 1/4" in from the edge.
I hope you liked the tutorial and I would love to see your finished projects too. Please tag me on social media @craftylilmouse and use the #craftylilmousepatterns
Mx