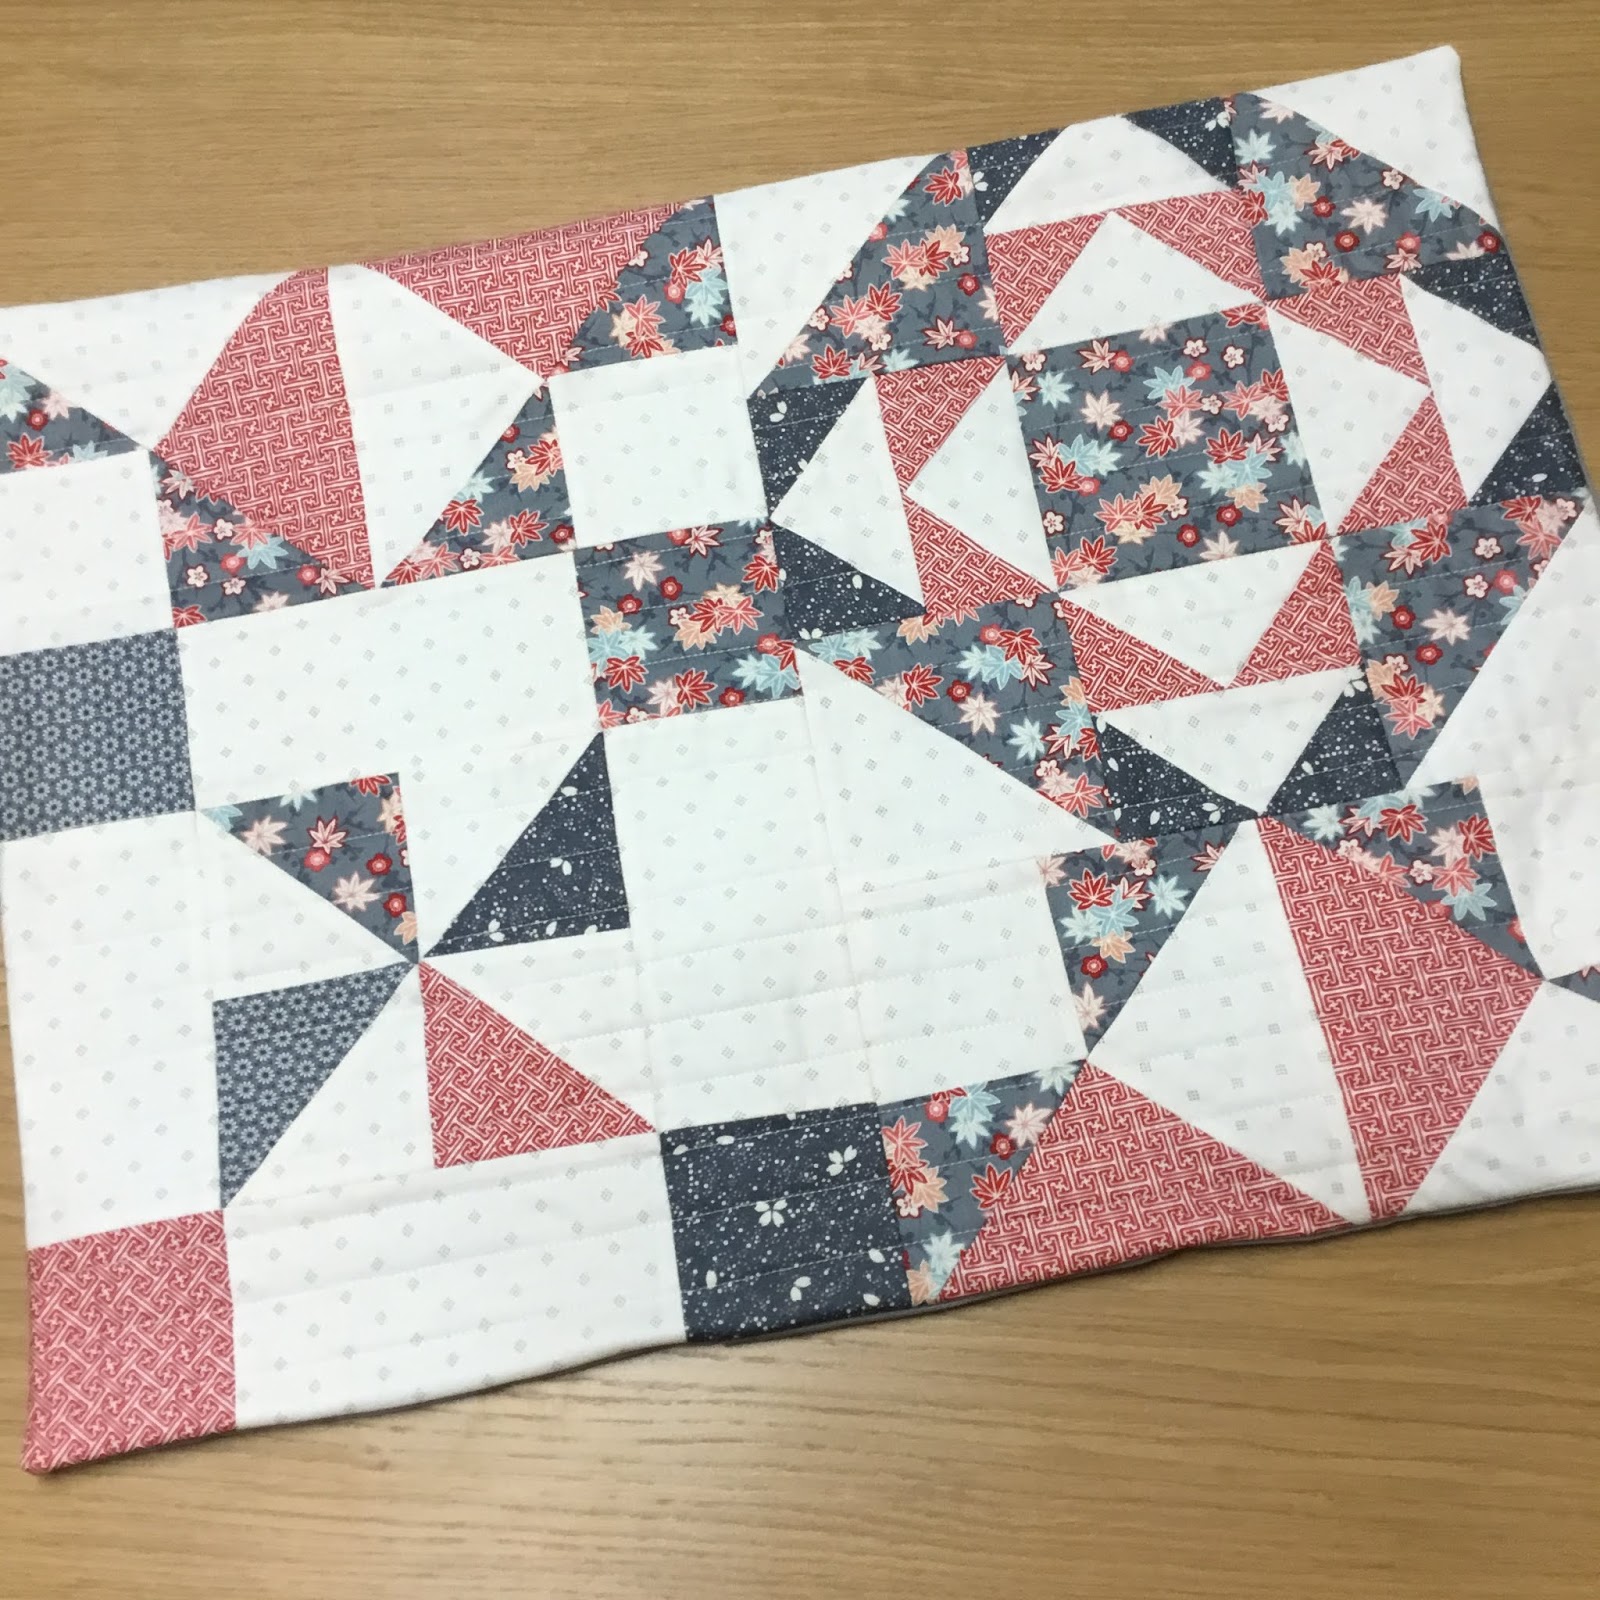
Showing posts with label cushion. Show all posts

Thursday, 5 August 2021

The sweet wonder quilt!


I recently had the pleasure of testing made just sew’s latest quilt pattern. It is fabulous! I’m in love with the baby quilt I made and the bonus is, it was so simple to make. It’s a quick make too, start to finish for me was about  10 days, but I know a lot of people in the test group did it faster. 

So more details about my quilt. I used dinosaur themed fabrics in blue and greens:

The dinosaur fabrics are camelot (no name on my cut), foot print is 'i love you this much' by leanne & kayttyn anderson for henry glass, teal dot print is upper case volume 3 circular logic for windham fabrics. Binding is the Navy Blue tonal fabric Spectrastatic II collection by Giucy Giuce for Andover Makower

I used aurifil 50wt thread, 2021 for Construction. Then 1320 and 2805 for the quilting.
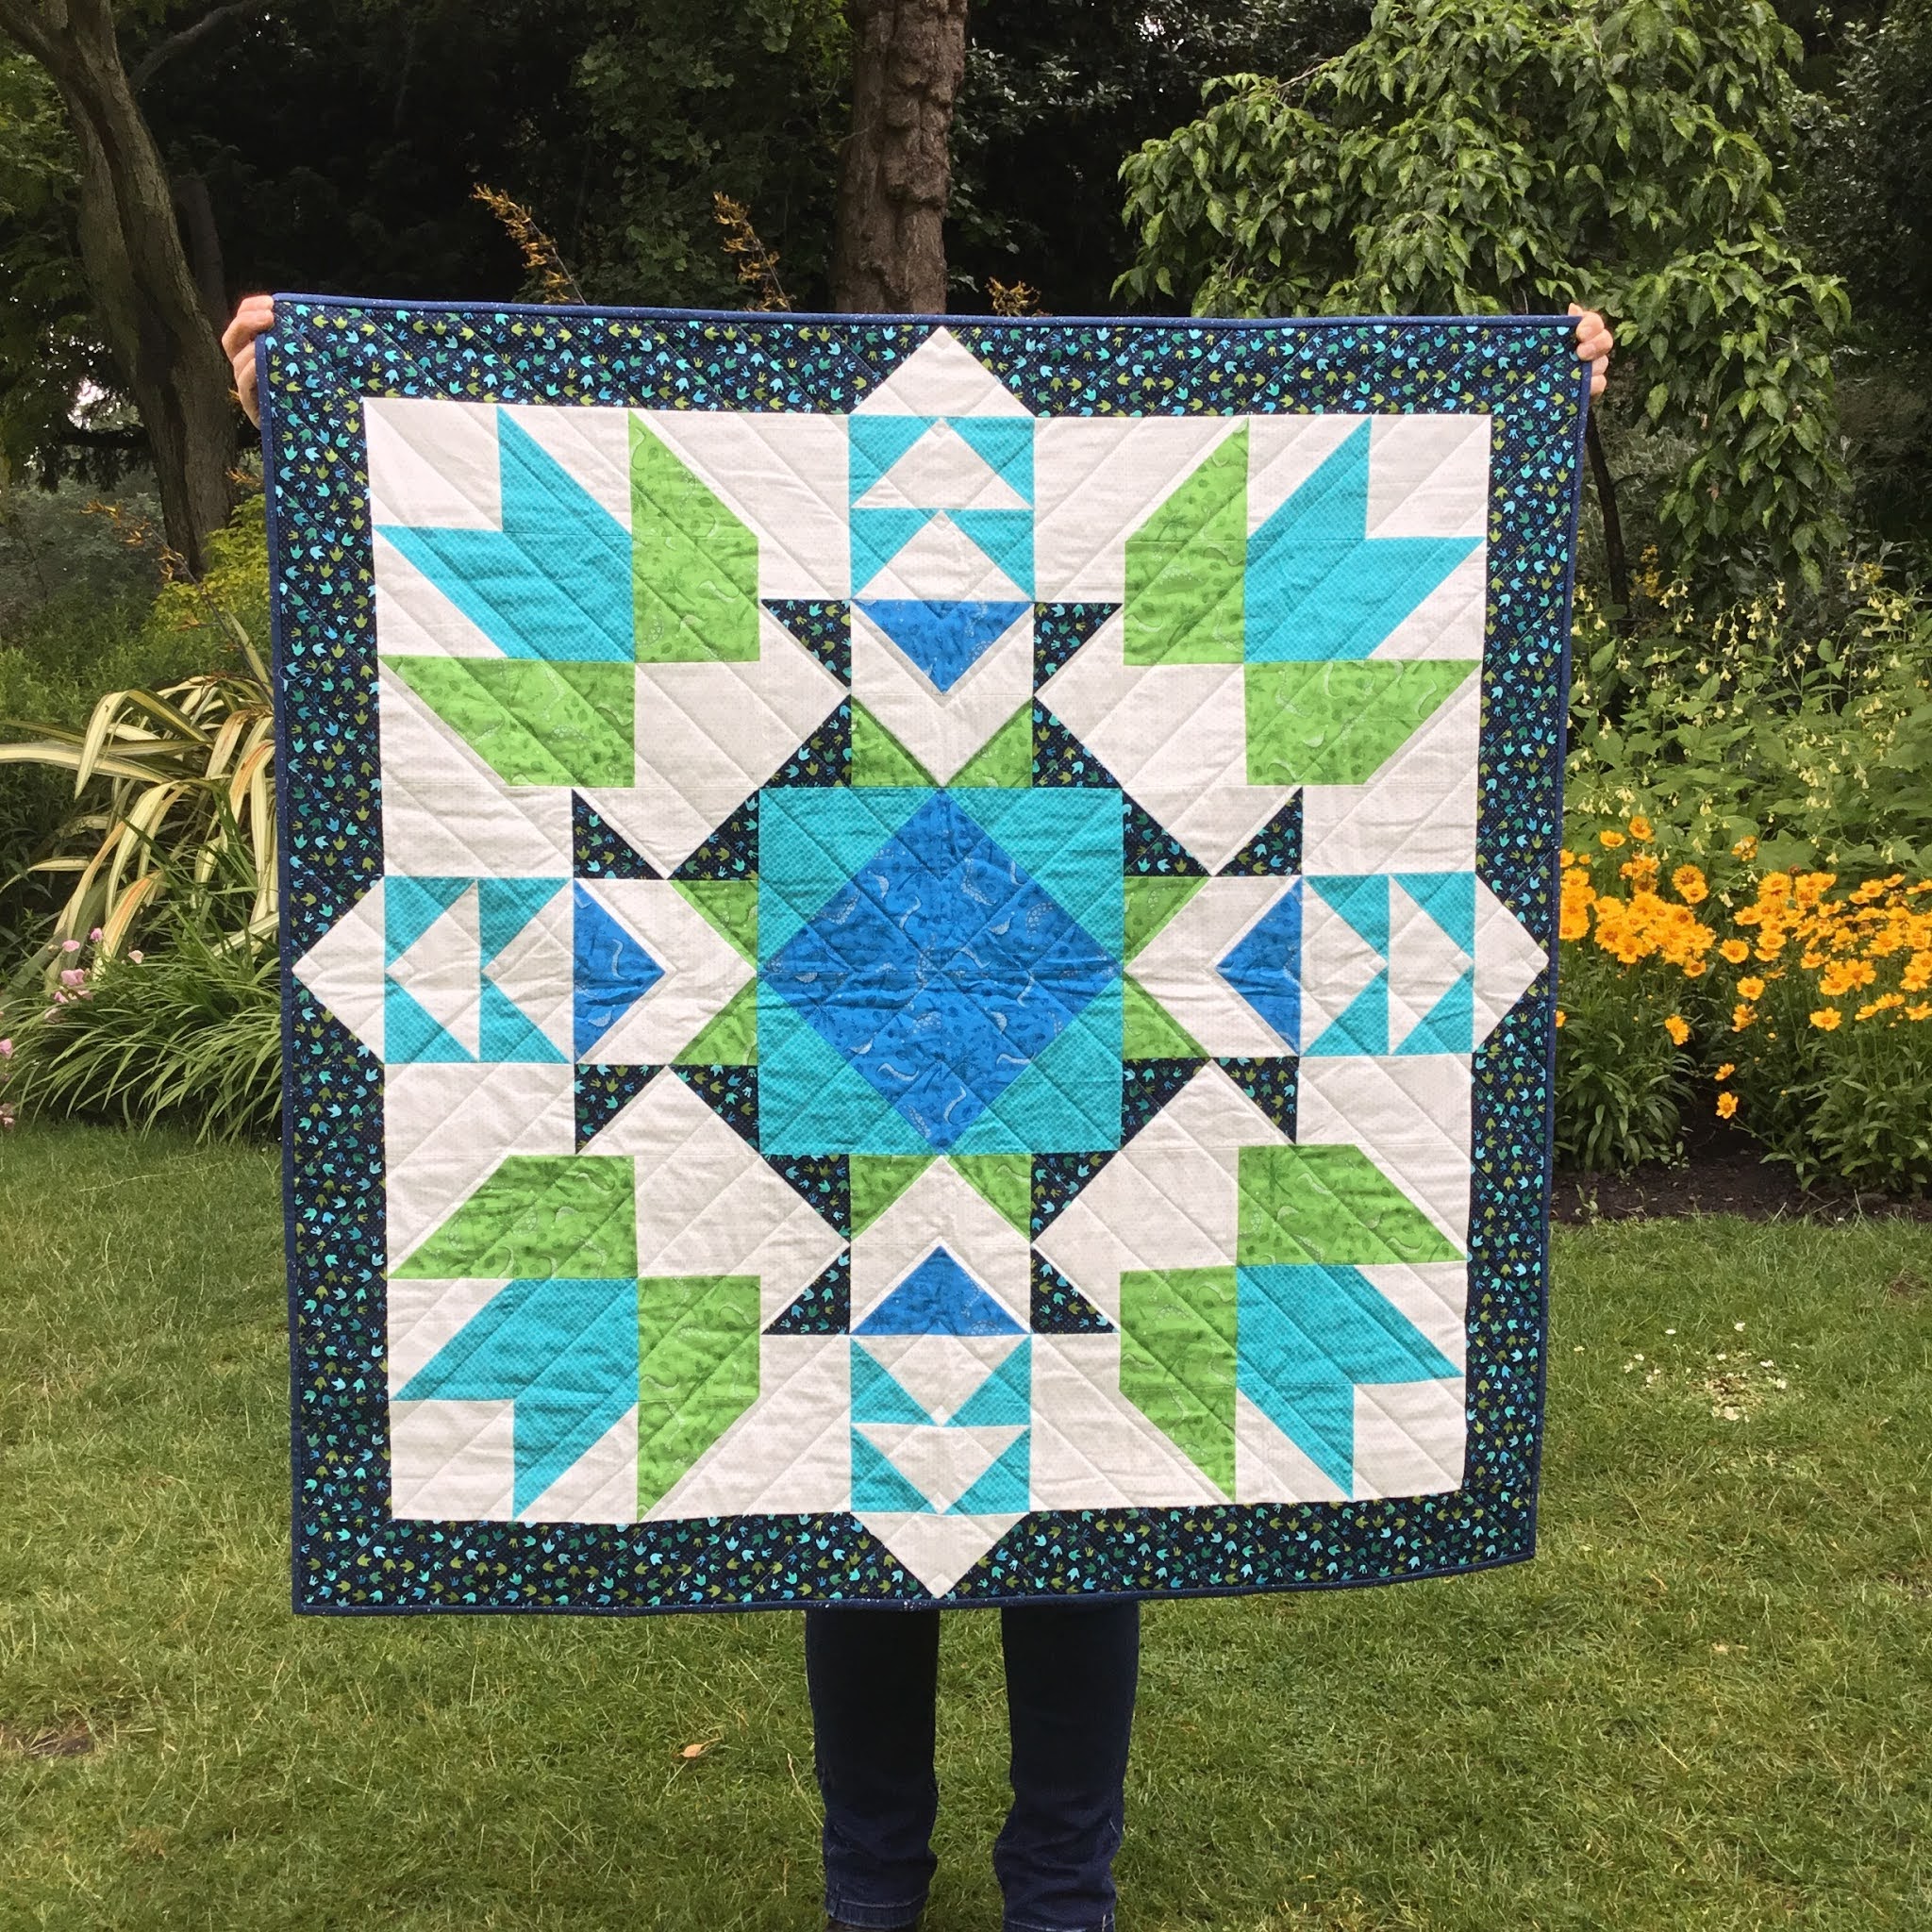

I actually quilted this quilt myself, since it was a manageable 42” square. I used the walk book by jacquie Gering. It was still simple lines, but made an impactful design on the quilt.


I couldn’t resist making a cushion to be gifted with the quilt. I wanted it to match the centre of the quilt. I had to resize the pattern, but it was worth the effort to match. I also did matching quilting design and used my favourite way to sew a cushion back to complete it.


You can find the cushion back tutorial here!

I just had to take this quilt for a little trip out to get some #quiltsinthewild photos. I think I found the perfect background at the York museum gardens. More photos can been found on my Instagram @craftylilmouse

Overall I would highly recommend giving this pattern a try, Claire’s other patterns are great too, and you can buy them here!

There was plenty of amazing testers versions, which means there plenty of colour inspiration to get you started too. You can have a look on this handy blog post here or check out the #sweetwonderquilt on Instagram, why not give @madejustsew a follow too while you are there!

Mx


Thursday, 25 February 2021

My liberty Collider cushion...


I had the pleasure of pattern testing for the collider quilt by made just sew. I was excited to get started when I saw the pattern, although I couldn't commit to an entire quilt, we agreed I would make one block into a cushion. I chose to use Liberty London tana lawn fabrics.

 To make the prints stand out a little I added a solid, I chose the art gallery pure solids, as they are a nice weight cotton to use with lawn fabrics. I used  the cotton candy pink since I didn't want white and thought it would work nicely with the prints I had picked out. If you fancy making your own cushion using this pattern, I made the throw size block to make an 18" cushion and used one fat quarter for all the background pieces.

The pattern is well written and came together nice and quickly. Since there's a lot of sewing and cutting on the bias, I did use best press to starch my fabrics before I started cutting and sewing. I would highly recommend this with this pattern and fabrics. I also used a 75/11 sized needle in my sewing machine because I was using the lawn fabric. 


I decided to do some hand quilting for this cushion. I used a 12 wt Aurifil thread in shade 2021. I used thread gloss to help with the stitching, its not necessary but I enjoy the smell and using it.   
Once it was all hand quilted, I was straight on to making it in to a cushion. 


To make the zip cushion back, I used my tried and trusted method. You can see my tutorial here on how I make them.

The collider pattern is lovely and I'm so happy with my new cushion. You can now buy the pattern here.

Mx


Saturday, 18 July 2020

My #100daysusingcottonandsteel project finished!

Let’s face it my #100dayproject2020 did not go entirely to plan. There's some projects on my list I intended to do and didn't, some I actually finished and a few I started, but are still in progress. So here's a run down of the projects I made...

The postage style quilt- I was super pleased to get it slightly bigger than I expected at 84 inches square. This was 441 4” squares in the end! I chose a quilting design that needs custom quilting by a long armer and there was quite a wait list, so it will be a while before I get it back to bind and finish. We will all just have to wait a while for those photos, but here is the finished top before the quilting!

The scrappy triangle cushion- this was finished early in the project. I pieced and then hand quilted it. I am super happy with how it looks and it's now in full use in the lounge. Tutorial blog for that is here!

Patchwork tote- well this was worked on a little in the middle of the 100 days but left until the last push to actually finish. I went with using only melody miller designed fabrics in the end and love the way it turned out.

Pin badge banner- made for my sisters birthday. I have been wanting to make one for ages, so I’m pleased I have made one now. I added a rainbow panel to the top for some fun colour. I also made her a key ring with the perfect selvage too!

A rainbow jelly roll quilt- so technically I didn’t use a jelly roll at all, which would have made it so much easier. Anyways, I am so happy with my new quilt. You can see and read more about it here including where to get the free pattern to make your own!

Selvedge cushions- I always wanted to use the fun selvedges from my stash but I wasn’t sure what for exactly. I took inspiration from a quilt a lady was making on instagram. I didn’t have any where near enough for a quilt, so I made a pair of cushions instead. They look so fun with my quilts and other cushion in the lounge.

I made 2 pouches- one to join in with a sew along, (although I didn’t like the original size so changed everything.) I made another where I supersized the idea to be a pencil case, again using all my own measurements and a different construction method to make it work.

A fabric bookmark using a few scraps, which I was going to give away but ended up keeping in the end... I did gift something else instead !!

I also made a few smaller projects: a #weeboxybasket (pattern by sweet cinnamon roses), 2 key rings using selvedges, which feature the fun text and prints to make them extra special for myself and mum and a simple hair ribbon, made using lawn fabric for extra softness.

It wasn't just me using my cotton and steel stash in the 100 days... My mum used my mini travel pinnie pattern (available in my Etsy store here) to make a gift for my sister.
My sister is also in the middle of using my stash to make herself a quilt too! I didn’t take photos to share but I finished cutting out my entire ice cream soda Epp quilt. I also cut out and have started a triangle quilt, more will be shared for that soon, hopefully. I also used some stash doing a giveaway of 70 precut hexies. 

So overall during the project I might not have finished everything but I feel like I got a lot made so I’m happy with that. I did however end up purchasing a few bits, mainly large cuts for backings and a few basics. This definitely wasn’t helpful in reducing my stash. In fact even though I have made so many things, including cutting out 5 quilts, I still don’t look to have used much!
I learnt I actually like doing my other hobbies still and miss them if I give something else too much attention. I also feel a little lost now my challenge is over and my focus has been removed.
I think going forward I need to set smaller goals to get the sense of achievement, but definitely make time for other activities I enjoy too. 
Mx

Sunday, 26 April 2020

scrappy triangle cushion

I made this cushion using my cotton + steel fabrics as part of my #100dayproject on Instagram. I grouped the fabrics into colour families and pieced half square triangles around a central economy block to create the design. The cushion finishes up at 18". If you would like to make your own, here's how to do it …


To create the patchwork, you will need to cut: 

1 blue square @ 4 3/4"

4 yellow triangles
8 navy triangles
20 cream triangles
20 pink triangles
12 peach triangles
4 teal triangles

 For the half square triangles, I use the easy angle ruler and cut to a 3 1/2". If you don't have this ruler, cut squares at 3 7/8th" and split on the 45 degree angle. 


For the economy block, position the first two triangles opposite each other, RST onto the central square. Align along the outer edges, pin and sew. Press open, then repeat for the remaining two sides as seen above. Trim the finished block to a square (this should be 6 1/2"). 


 To construct the half square triangle blocks, place two triangles RST, pin and sew along the long edge. Press open and trim to a square, removing the dog ears on the corners. Ensure all of the half square triangle blocks are the same size (this should be 3 1/2"). 


To put the cushion top together, I like to lay out all of my cut pieces to check I'm happy with the layout. I then stitch the centre block, followed by the surrounding half square triangles. I like to chain piece, so I prep all of the blocks and then stitch and press in stages. To join the blocks, I group into 4 patches around the centre, then piece together as shown above. 


I chose to hand quilt the top to highlight the diamonds created by the colours. I used aurifil 12WT and echo quilted, using a large quilting hoop to help with the tension as I stitched. Of course, you could machine quilt if your preferred. 


To finish the cushion, I created a concealed zip back (tutorial post here) and bound the edges with 2 1/4" binding (binding tutorial post here) for a neat finish to coordinate with my catty corner quilt (see here).


I'm pretty pleased with how this turned out and Millie approves too. I hope this blog helps you to create your own version. Of course, you can switch around the colour schemes for completely different looks to make use of your fabric scraps. 

Mx

Friday, 15 November 2019

star cushion


If you saw an earlier blog post this year, you might remember I took part in a birthday swap on Instagram. I had quite a while to wait for my partners birthday though. I was given the lovely Sally aka @chasing.tigers on Instagram, to make for. I was both thrilled because she has become a close friend online, but also anxious since she is such a talented maker herself.


Anyway, I chose to make this cute fussy cut cushion as her main gift. The cushion design was featured on her inspiration board, and with a bit of quilty maths, I worked out the measurements to make it. I was struggling to find coloured fussy cuts in my stash, so did a bit of fabric swapping to get enough. I also purchased this cotton and steel tiger fabric, as I just knew it was the perfect centre to personalise the cushion. Both me and Sally had purchased this low volume fabric, so I was pretty confident she would like it.
 
 
After my meadowland quilt experience I hate flying geese, so why I chose to do this cushion with 16  geese, I do not know! I wasn’t looking forward to sewing them, however, they went surprisingly well. I did simple straight line quilting 1/2” apart and made one of my concealed zip backs(tutorial for that here). Once I had sewn my cushion together, I added top stitching to the edges. I think this gives a nice finish to the cushion without the need to add binding.
 
 
The entire thing came together quite quickly and I love how it turned out. Thankfully my partner has received her gift now and loves it!
 
This is one of my finish-a-long projects. Even though this was technically made it in Q3, I hadn’t yet gifted it to be able to share so I am including it for Q4 instead. Read about my list here.

Mx

Sunday, 9 June 2019

zipped cushion tutorial

Since I'm running a cushion swap over on Instagram, I thought I would share a quick tutorial on how I like to make a nice neat zipped cushion back.
 
 
Start with a zip longer than your cushion width. Cut a piece of fabric approximately 2" high by the width of the cushion for the bottom of the back. Lay your zipper teeth down onto the right side of the fabric strip and pin in place, so the zipper tape lines up with the top edge of the fabric. stitch along the edge using your zipper foot on your machine to help. Fold the fabric back, press and top-stitch along the edge of the zip. For the larger top section, cut your fabric to size across the width, but add extra (approximately 2")to the height to cover the zip. Lay the zip teeth down onto the right side of your other cushion back, so the tape aligns with the fabric edge. Pin and sew.


Now at each end of the zip, you are going to sew an 'L' shape to stop the zipper and create the concealed fold. With your fabrics still right sides together and the zipper in the centre with the pull in the middle, mark out up to 2" in on the width along the zip and up to 1" down (or the width of the zip tape). Do this at both ends of the zip, and then sew along your marks, ensuring you run across the zipper teeth a few times to make it extra secure. Now fold back your fabric and press carefully over the zip. Next, top stitch along the other side of the zip through the fabric flap, lining up along the zipper teeth to hold the layers in place. Then, trim off the tape in line with the fabric edge and snip down either side of the tape carefully to avoid the fabric. then cut across to remove the teeth from the L shape sections to reduce bulk on the seams. Make sure your cushion back is the right size and square.
 

 To join the back to the front, you first need to decide if you are binding the cushion or not. Above shows a cushion ready to be bound, with the front and back pieces simply aligned wrong sides together and a stitched line around the edge, less than a 1/4" from the edge to hold the layers in place. You can then trim the sides neatly and sew on the binding of choice to finish, covering the joining stitching around the edge. If you don't want to add binding, place your front and back right sides together, with the zipper open and stitch all the way around using a 1/4" seam allowance. Turn the cushion through the gap in the open zipper and press. For a nice alternative to binding or piping, you can topstitch around the edges around 1/4" in on the turned through and pressed cushion.


Mx


Tuesday, 14 May 2019

Liberty kantha cushion


I had seen the #libertysocietykanthastitchalong on Instagram last year...A chance to use some of my liberty fabric stash and try something I had never done before. Lots of beautiful projects were made last year, but I didn’t get chance to join in so I was excited to get started this time round.
I patch-worked my panel on the machine, using some of the liberty scrap packs I had bought from duck egg threads online. I then chose my batting and added a piece of white cotton, to make my quilt sandwich. I chose a few colours of #8 perle threads. It was my first time using these too, with a slight sheen, they where easy to stitch with. I used my add-a-quarter ruler to keep marking a guide line with a clover Hera marker. 
Unfortunately the quilt for nanas 80th birthday took priority, so I only got time to finish my panel while the sewalong was still running. I should have picked a smaller project but I just knew I wanted a cushion. To make up the cushion, I used a bigger piece of liberty tana lawn to coordinate with the front. Since I didn’t want to bind the cushion, I just did the turn out method, but it didn’t quite look right. I top stitched a border about 1/4” from the edge and I think this was the finishing touch it needed. 
It was quite relaxing to do the kantha stitching and gives such great texture. I also think it was quite good practice for if I wanted to do some hand quilting in the future. The liberty is so soft and the overall cushion feels very luxurious. I love it and am so pleased I took the time to make it.


This was one of my Q2 finish-a-long projects. If you want to read that list, click here!
Also if you fancy looking at some very beautiful projects similar to mine...Go to Instagram and check out #libertysocietykanthastitchalong, which was hosted by the lovely @tincatsew.
Mx


Monday, 6 May 2019

postage stamp quilt


 I took part in get your quilty wishes granted on Instagram and asked for fabric scraps to make a postage stamp quilt. It was amazing the response I had and received such a wonderful mixture of styles and prints. I used my time during the summer at my nanas caravan to trim all the scraps into 2.5” squares. My nana would take my trimmings to the bin, pick out all her favourites and stack them up for me. She also loved looking at everyone’s accounts and seeing where all the fabrics had come from.
I was originally planning to make this quilt for myself, and some different patchwork cushions for my nanas 80th birthday. However, she had shown such an interest in the project, I decided it would be perfect for her.

I did leave it a little late to fully commit to this idea, so I did have to put in long sewing hours to finish on time. She gets a bit cold on an evening while watching tv, so I figured a lap size would be more useful. Luckily because of the size and having everything already cut, it came together faster than I expected. Helped by the fact I was aiming for random so didn’t over think the layout and didn’t stress if my points weren’t perfect. I also had a little help from my sister, pressing seams and sorting fabrics.  

My nanas birthday was on the Thursday but insisted she wanted a party on the Saturday. We thought it would be a good idea to trick her slightly. There was enough fabric to complete the quilt and have spares for a couple of matching cushions. We decided we would give her a cushion on her birthday and then when she wasn’t expecting anything, surprise her with the quilt at the party. My sister has just started sewing and doing patchwork, so decided she would make the cushions since I’d done the quilt. She pieced both cushion fronts together but didn’t have time to actually complete the cushion cover. We came to the conclusion that I would have to make the back and binding to match the quilt, so that one cushion could be finished in time. She has however promised nana she will complete the other.

My nana was thrilled with her quilty gifts and the kindness of others that contributed. I am so pleased to be part of such a giving community online and think it’s a truly special thing for her to have.


The quilt and the 80th gift were both projects on my finish-a-long list and I'm pleased that I was able to combine them. You can check out my list and previous finish-a-long projects here.
 Mx


Saturday, 2 March 2019

bambi in meadowland


 I made a bambi quilt last year as a christening gift and had some fabric left over. Since the little girl was turning one this month, I thought I’d make a cushion to match. I couldn’t decide what patchwork design to make, but after a bit of thought, I decided the meadowland was a great choice.  Although the blocks are normally done a bit more scrappy or random, I thought the simple colour palette would work and the bambi images were perfectly sized for the blocks too. 


I made up the block and backed with fusible batting. I quilted with diagonal lines to follow the block and blend with the original quilt. I found a cushion pad the perfect size to fit the block, but it would work well to add a border if you had a larger cushion. I simply made the back with a zip inserted into the white bambi fabric cut to size. For a nicer finish, I made binding from the pink print to edge the cushion. Binding takes extra time to hand stitch around, but I think it is worthwhile.   

If you like this pattern, you can purchase from then came june and join the sew along on instagram with #meadowlandqal . I'll be joining the fun making myself a quilt, so you can follow my progress with it over on instagram.

Mx

Saturday, 9 February 2019

My first blocks


 These were the first patchwork blocks I ever made and am so happy to see them finally made into something. I went to a patchwork class at a local shop, where every class you made a new block with the goal of having a sampler quilt at the end. I let my sister choose the fabrics with the intention of her having the quilt as a gift. Sadly though, the shop closed when we only had 7 blocks made. We didn’t have enough blocks to make a quilt and I wasn’t too thrilled with the designs to just make repeats. Without much experience the blocks just got shoved in a cupboard while I did other projects, until a few months ago. My plan was to make them into cushions for Christmas, however, I had lots of other gifts to make and these got pushed to the bottom of the list with the promise that I’d do them as soon as I had time.
She had a couple of large cushions that had covers which really didn’t match the décor. We had a discussion and I came up with this solution. I used 2 full blocks and split the 3rd in half, once joined together they made just the right sized cushion fronts. I added some batting to the back of the patchwork and did some straight line quilting about an inch apart. I backed the cushions with some plain grey fabric that I got from IKEA and did an envelope back to make them super simple. The blocks worked out to be enough to do both large cushions, one in each colour way.
Since I had one block left over, I made one more smaller cushion. The block was slightly too small for the cushion she had, so I simply added a border to the block. I used some of the blue fabric I had left over to tie the cushions together a little more. I also finished this cushion with an envelope back in the same grey fabric.
These cushions were simple to make and I’m so happy with them. It’s a shame they weren’t finished earlier, however, they probably wouldn’t have been made the same or turned out as nice. They are quite a quirky design but fit both my sisters personality and room perfectly.
Mx