Showing posts with label bambi. Show all posts

Saturday, 2 March 2019

bambi in meadowland


 I made a bambi quilt last year as a christening gift and had some fabric left over. Since the little girl was turning one this month, I thought I’d make a cushion to match. I couldn’t decide what patchwork design to make, but after a bit of thought, I decided the meadowland was a great choice.  Although the blocks are normally done a bit more scrappy or random, I thought the simple colour palette would work and the bambi images were perfectly sized for the blocks too. 


I made up the block and backed with fusible batting. I quilted with diagonal lines to follow the block and blend with the original quilt. I found a cushion pad the perfect size to fit the block, but it would work well to add a border if you had a larger cushion. I simply made the back with a zip inserted into the white bambi fabric cut to size. For a nicer finish, I made binding from the pink print to edge the cushion. Binding takes extra time to hand stitch around, but I think it is worthwhile.   

If you like this pattern, you can purchase from then came june and join the sew along on instagram with #meadowlandqal . I'll be joining the fun making myself a quilt, so you can follow my progress with it over on instagram.

Mx

Wednesday, 27 June 2018

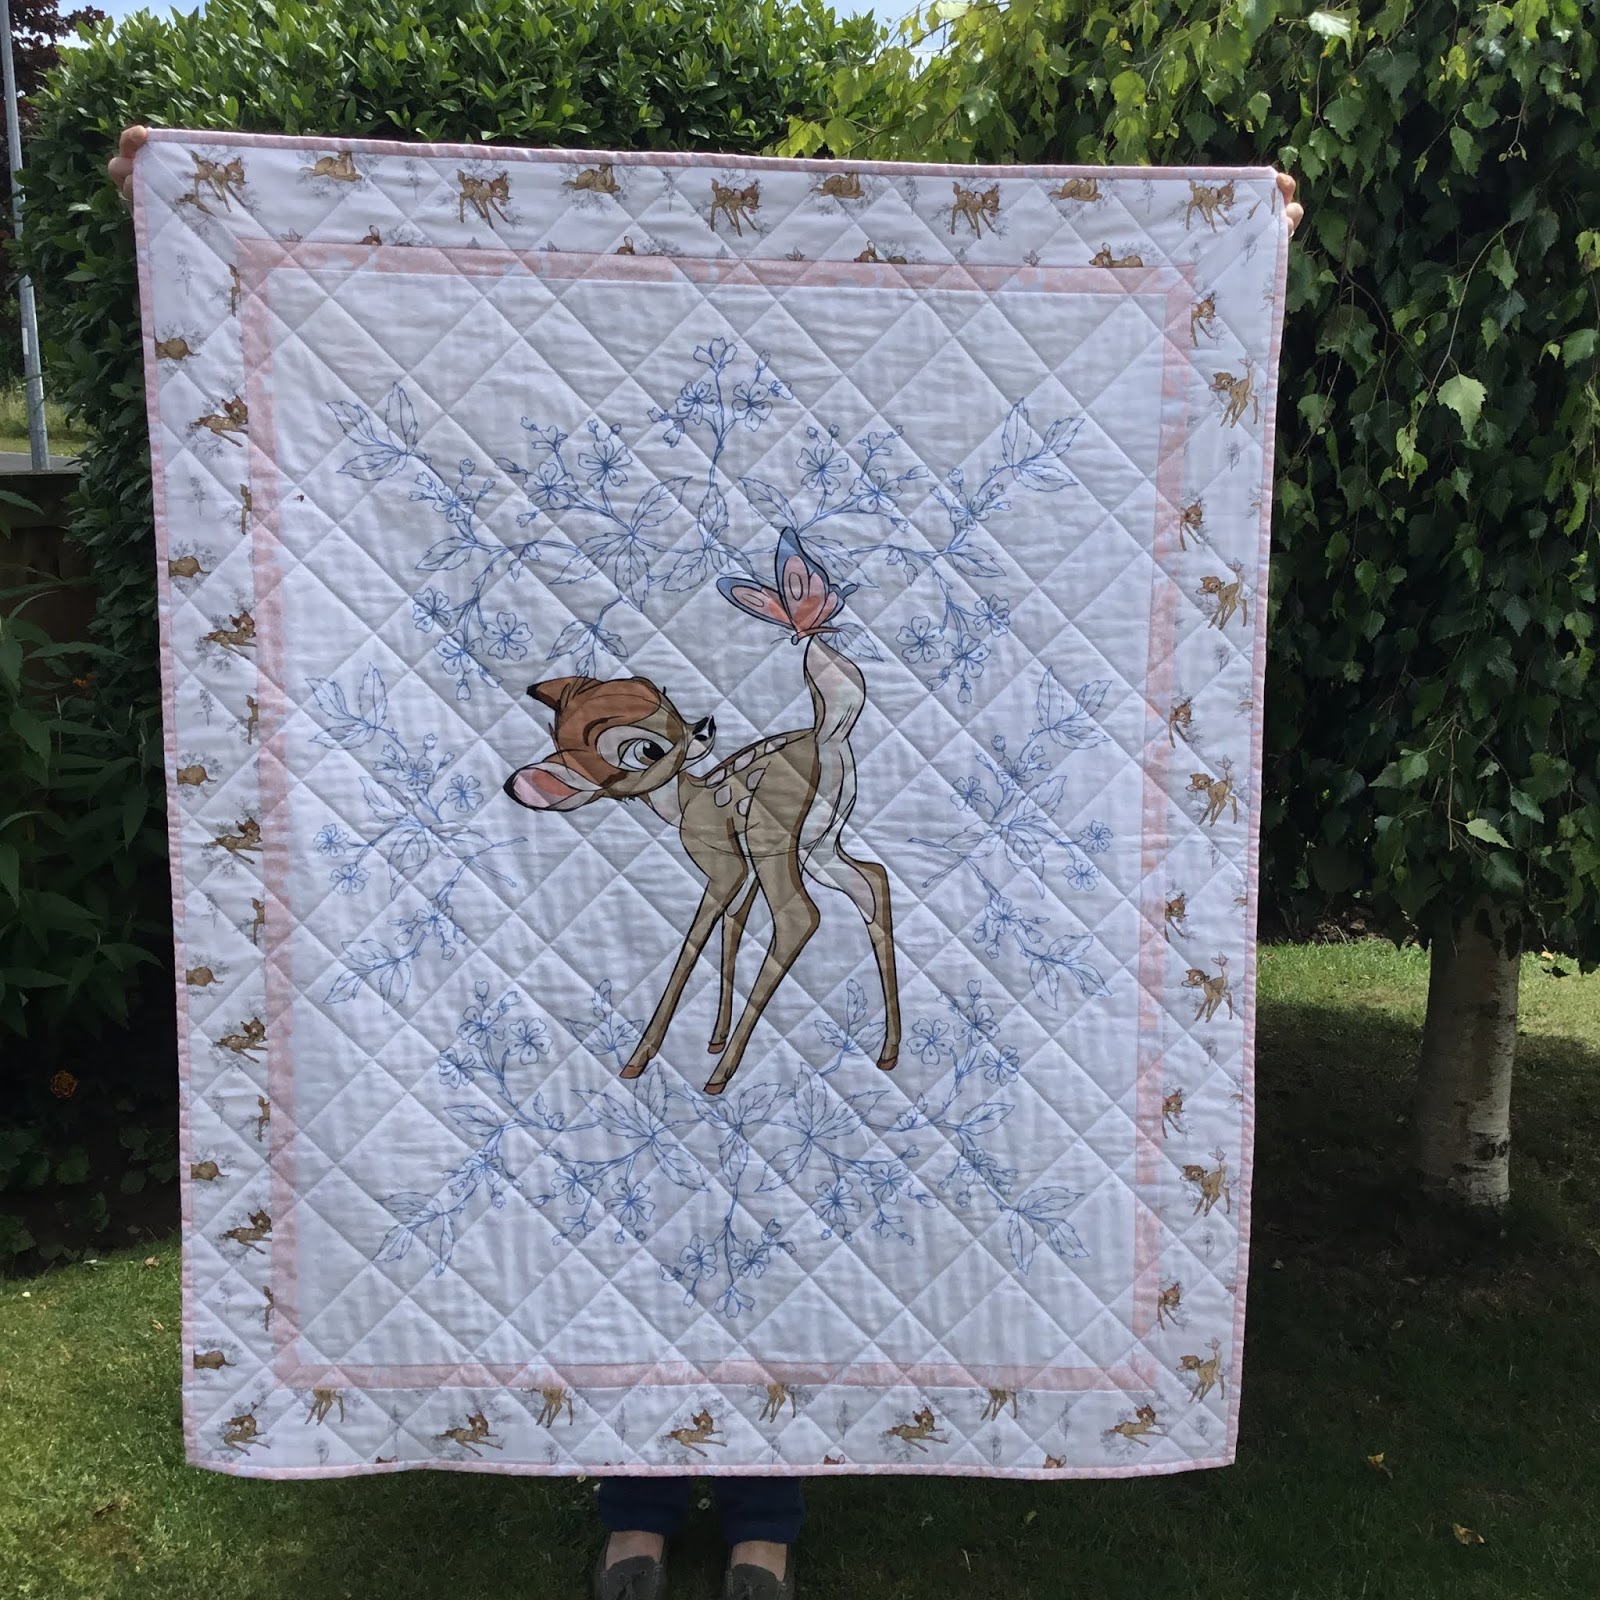
bambi quilt


This is a very special quilt, not only is it the first quilt I have finished, but because it was made for a special occasion. A close friend had her first child and I just had to make this as a christening gift. Knowing how much we both like Disney, I knew this would be loved by them both for many years.
I originally bought the bambi panel to make a quilt for myself, but once the little one arrived, I knew it would be prefect for her.
I used other fabrics from the range to make borders, a pink to really frame the panel and add more colour, and then a larger border of small bambi images. I used the grey silhouette bambi fabric for the backing, and more pink for the binding. I chose to make my quilt to 43x52”, this was mainly so I didnt have to join fabric for the backing but it worked out a really nice size.
 
 
Since this was my first quilt and there was a deadline, the panel really helped cut down on the time it took to piece the quilt top. I did choose to thread baste my quilt sandwich as I'm not very good with pins and wanted it secure to help with the quilting. I did simple straight line quilting with my walking foot, using masking tape to act as a guide. I originally intended to just do evenly spaced diagonal lines, but decided to space them differently to make more of a pattern. I think this adds far more interest while keeping it achievable for my first quilt. 
Once I had finished stitching I needed to remove all my tacking stitches and trim all the edges, removing any excess batting. For binding I cut 2.5” strips and folded them in half before attaching to the edge of my quilt. I used a ladder stitch to hand sew the binding on the reverse to finish.
The final touch was a handmade by label, I recently purchased from wunderlabels uk... Luckily they arrived in time!! I just used a backstitch to attach it to my quilt.
 
Add caption

I am really pleased with how the quilt turned out, it was happily received and know it will be cherished. I can't wait to get sewing some more now ... I think its safe to say I have the quilting bug !!
Mx

I laid wool over the quilt to help decide on a quilt pattern.

close up of thread basting in progress