Showing posts with label girls. Show all posts

Saturday, 4 January 2020

Meadowland quilt

 
I wanted to share this quilt with you now that it is finally finished... it took most of 2019 to complete, but I am super proud of it!!


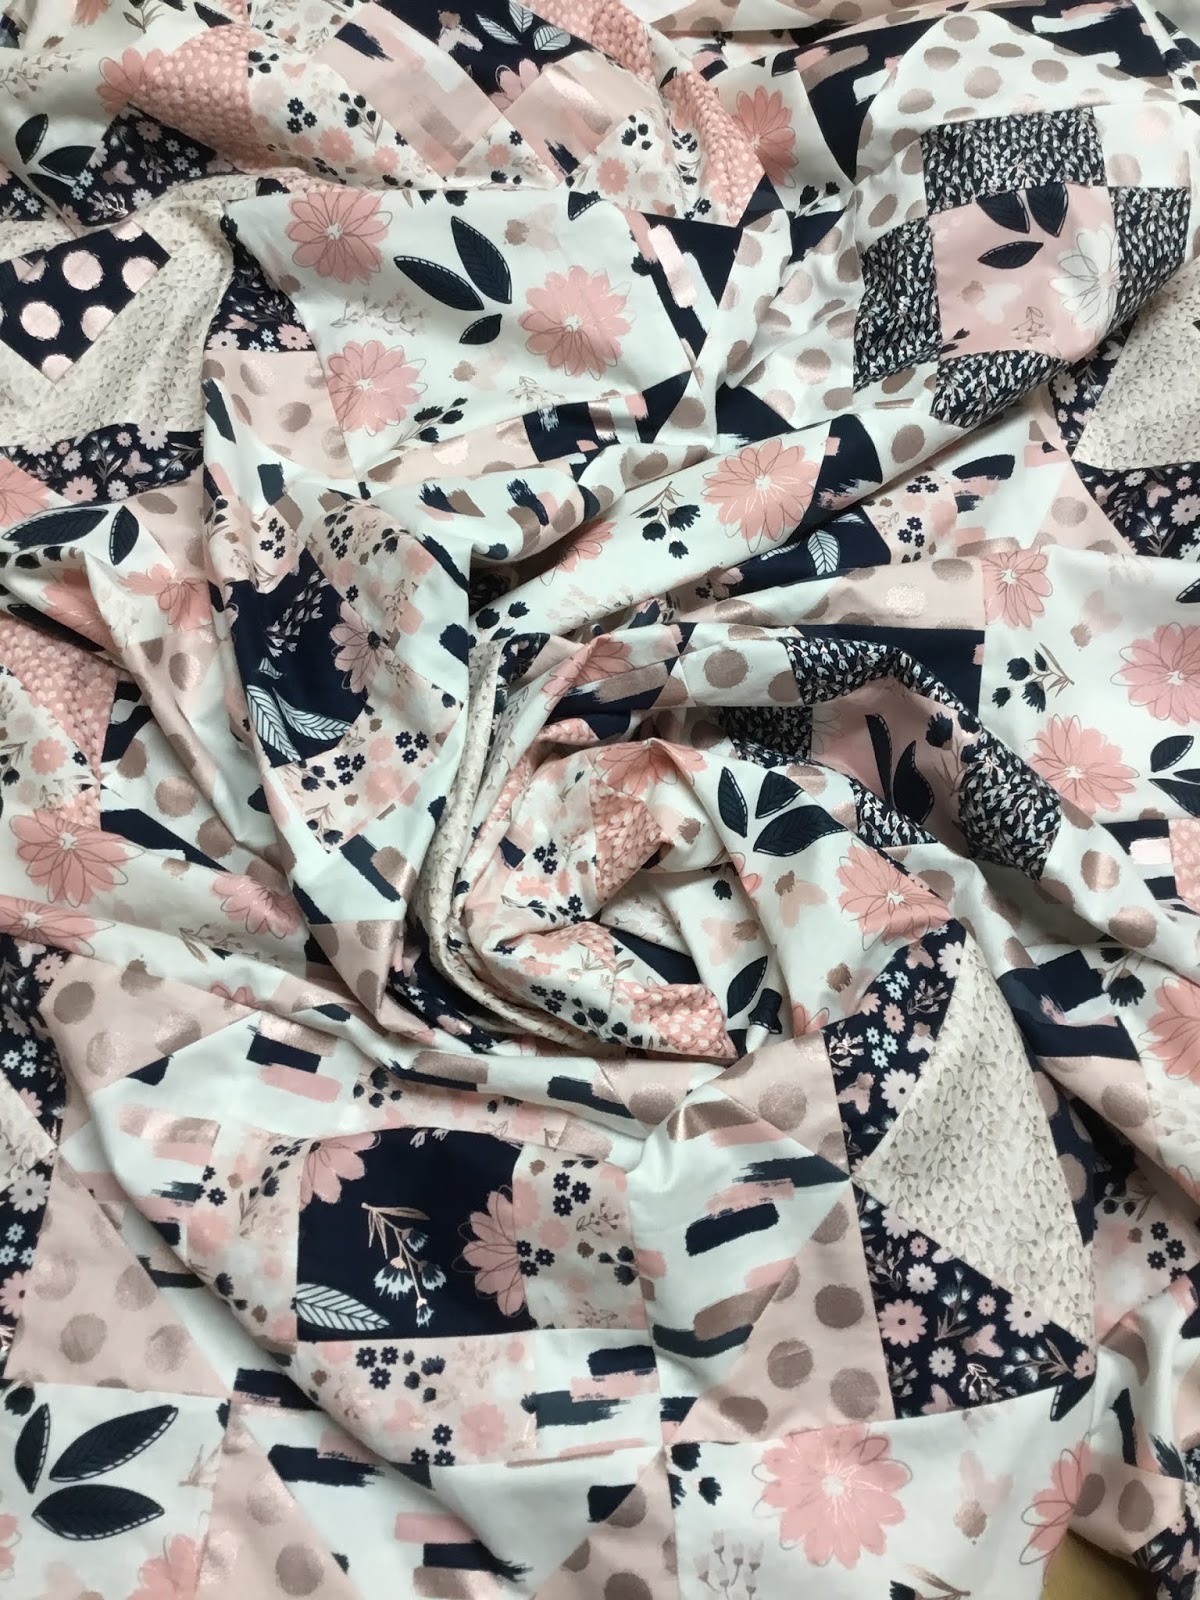
I decided to join the quilt-a-long on instagram for the meadowland quilt, run by the pattern designer @thencamejune. This ran from February 25th for 6 weeks to finish with the quilt top. I had bought the my minds eye for riley blake 'blush' collection with the intention of making myself a quilt to go on my bed, so this seemed like the perfect excuse to start. Although the deadlines were stressful, they did keep me motivated to stick with it and keep sewing.
 
 
The hardest thing was choosing the fabric placement to get a nice mix of colours and prints across the quilt top. It was the first time I had followed a proper pattern for a quilt so working the fabrics into the existing design was something new for me. I was originally going to just go for it and let it be random, but ended up opting for a repeat of four blocks which used all of the fabrics once.


Once happy with the design, I began making. I cut all of my pieces out and used the chain piecing method to speed up the initial sewing process. I was very cautious with the flying geese sections to ensure my fabric ran in the same directions and the points matched perfectly. I'll admit there were some tears and unpicking to shift the blocks over just a few mm's to get it right and although not perfect it's as near as is possible !!


I made the quilt top to one of the largest sizes on the pattern and when it was pieced, it was quite an impressive size. It covers a double bed easily and meant a few step ladders were needed by my helpers to get a full length photo !!

 
Given the size of the quilt, I decided to treat myself to having it long arm quilted. I pieced the pink backing fabric and sent it off to the cumbrian longarm quilter and chose a nice swirly design as I didn't want to clash with the fabrics or patchwork design. I got it back in early May, around my birthday and was super excited to see it quilted, but also daunted by the prospect of trimming and binding it.
 
 
When December came around, I was determined to get the quilt done before Christmas, so I got some help to get the binding on and sat with Christmas films to hand finish the 9m of binding.


On Christmas eve, I finally had a completed quilt. With the festivities, I didn't get around to laying it out and photographing it. I would have liked to have taken it to the coast for some pretty pictures with scenery, but instead opted for keeping it clean and showing it on the bed !!
 
 
I'm rather proud of this quilt as it's my biggest one to date and I get to keep it and enjoy it for years to come. I'm also pleased to say it's another project ticked off my finish-a-long list too.
 
Mx

Tuesday, 31 December 2019

Glam bag

I made this bag as part of a Christmas gift for a friend. She's a beautician so when I saw these fabrics, I knew they would be perfect for her bag. I mixed prints from the 'Kiss me, Kate' range by See Kate Sew for Riley Blake and 'Glam Girls' by American Dream House for Michael Miller.
 

I designed the panels to mix the fabrics and spread the colours. I then worked out the quilty maths and cut my pieces as follows:
 
lips: 15 1/2" x 3 1/2"  +  14 1/2" x 3 1/2"
xox: 3 1/2" x 4 1/2"  +  3 1/2" x 4 1/2"
bows: 9 1/2"x 2 1/2"  +  3 1/2" x 5 1/2"
lipsticks: 6 1/2" x 6 1/2"  +  6 1/2" x 4 1/2"
eyelashes: 9 1/2" x 4 1/2"  +  3 1/2" x 4 1/2"
stripe: 6 1/2" x 4 1/2"  +  6 1/2" x 5 1/2"
 
The panel was made using the quilt as you go method with 1/4" quilting and seam allowances. I then added the sequin print to the top and base with 1/2" quilting. I created the handles with the same sequin fabric, with interfacing for strength and batting for comfort.  
 
 
I boxed the corners on the base and lined with the bows fabric to finish. I also added a little handmade label into the side seam.
 
 
I'm pretty pleased with how the bag turned out and think it's a useful size... Thankfully my friend is also pleased with it!! This is one of my finish-a-long projects which you can find here.
 
Mx

Friday, 27 December 2019

Christmas coin purse...


This Christmas, I am taking part in the #simpleandsweetchristmaspouchswap on Instagram. For the swap you needed to make one pouch and up to two Christmassy extras. I will be sharing the main pouch after Christmas, I have already shared my first extra here and this is the second extra I sent...

 
It is a simple coin purse for all those festive shopping trips... or I imagine it might hold a small Christmas stitching project.
 
I used cotton and steel Noel and tinsel fabrics, plus some basics in the pink colours. I did some scrappy patchwork to make the most of the fabric I had, plus the chance to include more prints. I did  choose the cute candy cane print for the lining. I added a little star charm to the zip pull as a final detail. Since my partner had said she liked these fabrics, I really hope she likes what I made.


If you want to make your own zip pouch, but don’t know where to start, I made this tutorial a while ago. Read it here!

I am also including this project as one of my finish-a-long Q4 finishes. You can view my list here and learn more about the challenge on their blog here.

Mx

Tuesday, 3 December 2019

Dashwood advent

After making a stocking last year for a friends little girl, I decided an advent calendar would be perfect for this Christmas. I picked out the dashwood studio panel, with a very cute illustration, and little pockets for chocolate coins.
 
 
After I’d cut out the pockets, I decided to wundaweb all of the sides down to help stop it fraying with use. I top stitched across all of the top edges and then stitched all the pockets on to the panel.
I cut a piece of backing and wadding to the same size as the advent panel. I also cut out 4 rectangles of backing fabric to create hanging loops. With these, I stitched 2 pieces of backing fabric wst, then turned it out and repeated to create 2. I topstitched the two pieces in place to the upper section of the backing, leaving a gap between them. I then stitched the advent rst to the backing and wadding pieces, trimmed some wadding from the seam allowance and turned out. I stitched up the turning gap and added some top stitching/quilting to the advent to hold the layers together. I cut a piece of dowel to size and threaded it through the tubes. I then ladder stitched both outer ends closed to stop it falling out. The gap in the middle means you can just hang it up or add a ribbon if you need too. 

 
This is one of my finishalong projects, you can check out the rest of my list here.

Mx

Wednesday, 15 May 2019

My birthday stitchers swap

 
This year I signed up to take part in a birthday stitcher swap, over on Instagram. I recently had my birthday and these are the wonderful gifts I received. Maria (aka @madame_tailor on Instagram) sent my gifts from Germany.

First is my main handmade gift, which is this super carry all caddy. Marie used some beautiful art gallery fabrics and rose gold hardware. It looks so pretty plus with so much space and pockets, I’m sure will be very useful for holding plenty of projects.


My second handmade gift was this mini makers station, which is designed to go over the arm of a chair. It has some great pockets on either side, a thread catcher which buttons on and a tray on top. It has magnets in the bottom of the tray and pin cushion to stop them falling off and so you can use it separately too if you wanted. Maria used some more of the sonata fabrics that coordinated with the caddy. It is backed with a really great low volume print that I love. The third handmade item is this adorable mouse toy. She has a pretty dress and a beautiful hand stitched face, even some blush.


Lastly is this Lola zip pouch. It matches the other 2 gifts and I think it is my favourite print from that range too. They look so lovely together, I definitely think I will have to keep them all together and be super organised. 

 
Maria also included a few other extras including a mini charm, pin cushion ring and ribbon (shown in the makers station above) some chocolates and bath soaps. Not forgetting my dog, Millie, who also got some treats and a toy... Although she was rather more interested in my mouse! 
 
 
I can’t share what gifts I have made for my partner yet, because it’s not my her birthday until later this year. I would say I don’t want to spoil the surprise, which I don’t, but I also haven’t made them yet! 
 
Mx

Tuesday, 14 May 2019

Liberty kantha cushion


I had seen the #libertysocietykanthastitchalong on Instagram last year...A chance to use some of my liberty fabric stash and try something I had never done before. Lots of beautiful projects were made last year, but I didn’t get chance to join in so I was excited to get started this time round.
I patch-worked my panel on the machine, using some of the liberty scrap packs I had bought from duck egg threads online. I then chose my batting and added a piece of white cotton, to make my quilt sandwich. I chose a few colours of #8 perle threads. It was my first time using these too, with a slight sheen, they where easy to stitch with. I used my add-a-quarter ruler to keep marking a guide line with a clover Hera marker. 
Unfortunately the quilt for nanas 80th birthday took priority, so I only got time to finish my panel while the sewalong was still running. I should have picked a smaller project but I just knew I wanted a cushion. To make up the cushion, I used a bigger piece of liberty tana lawn to coordinate with the front. Since I didn’t want to bind the cushion, I just did the turn out method, but it didn’t quite look right. I top stitched a border about 1/4” from the edge and I think this was the finishing touch it needed. 
It was quite relaxing to do the kantha stitching and gives such great texture. I also think it was quite good practice for if I wanted to do some hand quilting in the future. The liberty is so soft and the overall cushion feels very luxurious. I love it and am so pleased I took the time to make it.


This was one of my Q2 finish-a-long projects. If you want to read that list, click here!
Also if you fancy looking at some very beautiful projects similar to mine...Go to Instagram and check out #libertysocietykanthastitchalong, which was hosted by the lovely @tincatsew.
Mx


Monday, 22 April 2019

Easter bunny bag


I made this cute drawstring bag as an Easter gift for a little girl. I bought the ‘bunny tales’ by lucie crovatto by studio e fabrics and some carrot fabric (I don’t know the name and my fq doesn’t have a salvage), a while ago and knew it would be perfect for this project. I added some dashwood twist fabric and some pale blue ribbon that I thought matched the fabrics. I made the pouch with a boxed base so that a bunny soft toy would sit inside and in years to come there is space for plenty of chocolate eggs. I took extra time and care to stitch the turning gap up neatly so the bag is also reversible.


This isn’t a tutorial but if you're interested in the measurements (also so I have a reference point) I have written them below:
4 @ 7” x 9” with a 2 1/4” square cut from all the bottom corners
2 @ 1 1/2” x 8”
2 pieces of ribbon approximately 25”

Mx

Saturday, 23 March 2019

Pretty little mermaid


Last year this pretty little mermaid cross stitch kit was a free gift with a magazine. It was a fun little project to stitch in the car. I then left it unfinished til today. I added some pink felt on the reverse and used DMC threads (E316 & 48) to stitch around the outside of the mermaid. I then trimmed both fabric layers to the same size. 
This is one of my finish-a-long projects and I’m so happy I finished it. It looks so cute, especially in its gifting card, that was supplied in the kit.
To see my other finish-a-long projects click here!

Mx


Saturday, 2 March 2019

bambi in meadowland


 I made a bambi quilt last year as a christening gift and had some fabric left over. Since the little girl was turning one this month, I thought I’d make a cushion to match. I couldn’t decide what patchwork design to make, but after a bit of thought, I decided the meadowland was a great choice.  Although the blocks are normally done a bit more scrappy or random, I thought the simple colour palette would work and the bambi images were perfectly sized for the blocks too. 


I made up the block and backed with fusible batting. I quilted with diagonal lines to follow the block and blend with the original quilt. I found a cushion pad the perfect size to fit the block, but it would work well to add a border if you had a larger cushion. I simply made the back with a zip inserted into the white bambi fabric cut to size. For a nicer finish, I made binding from the pink print to edge the cushion. Binding takes extra time to hand stitch around, but I think it is worthwhile.   

If you like this pattern, you can purchase from then came june and join the sew along on instagram with #meadowlandqal . I'll be joining the fun making myself a quilt, so you can follow my progress with it over on instagram.

Mx

Tuesday, 8 January 2019

Diamonds for Christmas...


I made this cushion as a gift for my friend Zena for Christmas. I used cotton and steel fabric in pink and red tones. I mainly used the Noel and tinsel fabric ranges but added some off their basics to break up the prints. I knew she loves diamond patchwork so it was an obvious design choice for her cushion. I cut quite a few diamonds then played around with the layout until I was happy. I took a picture as reference and began sewing. I found it a little confusing to sew together at first, but I soon got the hang of things. I was quite pleased with how it came together and that most of my points matched. I used some fusible batting on the back and quilted using some verigated thread. I chose to just do a straight line of quilting either side of the seams. I made up the back of the cushion in the light pink colour and included a zip. I couldn’t decide which colour/fabric would look best so opted to make this cushion using the turning out method instead of binding it like a quilt.


I also added some extras to my parcel, a haberdashery design biscuit tin with cookies inside, a winter scented reed diffuser. I cut some low volume fabric to make a mini hexie charm pack and made a couple of felt decorations for her tree. I included this cute Christmas card that I made too, which used the perfect image since Zena loves deers. 
Mx


Wednesday, 27 June 2018

bambi quilt


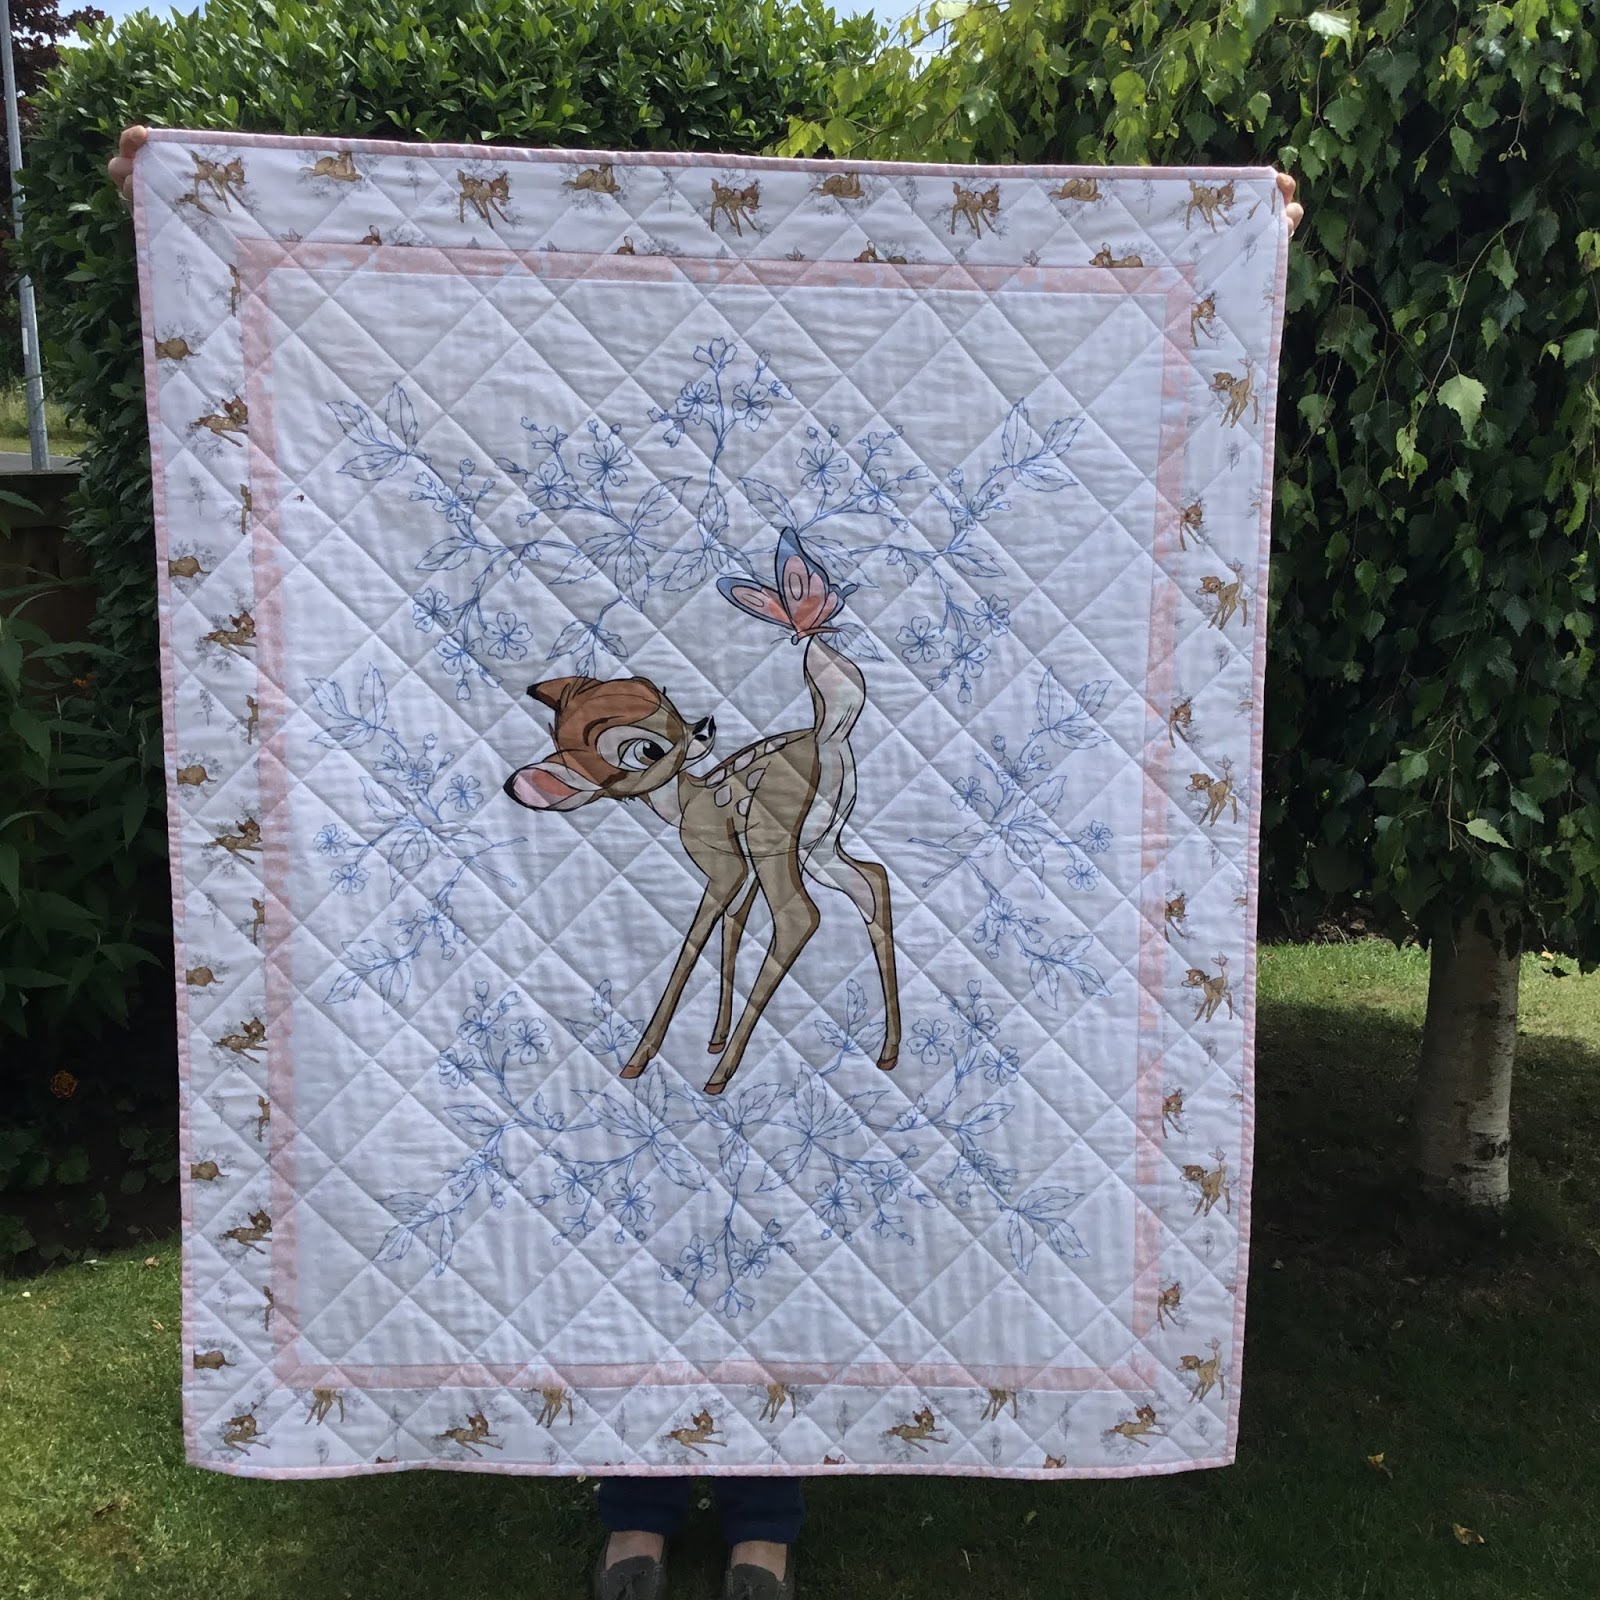
This is a very special quilt, not only is it the first quilt I have finished, but because it was made for a special occasion. A close friend had her first child and I just had to make this as a christening gift. Knowing how much we both like Disney, I knew this would be loved by them both for many years.
I originally bought the bambi panel to make a quilt for myself, but once the little one arrived, I knew it would be prefect for her.
I used other fabrics from the range to make borders, a pink to really frame the panel and add more colour, and then a larger border of small bambi images. I used the grey silhouette bambi fabric for the backing, and more pink for the binding. I chose to make my quilt to 43x52”, this was mainly so I didnt have to join fabric for the backing but it worked out a really nice size.
 
 
Since this was my first quilt and there was a deadline, the panel really helped cut down on the time it took to piece the quilt top. I did choose to thread baste my quilt sandwich as I'm not very good with pins and wanted it secure to help with the quilting. I did simple straight line quilting with my walking foot, using masking tape to act as a guide. I originally intended to just do evenly spaced diagonal lines, but decided to space them differently to make more of a pattern. I think this adds far more interest while keeping it achievable for my first quilt. 
Once I had finished stitching I needed to remove all my tacking stitches and trim all the edges, removing any excess batting. For binding I cut 2.5” strips and folded them in half before attaching to the edge of my quilt. I used a ladder stitch to hand sew the binding on the reverse to finish.
The final touch was a handmade by label, I recently purchased from wunderlabels uk... Luckily they arrived in time!! I just used a backstitch to attach it to my quilt.
 
Add caption

I am really pleased with how the quilt turned out, it was happily received and know it will be cherished. I can't wait to get sewing some more now ... I think its safe to say I have the quilting bug !!
Mx

I laid wool over the quilt to help decide on a quilt pattern.

close up of thread basting in progress