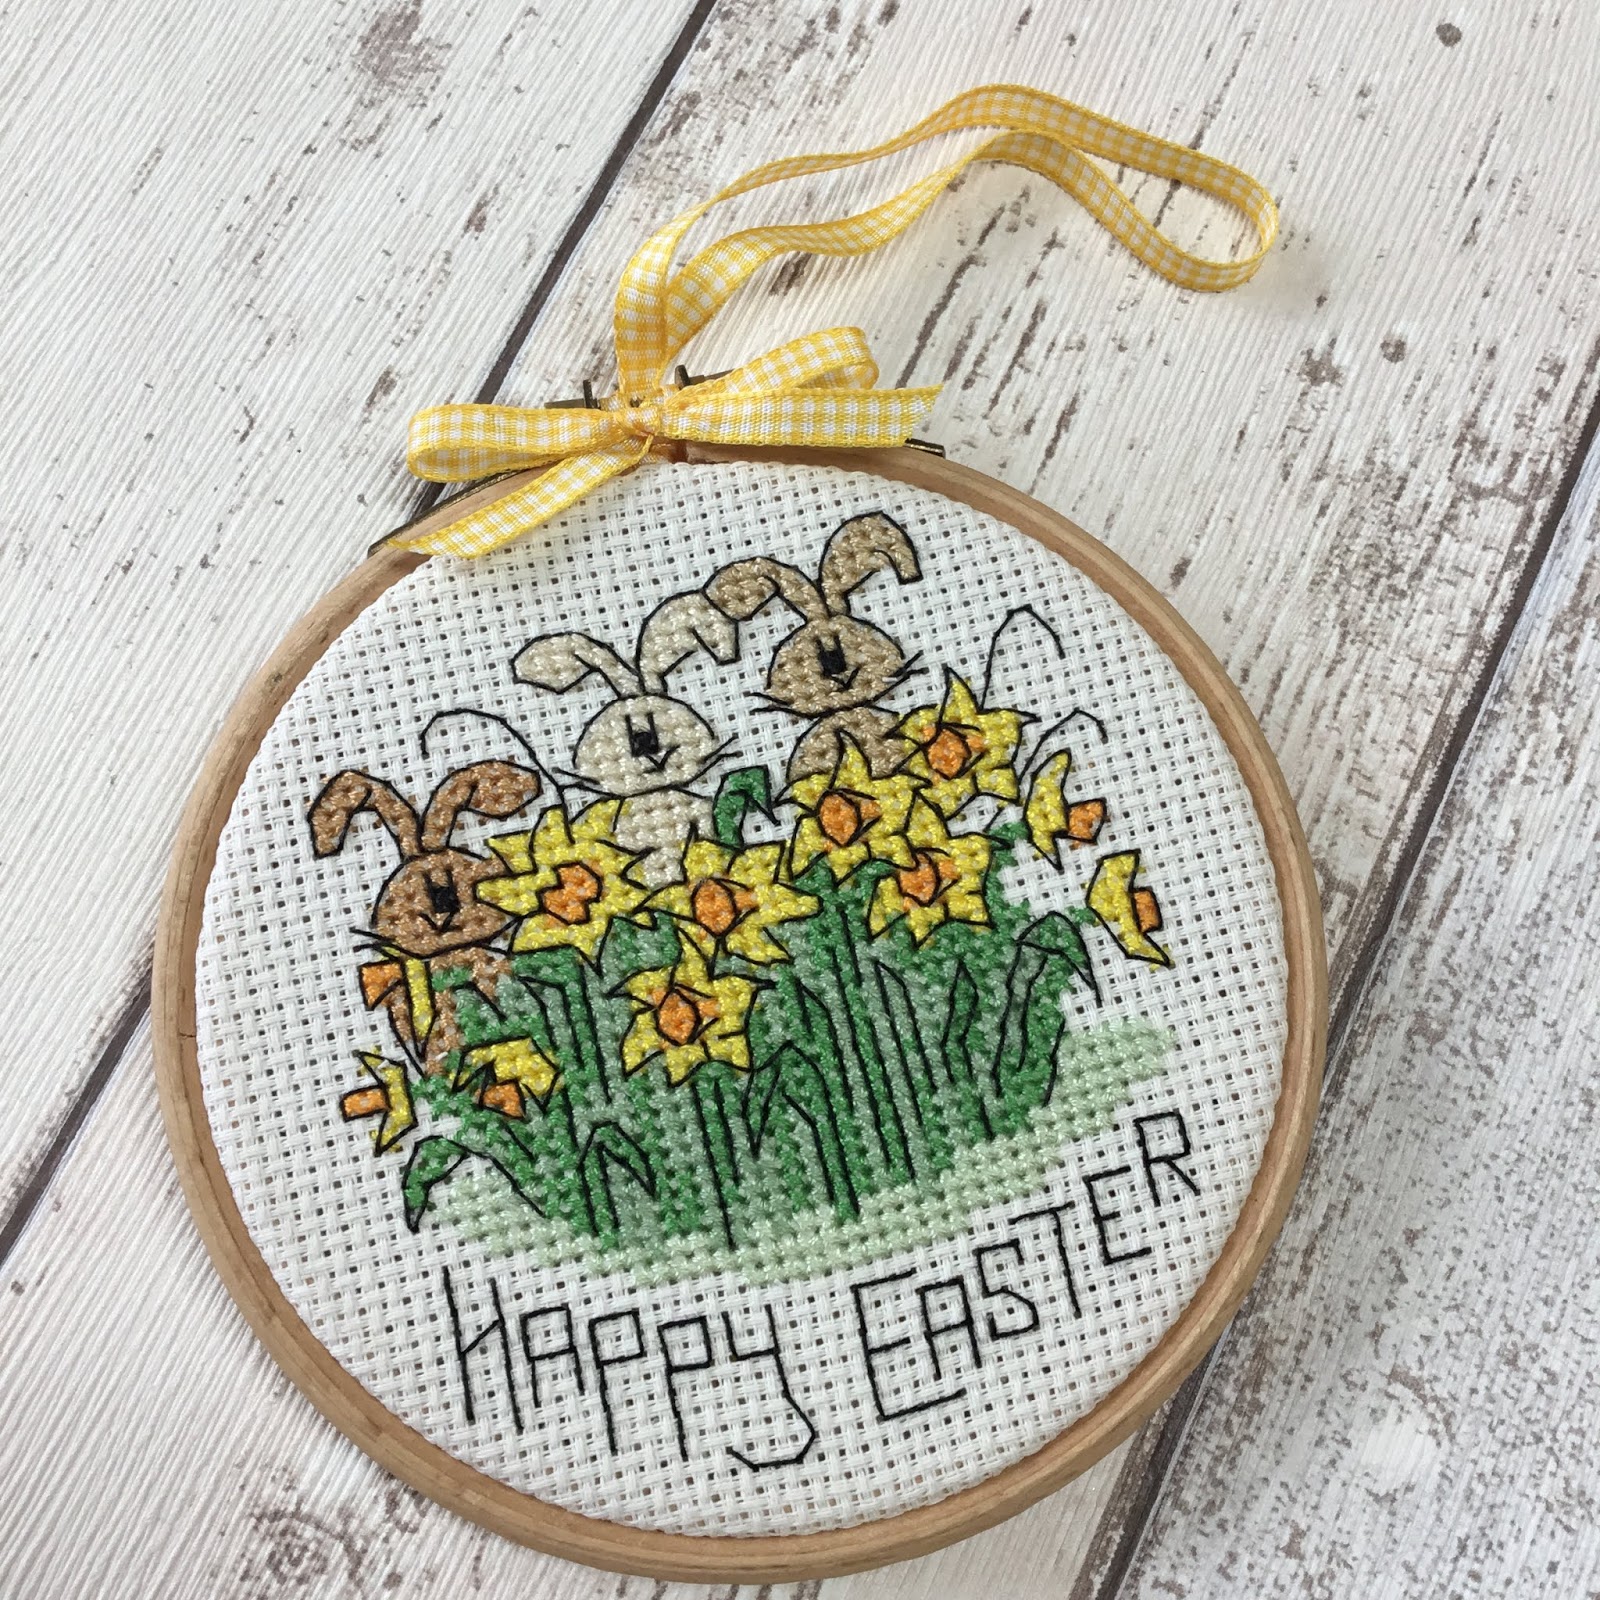
I bought a daffodil patch cross stitch kit from hobbycraft and thought it would make a lovely Easter decoration. I stitched it last summer but since Easter had already gone, I didn’t finish it til now.
To make my hoop art decoration I firstly chose my hoop size and drew around the hoop onto some card, I used this to make a template for later. I took my finished stitched panel and placed into an embroidery hoop. I pulled the fabric nice and tight into the hoop and used a screw driver to really tighten the top, then trimmed the fabric to be an even size all around. I added glue to the inside of the wood frame and stuck the fabric down neatly.
I then made sure my card circle was the right size to cover the back of my hoop and cut a piece of yellow fabric, adding a good 1/4” for seam allowance around the card template. I did a running stitch around the edge of the fabric and pulled the ends to tighten the fabric around the card. I ironed this then let it cool. I removed the card to be just left with the fabric circle. I laid this onto the back of the hoop and stitched in place, using a ladder stitch with some neutral cotton. I had to bend a needle to make it easier for me to stitch it neatly.
The final thing to do was add the ribbon for it to be hung up. I took a length of yellow gingham ribbon and tied a knot to secure both ends together creating a loop. I then threaded the ribbon loop through the gap near the screw and hooked it through itself to secure to the hoop, with the knot positioned under the screw. I cut a second piece of ribbon and wrapped it around, to cover the knot and most of the metal bar that would be on show, and tied it into a cute bow with the ends trimmed to size.
A friend celebrates Easter much more than I do, so I have decided to gift this decoration. Since I am gifting this, it needed a box. I used kraft card to make a square base. The hoop is slightly longer than wide due to the fixings at the top, so to stop it shuffling around in the box I used cream card to make an insert. This holds the hoop snugly in place. I made an acetate lid, to just slot in between the 2 pieces. I’m really happy with how this turned out and think it looks quite professional.
This was also one of my finish-a-long projects, although I finished it in Q1 I am going to enter it into Q2 since I didn’t want to spoil the surprise. You can read more about my finish-a-long projects here.
Mx