Showing posts with label decoration. Show all posts

Sunday, 29 December 2019

Butterfly cross stitch

 
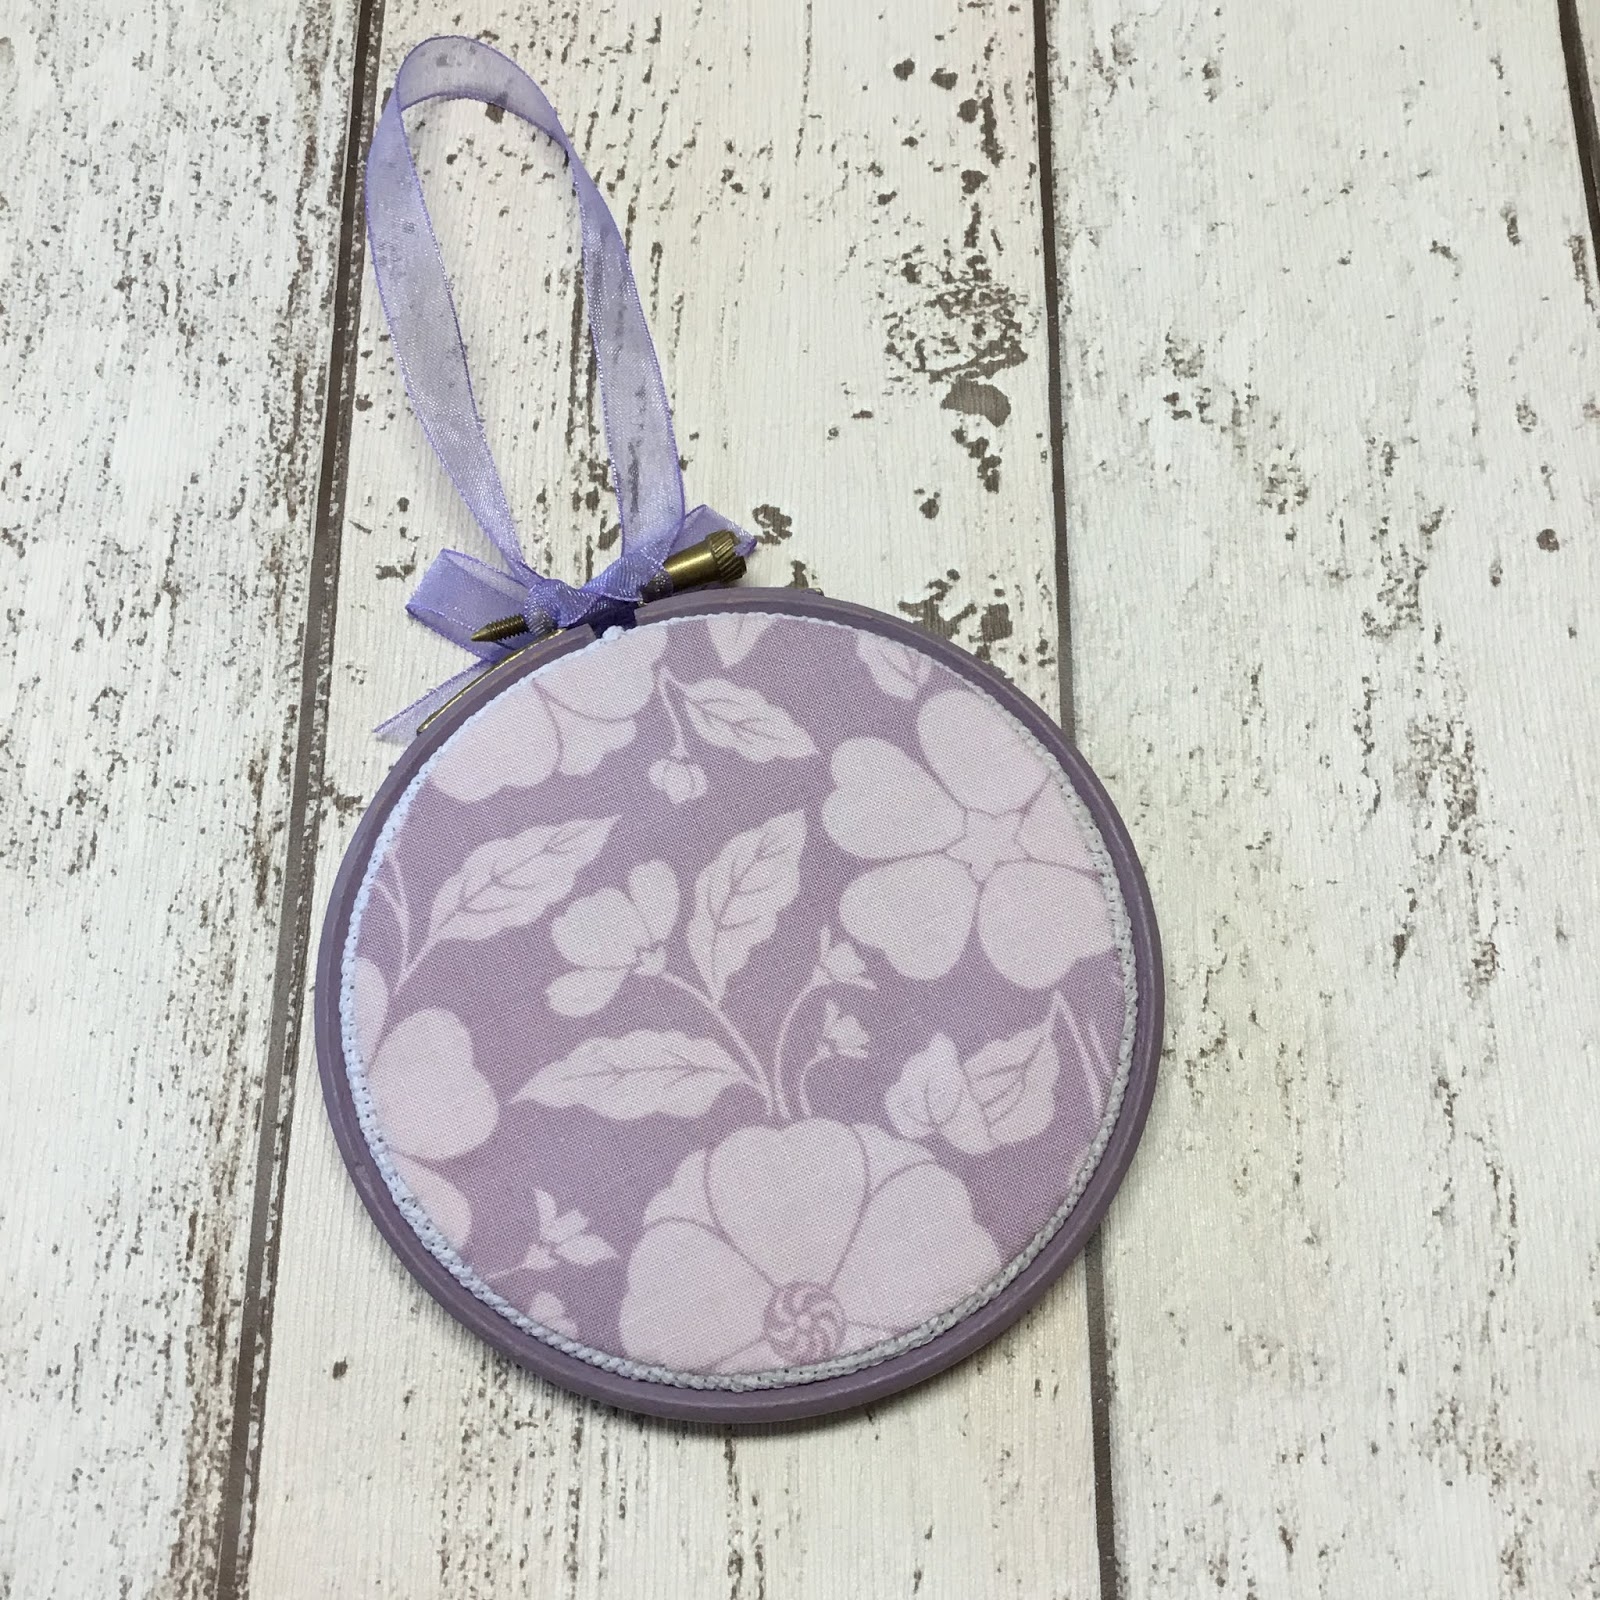
I made this little gift using the butterfly hoop kit from cross-stitch crazy magazine I got a while ago. I followed the kit to stitch up the butterflies on the front, but didn't like the plastic hoop supplied with it. I decided to paint a wooden hoop the same size using my own custom mixed lilac shade of Annie Sloan (I'm afraid I can't remember which colours went into it!).
 
 
I added the coordinating fabric to finish the back of the hoop, first glued and then ladder stitched to secure it in place. The final touch was some organza ribbon to create a hanging loop and bow to cover the screw.
 
 
I finished this project earlier, but couldn't share until now as it was part of a Christmas gift. It is on my Q4 finish-a-long list which you can find here ....
 
Mx

Tuesday, 10 December 2019

a Christmas banner...


This Christmas I am taking part in the #simpleandsweetchristmaspouchswap on Instagram. For the swap you needed to make one pouch and up to two Christmassy extras. More about the pouch I made later, but here is the first of my extras.
 

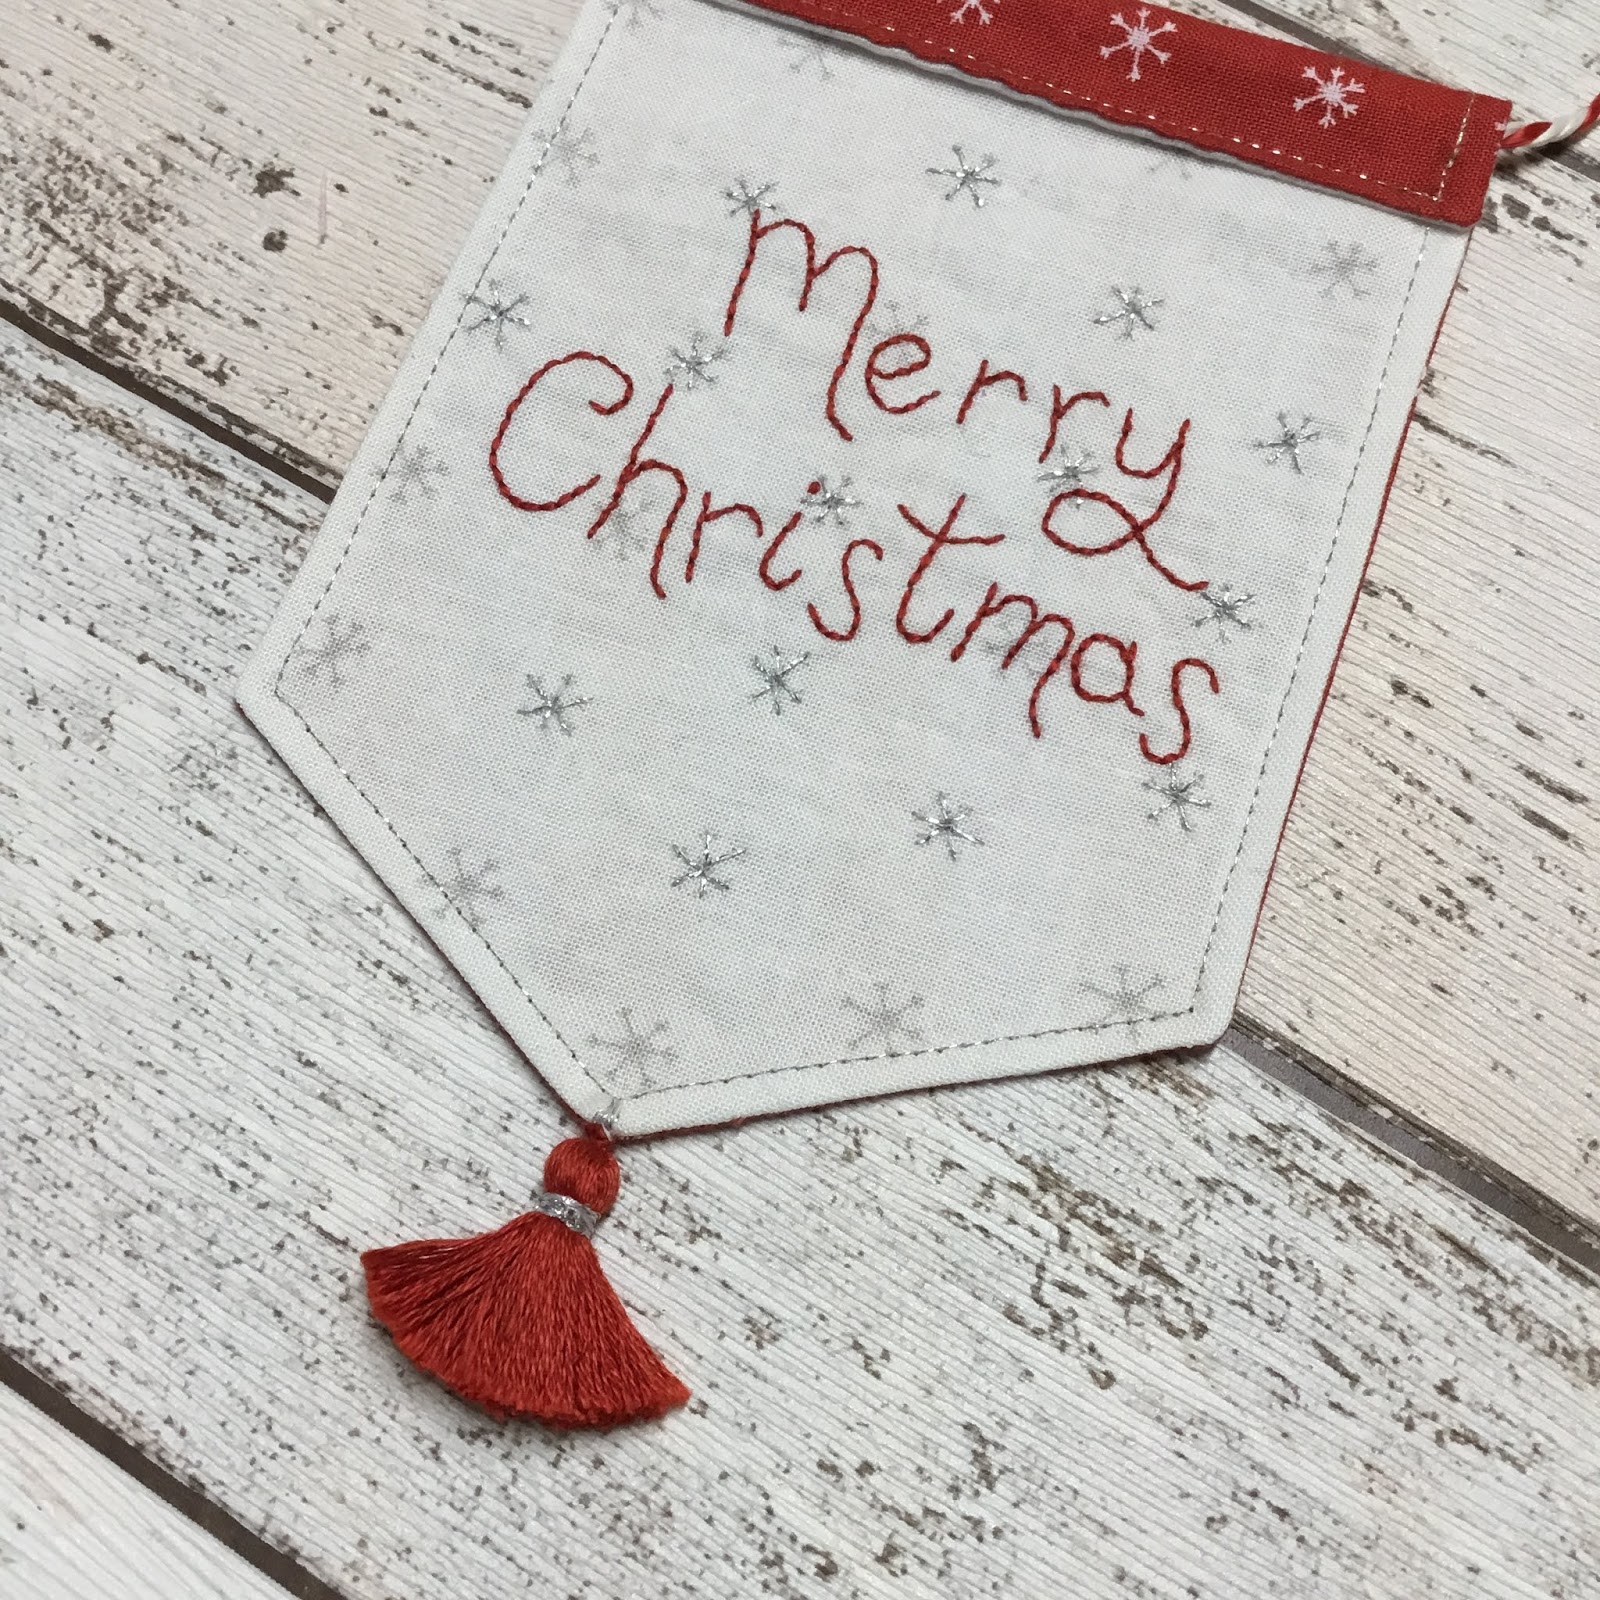
I made this little Christmas decoration banner. I used some of the moda merriments fabrics I had left over from my escape and create blog project (read about this here). Since my partner didn’t want too traditional, I thought this was quite a good choice with the snowflakes. Since the colours were still abit traditional though, I tried to hand letter the ‘Merry Christmas’ in quite a modern style.
I hand stitched the letters with a coordinated thread colour, then added sparkle with some silver thread over the existing snowflakes.
 
 
Once I’d finished stitching, I placed my two fabrics right sides together and drew my banner shape. I stitched along the lines, leaving a turning gap, then trimmed excess bulk from the corners. I turned it out and gave it a good press before stitching closed the gap. I used the silver thread again to top stitch around the edge of the banner. I folded over the top and top stitched in place. I added a section of paper straw inside the fold to hold the banner and threaded some twine through for hanging tied with a little bow in the top, so my partner can either hang it straight up or re-tie it around something.
 
 
The banner needed one final detail though... a tassel. Since I didn’t have one and wanted it to match, I decided to make my own. Although I’m happy with the results, please remind me not to do this in future! If you would like to make your own, I've included the template for the lettering below.

 
This is one of my Q4 finishes for the finish-a-long challenge, read more about my list here.

Mx

Tuesday, 3 December 2019

Dashwood advent

After making a stocking last year for a friends little girl, I decided an advent calendar would be perfect for this Christmas. I picked out the dashwood studio panel, with a very cute illustration, and little pockets for chocolate coins.
 
 
After I’d cut out the pockets, I decided to wundaweb all of the sides down to help stop it fraying with use. I top stitched across all of the top edges and then stitched all the pockets on to the panel.
I cut a piece of backing and wadding to the same size as the advent panel. I also cut out 4 rectangles of backing fabric to create hanging loops. With these, I stitched 2 pieces of backing fabric wst, then turned it out and repeated to create 2. I topstitched the two pieces in place to the upper section of the backing, leaving a gap between them. I then stitched the advent rst to the backing and wadding pieces, trimmed some wadding from the seam allowance and turned out. I stitched up the turning gap and added some top stitching/quilting to the advent to hold the layers together. I cut a piece of dowel to size and threaded it through the tubes. I then ladder stitched both outer ends closed to stop it falling out. The gap in the middle means you can just hang it up or add a ribbon if you need too. 

 
This is one of my finishalong projects, you can check out the rest of my list here.

Mx

Saturday, 2 November 2019

My Christmas stocking


For a few years I have seen a Christmas stocking sew along on instagram. It is hosted my @sunnydaysupply and all the stockings they feature are fabulous... I just had to make my own!
I was going to join in last year, I even started, the plan for my patchwork soon changed though and that patchwork turned into a cushion that was gifted to a friend.
Fast forward to this year and although I had too many projects already, I started my stocking again. This time I wanted to try something different and just have some fun sewing. I decided I would use the scraps I had left from cutting out a quilt. It is some heather Ross sugarplum fabrics, with cute mice! I then chose to patchwork using the quilt as you go method. I have seen it lots on instagram but not found the right project to actually try it... til now.

It was so much fun to just add pieces and quilt, although I did consider fabric placement a little. I did end up with a white patch on one side, but I still think it looks ok especially since its only the one side. I wasn't planning to do both sides, but I was enjoying sewing and had scraps left, so I figured why not?


I finished quilting both sides of my stocking and trimmed to the same size. I cut out the matching check lining, which was a big  piece left over from the same quilt.
Once I had sewn it all together, I still felt like it was missing something. I decided I'd add a pom pom trim... I have kept buying them without a project and they seemed like the perfect finishing touch for this. As it was my first time sewing pom poms, I went for a simple straight top stitch in the middle of the band. I did have to change to a zipper foot on my machine to get past the pom poms. Part of me wishes I had taken the time to hand stitch them in place, however, I think it looks neat enough to be happy as they are.

This was a lot of first times and I am so pleased with how it has come together.

If you want to see more great stocking inspiration, visit the #sunnystockingsal on instagram.

Mx

Sunday, 21 April 2019

Easter bunny hoop


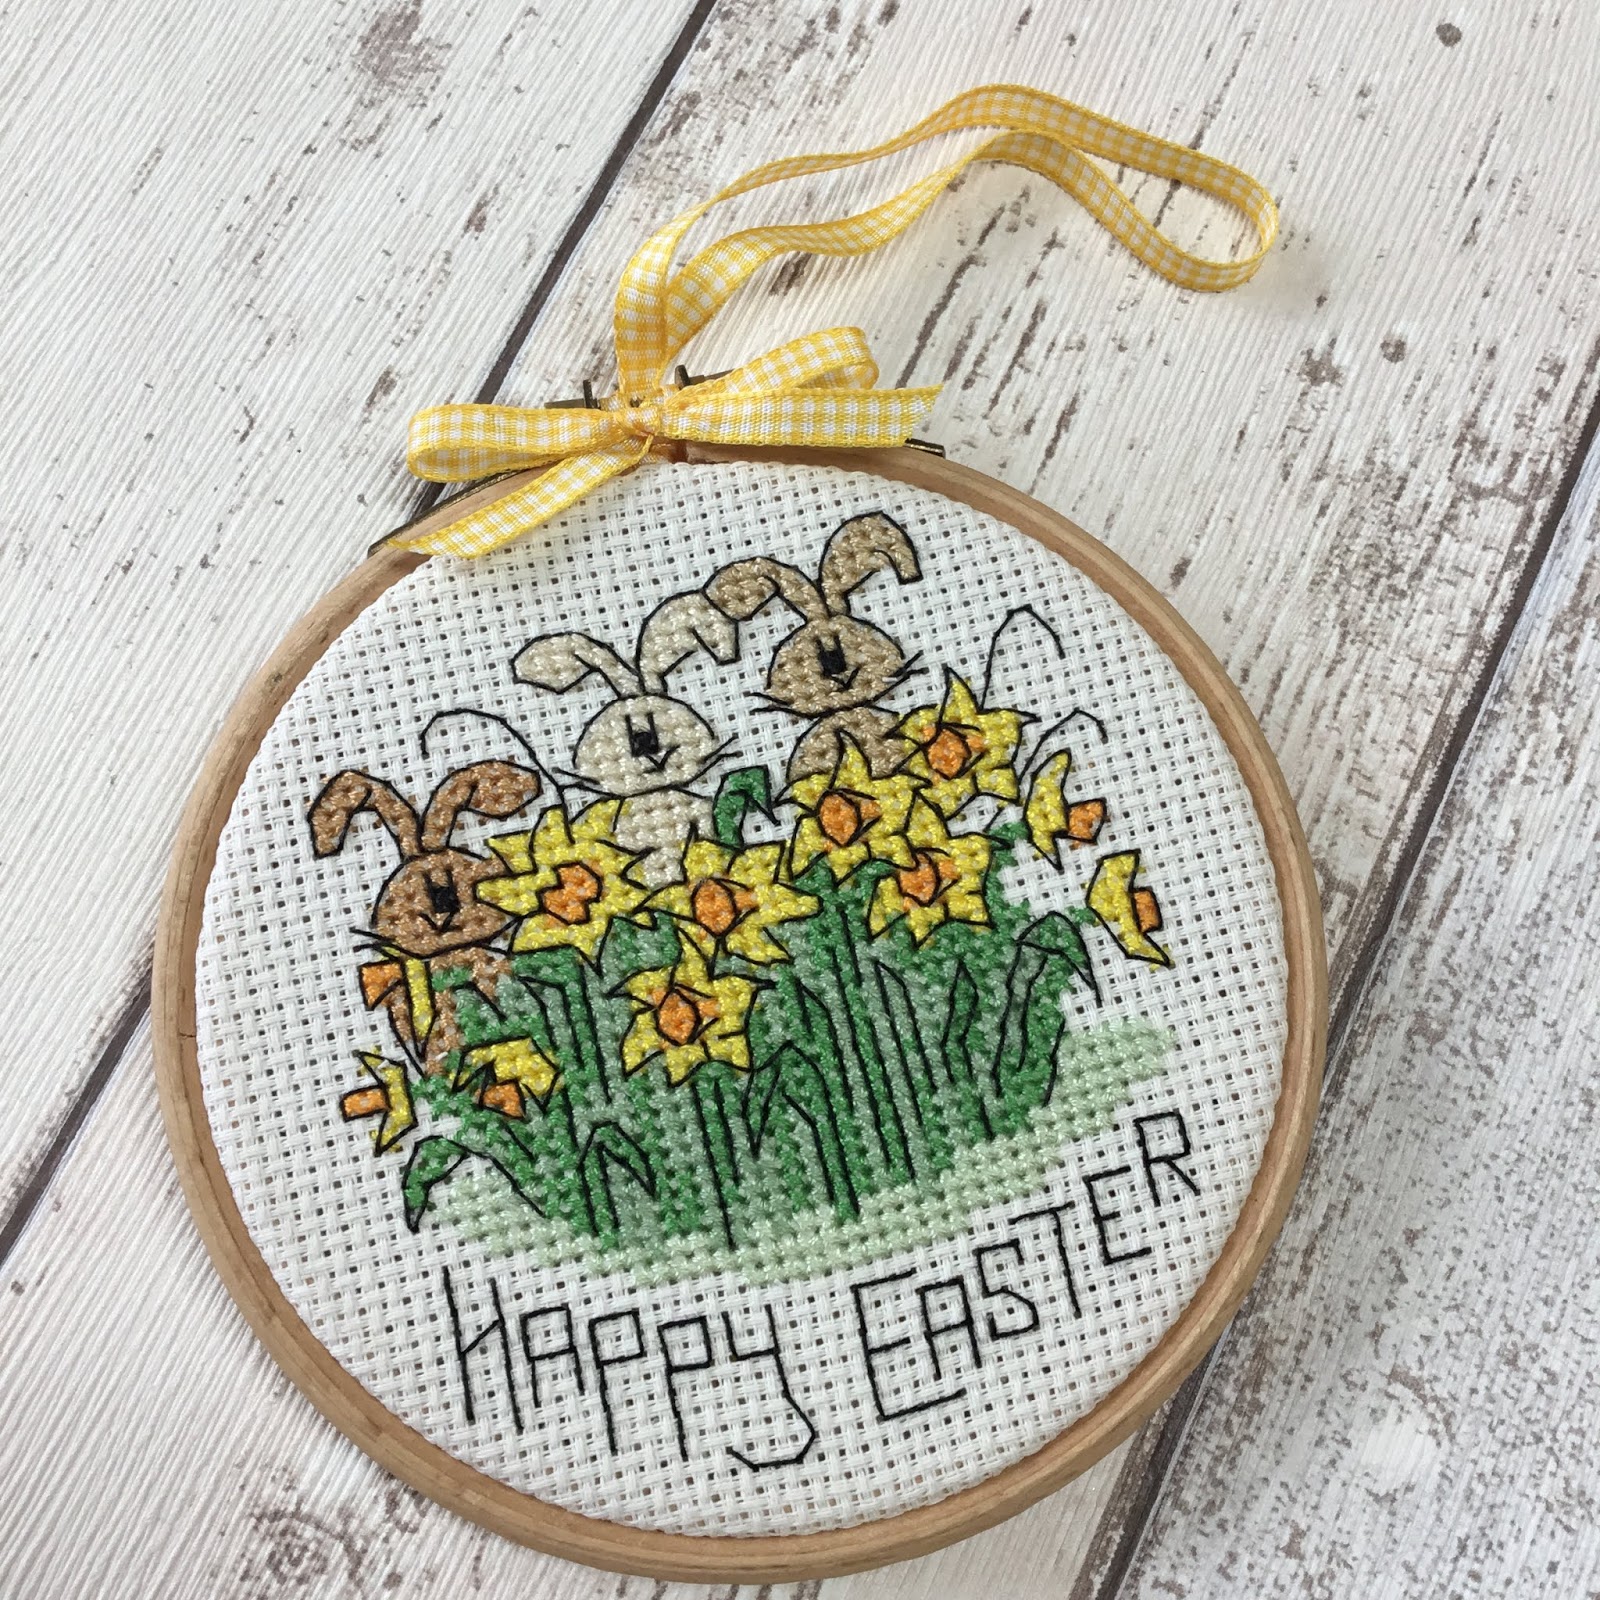
I bought a daffodil patch cross stitch kit from hobbycraft and thought it would make a lovely Easter decoration. I stitched it last summer but since Easter had already gone, I didn’t finish it til now. 
To make my hoop art decoration I firstly chose my hoop size and drew around the hoop onto some card, I used this to make a template for later. I took my finished stitched panel and placed into an embroidery hoop. I pulled the fabric nice and tight into the hoop and used a screw driver to really tighten the top, then trimmed the fabric to be an even size all around. I added glue to the inside of the wood frame and stuck the fabric down neatly. 
I then made sure my card circle was the right size to cover the back of my hoop and cut a piece of yellow fabric, adding a good 1/4” for seam allowance around the card template. I did a running stitch around the edge of the fabric and pulled the ends to tighten the fabric around the card. I ironed this then let it cool. I removed the card to be just left with the fabric circle. I laid this onto the back of the hoop and stitched in place, using a ladder stitch with some neutral cotton. I had to bend a needle to make it easier for me to stitch it neatly. 
The final thing to do was add the ribbon for it to be hung up. I took a length of yellow gingham ribbon and tied a knot to secure both ends together creating a loop. I then threaded the ribbon loop through the gap near the screw and hooked it through itself to secure to the hoop, with the knot positioned under the screw. I cut a second piece of ribbon and wrapped it around, to cover the knot and most of the metal bar that would be on show, and tied it into a cute bow with the ends trimmed to size. 


A friend celebrates Easter much more than I do, so I have decided to gift this decoration. Since I am gifting this, it needed a box. I used kraft card to make a square base. The hoop is slightly longer than wide due to the fixings at the top, so to stop it shuffling around in the box I used cream card to make an insert. This holds the hoop snugly in place. I made an acetate lid, to just slot in between the 2 pieces. I’m really happy with how this turned out and think it looks quite professional. 
This was also one of my finish-a-long projects, although I finished it in Q1 I am going to enter it into Q2 since I didn’t want to spoil the surprise. You can read more about my finish-a-long projects here.

Mx