Showing posts with label personalised. Show all posts

Sunday, 29 December 2019

Butterfly cross stitch

 
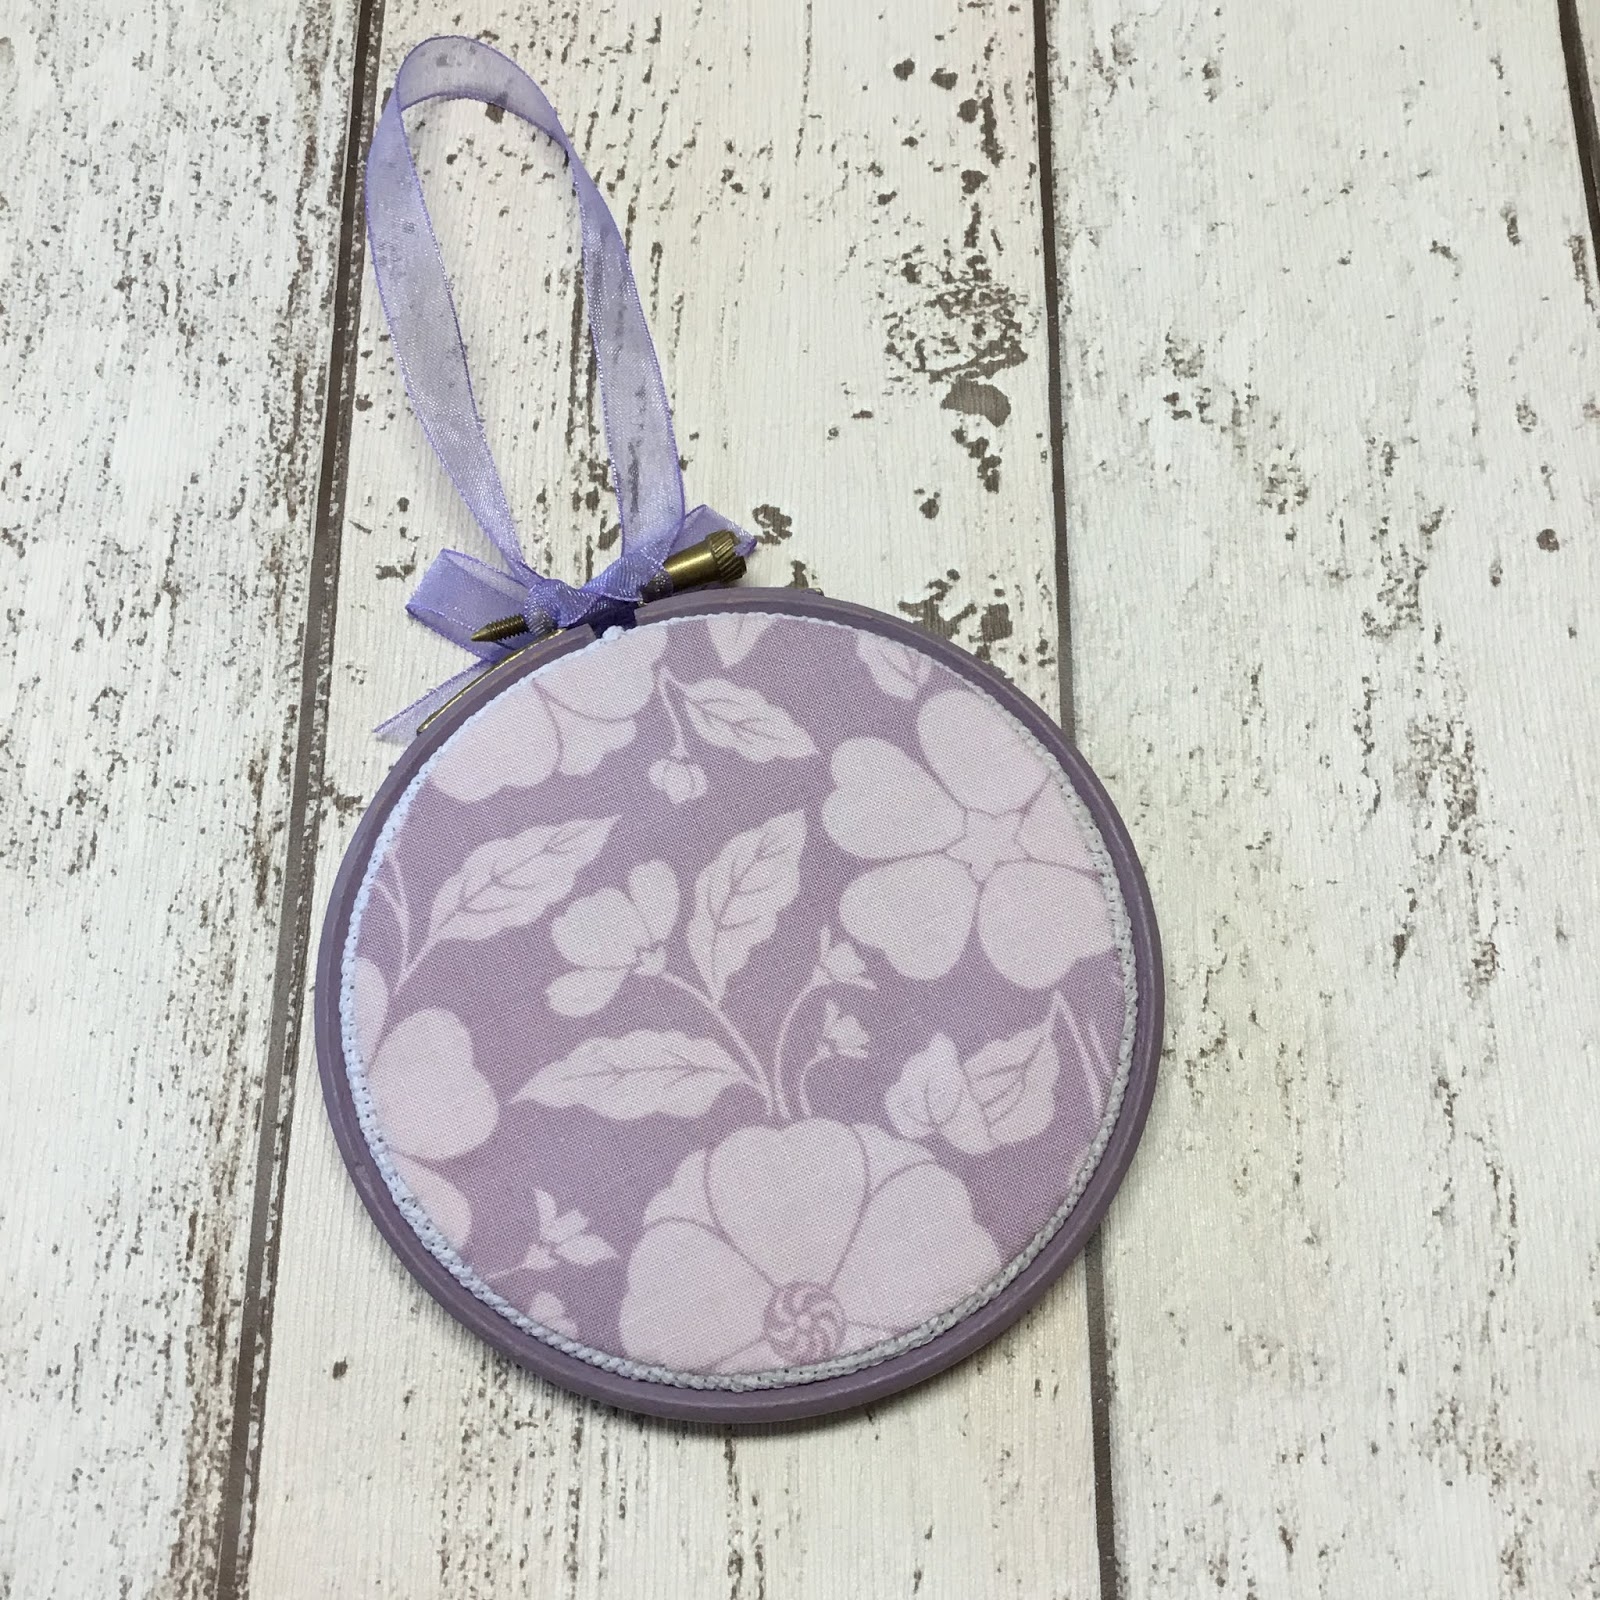
I made this little gift using the butterfly hoop kit from cross-stitch crazy magazine I got a while ago. I followed the kit to stitch up the butterflies on the front, but didn't like the plastic hoop supplied with it. I decided to paint a wooden hoop the same size using my own custom mixed lilac shade of Annie Sloan (I'm afraid I can't remember which colours went into it!).
 
 
I added the coordinating fabric to finish the back of the hoop, first glued and then ladder stitched to secure it in place. The final touch was some organza ribbon to create a hanging loop and bow to cover the screw.
 
 
I finished this project earlier, but couldn't share until now as it was part of a Christmas gift. It is on my Q4 finish-a-long list which you can find here ....
 
Mx

Saturday, 7 December 2019

Sally’s choose and sew supply case...

 
One of the gifts I choose to make for Sally (my birthday stitchers partner) was a choose and sew supply case. She had suggested needing a sewing case for her EPP supplies. When she made herself the case I was planning on, I decided to make my own pattern.
 

I had already started planning the supply case, but thought Sally would prefer different options to me. We are good friends on instagram, so without giving it away that I was making for her, I asked what she’d prefer. I planned and worked out measurements. Next was fabric choice, cotton and steel was an obvious choice. I picked some patterns and colours I thought Sally would like, but wasn’t convinced by any for the outer of the case. I decided I’d join the #100hexies100days challenge on instagram and join them together for a cute fussy cut panel. Since I was making a large case, it took more than 100 and I was quite a long while hand stitching, but I’m so pleased I did now. 


For the inside of Sally’s supply case I decided to make a vinyl workspace with 2 pockets and a piece of felt, then a zip vinyl pocket at the back for storage. I did the binding with a flap closure construction method on this case. Of course, I made one of the snap in pouches and have sent the measurements to Sally for her to be able to make as many more as she wants. 
 
 
I also made some beaded zip pulls to finish it nicely. I really hope Sally likes her choose and sew supply case and finds it useful.
 

The pattern for the choose and supply case is now available in my Etsy store. It is a large pattern with 2 sizes and has lots of pocket options and 2 construction methods. It means you can make tons of different combinations, so that you can make the perfect case for you and maybe even one for a friend!


This project was also one of my finish a long projects, you can read  more of my list here.

Mx

Friday, 15 November 2019

star cushion


If you saw an earlier blog post this year, you might remember I took part in a birthday swap on Instagram. I had quite a while to wait for my partners birthday though. I was given the lovely Sally aka @chasing.tigers on Instagram, to make for. I was both thrilled because she has become a close friend online, but also anxious since she is such a talented maker herself.


Anyway, I chose to make this cute fussy cut cushion as her main gift. The cushion design was featured on her inspiration board, and with a bit of quilty maths, I worked out the measurements to make it. I was struggling to find coloured fussy cuts in my stash, so did a bit of fabric swapping to get enough. I also purchased this cotton and steel tiger fabric, as I just knew it was the perfect centre to personalise the cushion. Both me and Sally had purchased this low volume fabric, so I was pretty confident she would like it.
 
 
After my meadowland quilt experience I hate flying geese, so why I chose to do this cushion with 16  geese, I do not know! I wasn’t looking forward to sewing them, however, they went surprisingly well. I did simple straight line quilting 1/2” apart and made one of my concealed zip backs(tutorial for that here). Once I had sewn my cushion together, I added top stitching to the edges. I think this gives a nice finish to the cushion without the need to add binding.
 
 
The entire thing came together quite quickly and I love how it turned out. Thankfully my partner has received her gift now and loves it!
 
This is one of my finish-a-long projects. Even though this was technically made it in Q3, I hadn’t yet gifted it to be able to share so I am including it for Q4 instead. Read about my list here.

Mx

Wednesday, 2 January 2019

An owl stocking


I chose this beautiful owl fabric to make a stocking for a friends baby. I opted for a large stocking to hold plenty of presents. I used some coordinating red fabric for the cuff and appliquéd her name and blanket stitched it in place on the front. I added some quilting with sparkle thread to the main stocking too. I think all these little touches make this an extra special stocking. 
 

I’m not sure what Annie will think to it since it’s only her first Christmas, but hopefully in a few years she will like it. 

This is also one of my finish-a-long projects, you can see more about this here!

Mx

Friday, 2 December 2016

oliver snowman


I created this large stocking for my other cousin, in the same way as the previous one here. This time, I chose the snowman fabric and personalised with his name.
 
Mx

lucy owl


I made this large stocking as a Christmas gift for my cousin. I chose this cute owl fabric with a plain red for lining and the top band. I personalised one side with her name as an extra special touch, but this is optional and could be left out or swapped for an alternative embellishment. I scaled this stocking up to be big enough for lots of presents, but you can make it any size you like ... just buy the fabric accordingly.

Here's how I made it:
  1. To create a pattern draw a stocking shape onto some baking paper/newspaper. Cut this out. For the second pattern piece draw around the stocking shape but add 4" to the top edge. Cut out this 2nd pattern piece and label lining. 
  2. Cut 2 stocking shapes from patterned fabric and 2 lining pieces from a contrasting coloured fabric using the lining pattern. *If you want to personalise your stocking you need to do so now before starting to constructing your stocking*
  3. Sew 1 piece of patterned fabric to 1 piece of lining fabric, right sides together, along the top edge of the stocking. Repeat for the remaining 2 pieces of fabric.
  4. Lay both sewn pieces out flat, right sides together (lining to face lining, pattern to face pattern) and pin all the way around the edge. Be sure you match the seam you have already sewn.  
  5. To create a loop for hanging, cut a length of ribbon and bring the ends together to create a loop. Then place the loop 3" down from the seam in between the right sides of the lining fabric, leaving the cut ends just peeking out. When you sew around the edge, the loop should become secured in the seam.
  6.  Machine stitch around the stocking leaving a gap in the lining, for turning out. 
  7. Turn the stocking right sides out, through the gap and press with an iron. Hand stitch the gap in the lining using a slip stitch. Push the lining inside the stocking and fold the top cuff over to finish.
 
* To personalise the stocking, I decided to add the name. To do this, I backed some of my lining fabric with heat n bond iron on adhesive (sewable). I then die cut letters from this fabric using my sizzix bigz alphabet die set. I positioned these onto the patterned fabric and removed the backing to stick down, once I was happy with the placement. I ironed the pieces to fix the bond before securing with free motion machine stitching around each letter.*

I think this makes for a nice simple but effective gift, perfect for the season. I hope you can follow my instructions to enjoy making your own... Any questions please comment below. I would also love to see any of your makes, simply tag me on @craftylilmouse on instagram or post on my facebook !!
 
Mx