Showing posts with label customised. Show all posts

Sunday, 1 March 2020

mini travel pinnie


Last year I took part in an Instagram sew along called #teenytinypinnieparade and created this special pincushion.
It has magnets inside to be able to attach to clothes or car seat belts for travelling. With features including a puff for pins and needles, plus space to attach binding clips to the side it is just perfect for me.


It worked out so well, I  made a few as little thankyou gifts. I then decided I liked it so much, others might too, so I would make it into a pattern. 


It is available (as an instant digital download) on my etsy store if you fancy making one too!

Mx
 

Tuesday, 31 December 2019

Glam bag

I made this bag as part of a Christmas gift for a friend. She's a beautician so when I saw these fabrics, I knew they would be perfect for her bag. I mixed prints from the 'Kiss me, Kate' range by See Kate Sew for Riley Blake and 'Glam Girls' by American Dream House for Michael Miller.
 

I designed the panels to mix the fabrics and spread the colours. I then worked out the quilty maths and cut my pieces as follows:
 
lips: 15 1/2" x 3 1/2"  +  14 1/2" x 3 1/2"
xox: 3 1/2" x 4 1/2"  +  3 1/2" x 4 1/2"
bows: 9 1/2"x 2 1/2"  +  3 1/2" x 5 1/2"
lipsticks: 6 1/2" x 6 1/2"  +  6 1/2" x 4 1/2"
eyelashes: 9 1/2" x 4 1/2"  +  3 1/2" x 4 1/2"
stripe: 6 1/2" x 4 1/2"  +  6 1/2" x 5 1/2"
 
The panel was made using the quilt as you go method with 1/4" quilting and seam allowances. I then added the sequin print to the top and base with 1/2" quilting. I created the handles with the same sequin fabric, with interfacing for strength and batting for comfort.  
 
 
I boxed the corners on the base and lined with the bows fabric to finish. I also added a little handmade label into the side seam.
 
 
I'm pretty pleased with how the bag turned out and think it's a useful size... Thankfully my friend is also pleased with it!! This is one of my finish-a-long projects which you can find here.
 
Mx

Saturday, 7 December 2019

Sally’s choose and sew supply case...

 
One of the gifts I choose to make for Sally (my birthday stitchers partner) was a choose and sew supply case. She had suggested needing a sewing case for her EPP supplies. When she made herself the case I was planning on, I decided to make my own pattern.
 

I had already started planning the supply case, but thought Sally would prefer different options to me. We are good friends on instagram, so without giving it away that I was making for her, I asked what she’d prefer. I planned and worked out measurements. Next was fabric choice, cotton and steel was an obvious choice. I picked some patterns and colours I thought Sally would like, but wasn’t convinced by any for the outer of the case. I decided I’d join the #100hexies100days challenge on instagram and join them together for a cute fussy cut panel. Since I was making a large case, it took more than 100 and I was quite a long while hand stitching, but I’m so pleased I did now. 


For the inside of Sally’s supply case I decided to make a vinyl workspace with 2 pockets and a piece of felt, then a zip vinyl pocket at the back for storage. I did the binding with a flap closure construction method on this case. Of course, I made one of the snap in pouches and have sent the measurements to Sally for her to be able to make as many more as she wants. 
 
 
I also made some beaded zip pulls to finish it nicely. I really hope Sally likes her choose and sew supply case and finds it useful.
 

The pattern for the choose and supply case is now available in my Etsy store. It is a large pattern with 2 sizes and has lots of pocket options and 2 construction methods. It means you can make tons of different combinations, so that you can make the perfect case for you and maybe even one for a friend!


This project was also one of my finish a long projects, you can read  more of my list here.

Mx

Monday, 2 December 2019

Choose and sew supply case

It's release day for my latest pattern and I’m so excited, I thought I’d share a little more about how and why I designed this choose and sew supply case.
At the beginning of the year, I started an EPP quilt. I knew it would take me a long time to sew and would mainly to sewing while traveling, so of course, it needed its own pouch. I picked the 2 in 1 designed by aneela honey and it’s a great pouch but unfortunately not for this. It wasn’t long before I was getting frustrated with it and decided to design my own!

 
The main problem is that there isn’t anywhere to put the pieces your working on, other than on top of the vinyl pockets. This was fine until I was sewing in the car and my fabric and papers ended up going down the side of the car seat. I knew I needed somewhere to tuck my pieces safely whilst still having easy access to them when sewing.
The second thing was, since all my tools was in the same pocket, I was constantly in and out for my scissors. They would get lost amongst the other tools, plus I couldn’t leave the pocket open for easy access since everything would fall out.
This workspace section of my new pouch was the solution I came up with...

 
The next problem I encountered was when I started putting my pieces together. Once sewn together, they no longer fit in my pouch. This was ok if I was at home but, when out I didn’t want to spoil them. Since I didn’t have anywhere to put them, it meant taking another pouch. I decided one large pocket was the solution on the other side of my new pouch...


Next was some storage to take my fabric and papers with me. I thought a simple pouch would be just fine. Then I thought about it a bit more and remembered how annoying it is when you fancy something else for a change. I’d either have to take all of my quilt pieces out or find a different pouch for the new project and have to move all of my tools. I came up with the idea of a removable pouch. This way I could keep my tools in the case but make multiple pouches to store different projects. Even better they just snap in or out whenever I fancy a change. This one was a tester, adding kam snaps to a premade zipper pouch...


For the outside, I chose to make a patchwork panel with a mix of cotton & steel prints around this fab sloth scrap I had. I finished this one with some pink binding to tie in with the inside and an open ended zip fastening. To make it portable, the whole case folds neatly in half with all the supplies inside.


If you like this idea, I have written it up into a new pattern so you can make your own. Not happy with just one version though, (since one pouch isn’t for everyone) I have made several options within the pattern. It actually includes 4 workspace pocket options, 3 large storage pocket options, 2 construction methods, in 2 sizes and I even added optional handles to make your supply case more portable! You choose how you would like your workspace and storage, from the different pocket variations and fastenings and follow the instructions to sew up a case and snap in pouches to suit your needs... Hence why I decided to call it the 'choose and sew supply case'. I hope it gives you plenty of choice and I can't wait to see everyone’s different versions!
The pattern is available in my Etsy store here...
 

Mx

Wednesday, 23 October 2019

escape and create christmas

I saw a post on Instagram asking for bloggers to join Escape and Create and thought it was a great opportunity. I applied, but wasn’t expecting to hear from them. It was to my surprise that they replied to say I was one of the chosen sewers. I am so thrilled to be part of the team. I have just got my first blog post finished and published with them... I am so excited I figured I’d share it here too!!

 
I love Christmas and thought it was a good excuse to make a reversible Christmas patchwork table runner, placemats and coasters. I wrote the blog to include full 'how to' instructions, with extra information like how much fabric to order and a handy cutting diagram to get the most from your fabric.
Since this made it quite a long blog post, I choose to remove the binding instructions, as readers who are already quilters will know how to sew binding anyway. The project is also suitable for beginners though, so I have shared the tutorial on binding on a separate blog post here. This one goes through the method I used on this project, but I also plan on sharing an alternative binding tutorial later so keep your eyes peeled for that coming up.
 
 
So, if you fancy looking at this project in more detail, want instructions to make your own or just fancy a read... go check it out on the Escape and Create page here. You can also find a great choice of fabrics and patterns on their website too, so I'd recommend a look.
 
This project was also included in my Q4 finish-a-long, so I can tick it off as complete and you can see my list here.
 
Mx

Wednesday, 15 May 2019

My birthday stitchers swap

 
This year I signed up to take part in a birthday stitcher swap, over on Instagram. I recently had my birthday and these are the wonderful gifts I received. Maria (aka @madame_tailor on Instagram) sent my gifts from Germany.

First is my main handmade gift, which is this super carry all caddy. Marie used some beautiful art gallery fabrics and rose gold hardware. It looks so pretty plus with so much space and pockets, I’m sure will be very useful for holding plenty of projects.


My second handmade gift was this mini makers station, which is designed to go over the arm of a chair. It has some great pockets on either side, a thread catcher which buttons on and a tray on top. It has magnets in the bottom of the tray and pin cushion to stop them falling off and so you can use it separately too if you wanted. Maria used some more of the sonata fabrics that coordinated with the caddy. It is backed with a really great low volume print that I love. The third handmade item is this adorable mouse toy. She has a pretty dress and a beautiful hand stitched face, even some blush.


Lastly is this Lola zip pouch. It matches the other 2 gifts and I think it is my favourite print from that range too. They look so lovely together, I definitely think I will have to keep them all together and be super organised. 

 
Maria also included a few other extras including a mini charm, pin cushion ring and ribbon (shown in the makers station above) some chocolates and bath soaps. Not forgetting my dog, Millie, who also got some treats and a toy... Although she was rather more interested in my mouse! 
 
 
I can’t share what gifts I have made for my partner yet, because it’s not my her birthday until later this year. I would say I don’t want to spoil the surprise, which I don’t, but I also haven’t made them yet! 
 
Mx

Tuesday, 8 January 2019

12daysofchristmasswap


I signed up to do the #12daysofchristmasswap2018 on instagram a few months ago. The idea is to make and buy 12 gifts for your partner to open on the 12 days after Christmas.
It is a secret swap and you are assigned a partner and no one knows who is making for who. When you sign up you fill out a form telling your partner your preferences and make a mosaic and post to instagram for more inspiration.
My partner was Helen, known as @polly_dolly_wolly on instagram, these are the gifts i sent...


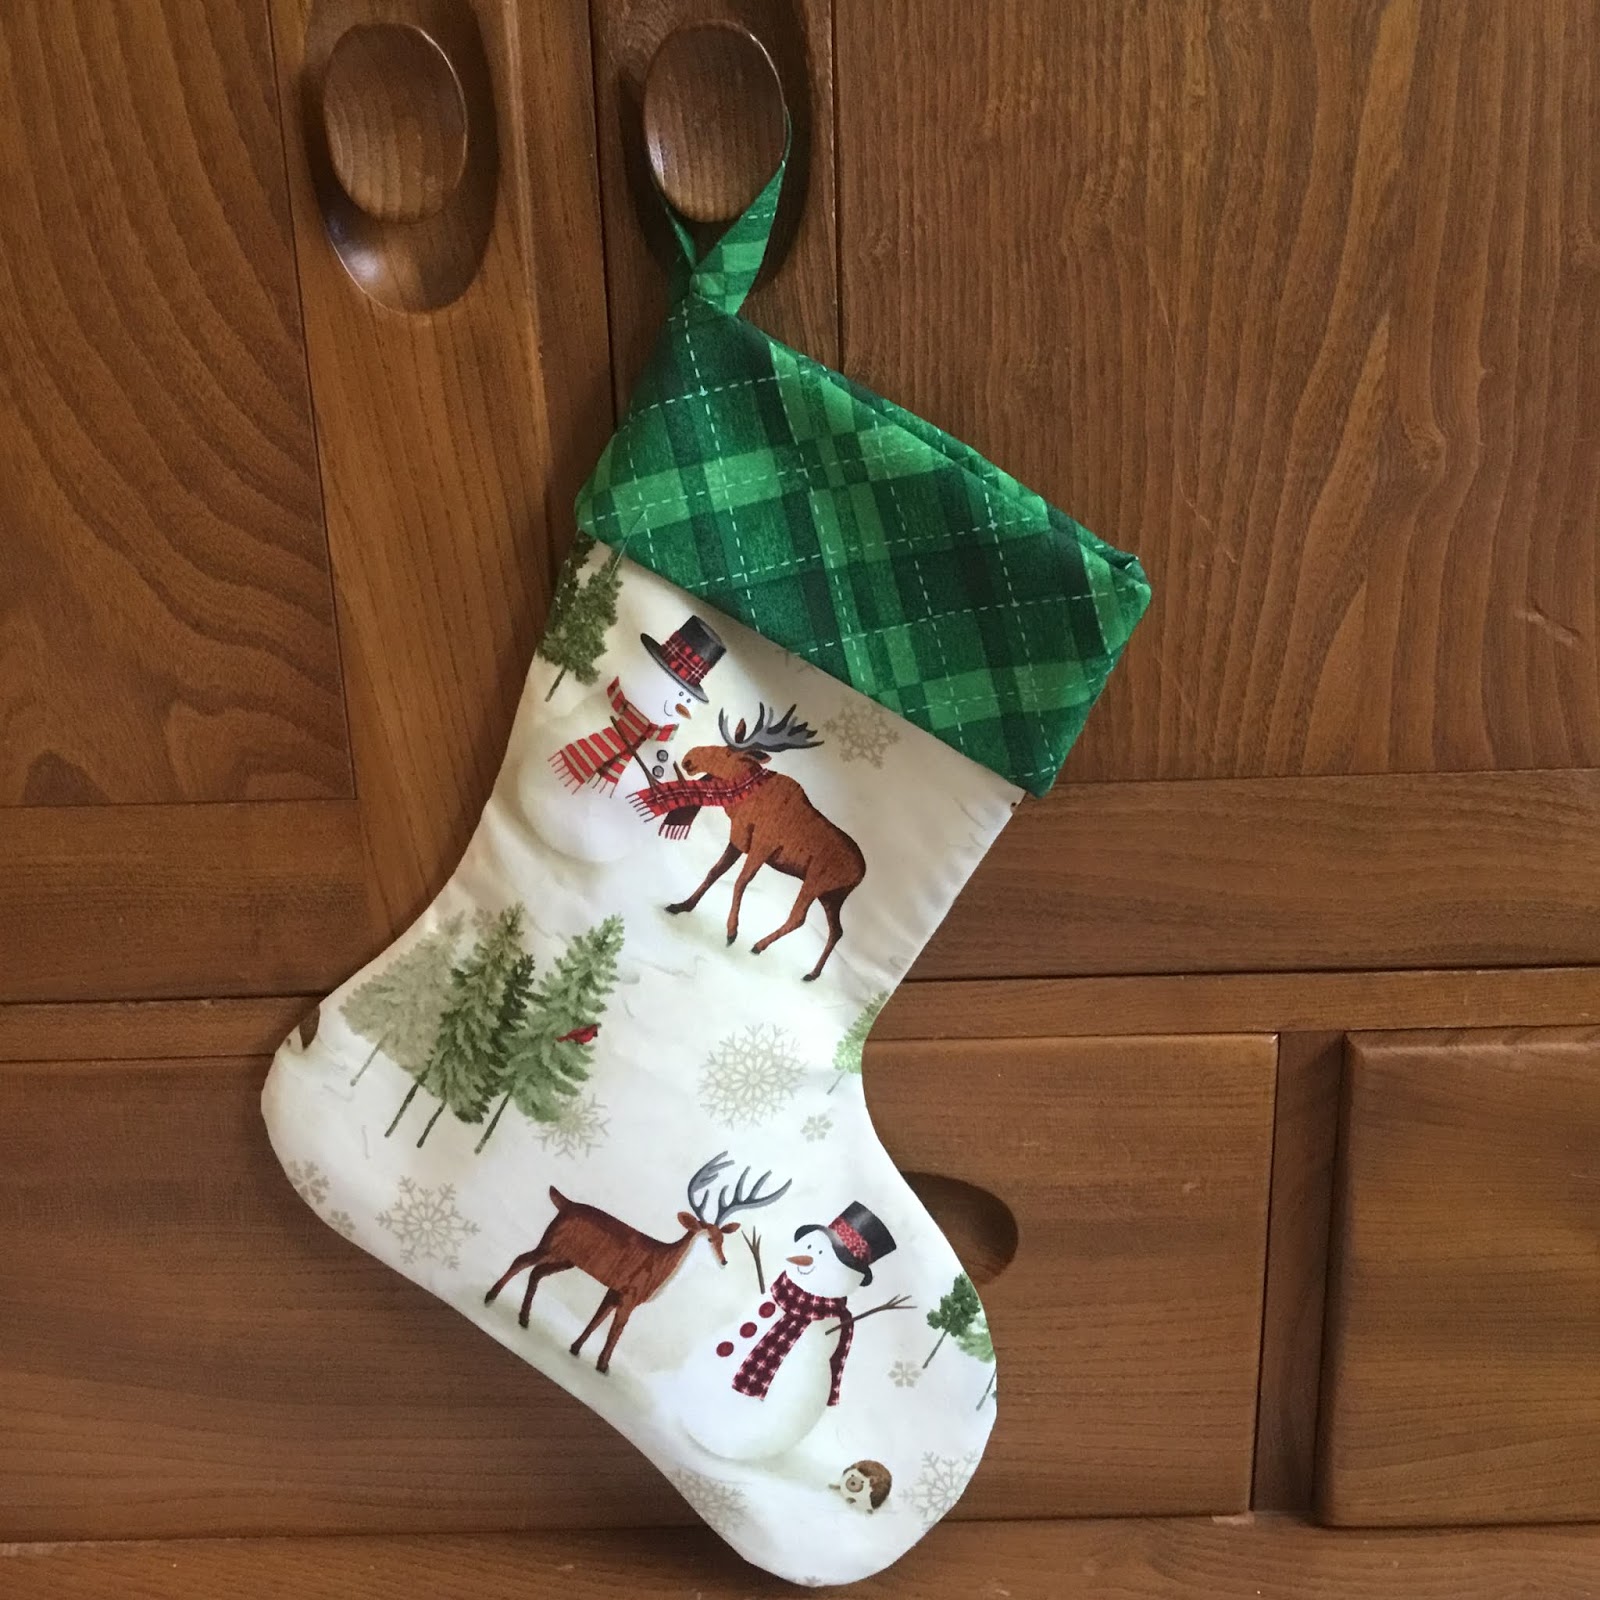
My first make was this Christmas stocking, using a fabric that was trational but still cute. I added the green cuff to be more Christmassy and fussy cut the characters to show them all. 


Next make was these 2 felt decorations, I chose the designs and cross stitched the centre panels. I added a felt border and back and blanket stitched together, also adding some stuffing for a plush feel.
 
 
Next was a partly bought and partly handmade gift. Since I didn't know her scent preference I purchased a selection of Christmas scented Yankee Candle tea lights along with a glass holder. I then made a hexagon shaped box for them to be gifted in. I added an acetate lid and some shredded tissue to give a more professional feel.
 
 
I made a zip pouch with a matching key fob for her next gift. I used a variety of coloured fabrics to make a patchwork panel and mixed it with some linen/calico fabric. I added a wipe clean lining and one of my handmade labels inside.
 
 
I chose a bright coloured zip that I felt worked with my fabric choices. The final touch was a charm for the zip pull. I used some jewellery supplies and chose this fun bead that matched the colour of the zip.
 
 
I screen printed a tote bag with a kitten design, using my screen sensation system, kipton the kitten screen and potting shed ink.

 
The next two gifts were a pin cushion and a needle book. I created the pattern for the pin cushion a few years ago and have made a couple before. For this one, I chose some bright coloured vintage sewing themed fabric and added lace and purple ribbon trims to the jar. 
 

I used the Aneela Hoey pattern for the needle book, doing the same adjustments as I did for the one I made in the sew along. I used the fabric to match the pincushion and combined it with some cream linen. I used some decorative stitches on my sewing machine with purple thread to add some detail on the pockets and on the front. 

 
The other gifts I included were a map puzzle, lindt chocolate, an organizer, loccitane soap and hand cream. I also sent some haberdashery items that I thought she might like; a needle egg, sparkle embroidery thread packs, vintage lace (that I found at a antiques fair) and some vintage buttons (that were from my granny).
 
I love gifts to be perfect for the person receiving them so I always put a lot of thought into gift giving. I was rather stressed at times about this swap, but was happy with what I sent. Thankfully Helen likes hers gifts and I even managed to choose some of her favourite things. 
 
These items were also on my finish a long list and although I knew I needed to finish them, it was quite hard not sharing any progress so this was an extra bit of motivation. You can read more about that here.
 
Mx

Monday, 7 January 2019

Sew 6 organisers giveaway


As part of the sewalong, we also held a giveaway at the end. Me and Zena sent a prize each with winners selected at random from those who joined us in the sewalong. My winner was Maja. 
We decided that since the participants had the book already,  we would use a different pattern by Aneela Hoey. I chose to make a flex frame case and hand stitch some decoration on, using the stitch & sew book.


I added a few extras to the package including some ribbon, a  notepad, pen, some little stationary bits and a handmade card. 

This was also one of my finish-a-long projects that I had on my list. you can see the original post here to find out more! 
Mx

my #sew6organizers sewalong


This year I decided to host a sewalong on instagram, with the help of a friend zena. We chose to do 6 projects each from the Aneela Hoey stitched sewing organizers book, one per month. Everyone who joined in could choose their own patterns and make any little adjustments to the projects to suit them. The idea was to share our projects and we had a little group chat for any questions or help, making the most of the lovely sewing community on Instagram.
These are the six projects I made for the sewalong: I used the distant dreams collection from dashwood studios. I split the collection into 3 mini collections and added some dashwood twist fabric, (indigo and cherry I think).

 
I kept the first project simple with a little fold up pouch. This is a great little project that doesn't require a zip. It is an simple pattern to follow and can easily be adjusted to make other sizes.
The second project was this handy needle book. I liked this pattern, although I did make a few changes to the suggested pockets used in the pattern. In the book it shows 2 different sized pockets at the back, at the front is a single pocket with the addition of a small pin cushion. I changed the back to just have the 1 large pocket and since I didn't need a pin cushion, I chose to just do one large pocket at that side too. These work out perfectly to hold all the needles I keep in packets.


The next project was the see-it-all pouch... this is a very useful pouch and quite simple construction although the use of binding does make it slightly harder. I used sparkle vinyl as I liked the look and fussy cut the back to ensure I had a full peacock in the centre.
The fourth project was the 2-in-1 case. I love this case and I am using it to hold all my tools. This is made in a similar way to the see-it-all with the addition of a fastening tab. I had a few options for fastenings; I did try a button first but the button hole on my singer machine was not very neat and I was struggling with placement, I also considered using a magnetic clasp, but decided against this option as they are very strong and I didn't want my tools attracting to the magnets. The best solution I found worked as a fastening was a kam snap, both simple to fit and to use.  

 
Next was the fold up sewing folio. I found this project slightly tricky, not because of construction but directions. I kept getting very confused about the direction of things, so my layout differs slightly from the one pictured in the book. It is still fuctional though and my mum has taken it to store her sewing supplies.
 
The final project was the boxy pocket pouch, I like this pouch and it is definitely bigger than I expected it to be. Since it was the last project and I had been avoiding it slightly (I'm not sure why, maybe because I didn't want the sewalong to end) to give me a little nudge, I added this to my  finish-a-long list of things to make. You can read more about that here!
 
Overall, I enjoyed hosting the sew along and would definitely do another one. It was a joy to see everyone else's projects and make some friends along the way too. If you're interested in seeing all the projects for yourself, you can visit the #sew6organizers on instagram.
Mx

Wednesday, 2 January 2019

An owl stocking


I chose this beautiful owl fabric to make a stocking for a friends baby. I opted for a large stocking to hold plenty of presents. I used some coordinating red fabric for the cuff and appliquéd her name and blanket stitched it in place on the front. I added some quilting with sparkle thread to the main stocking too. I think all these little touches make this an extra special stocking. 
 

I’m not sure what Annie will think to it since it’s only her first Christmas, but hopefully in a few years she will like it. 

This is also one of my finish-a-long projects, you can see more about this here!

Mx