Showing posts with label quilted. Show all posts

Saturday, 13 May 2023

Sew hot long arm quilting service

 It is no secret that I love getting my quilts long arm quilted. It is a super time and energy saver. I have had Cumbrian Long-arm quilter do so many of my quilts and I will always recommend her. However I was intrigued to see what it would be like to have my long arm quilting done by someone else. 

I was chosen to be a Sew Hot brand rep this year and it just so happens that as well as been a fabulous sewing shop, they also offer a quilting service. This seemed like the perfect time to try it. 

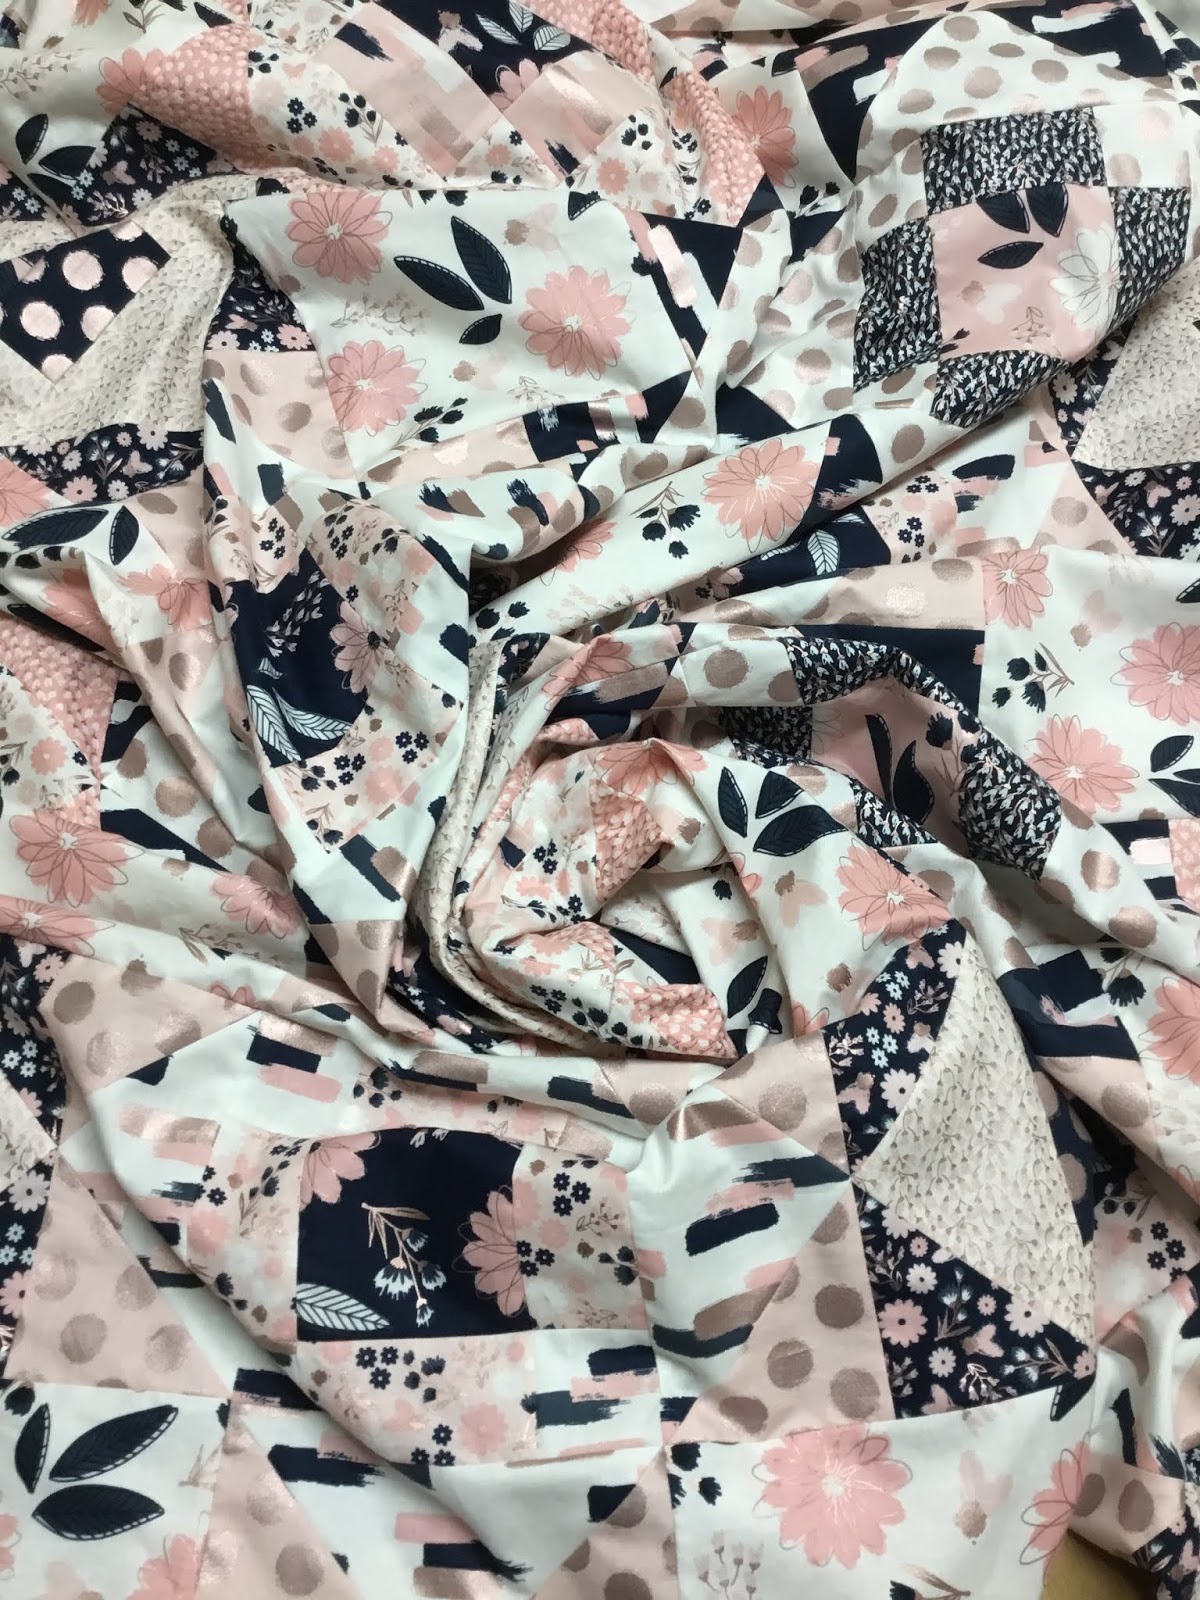
I had previously bought this Ruby Star Society unicorn panel (sadly sold out now) and was desperate to get it quilted and on my bed. I won a giveaway for fabric from the USA, so I chose a wideback that I loved but couldn’t find in the UK. It seemed like the perfect fabric choice for me and this quilt (Ruby Star Society have released a standard width fabric that is similar so would be a good alternative here.)

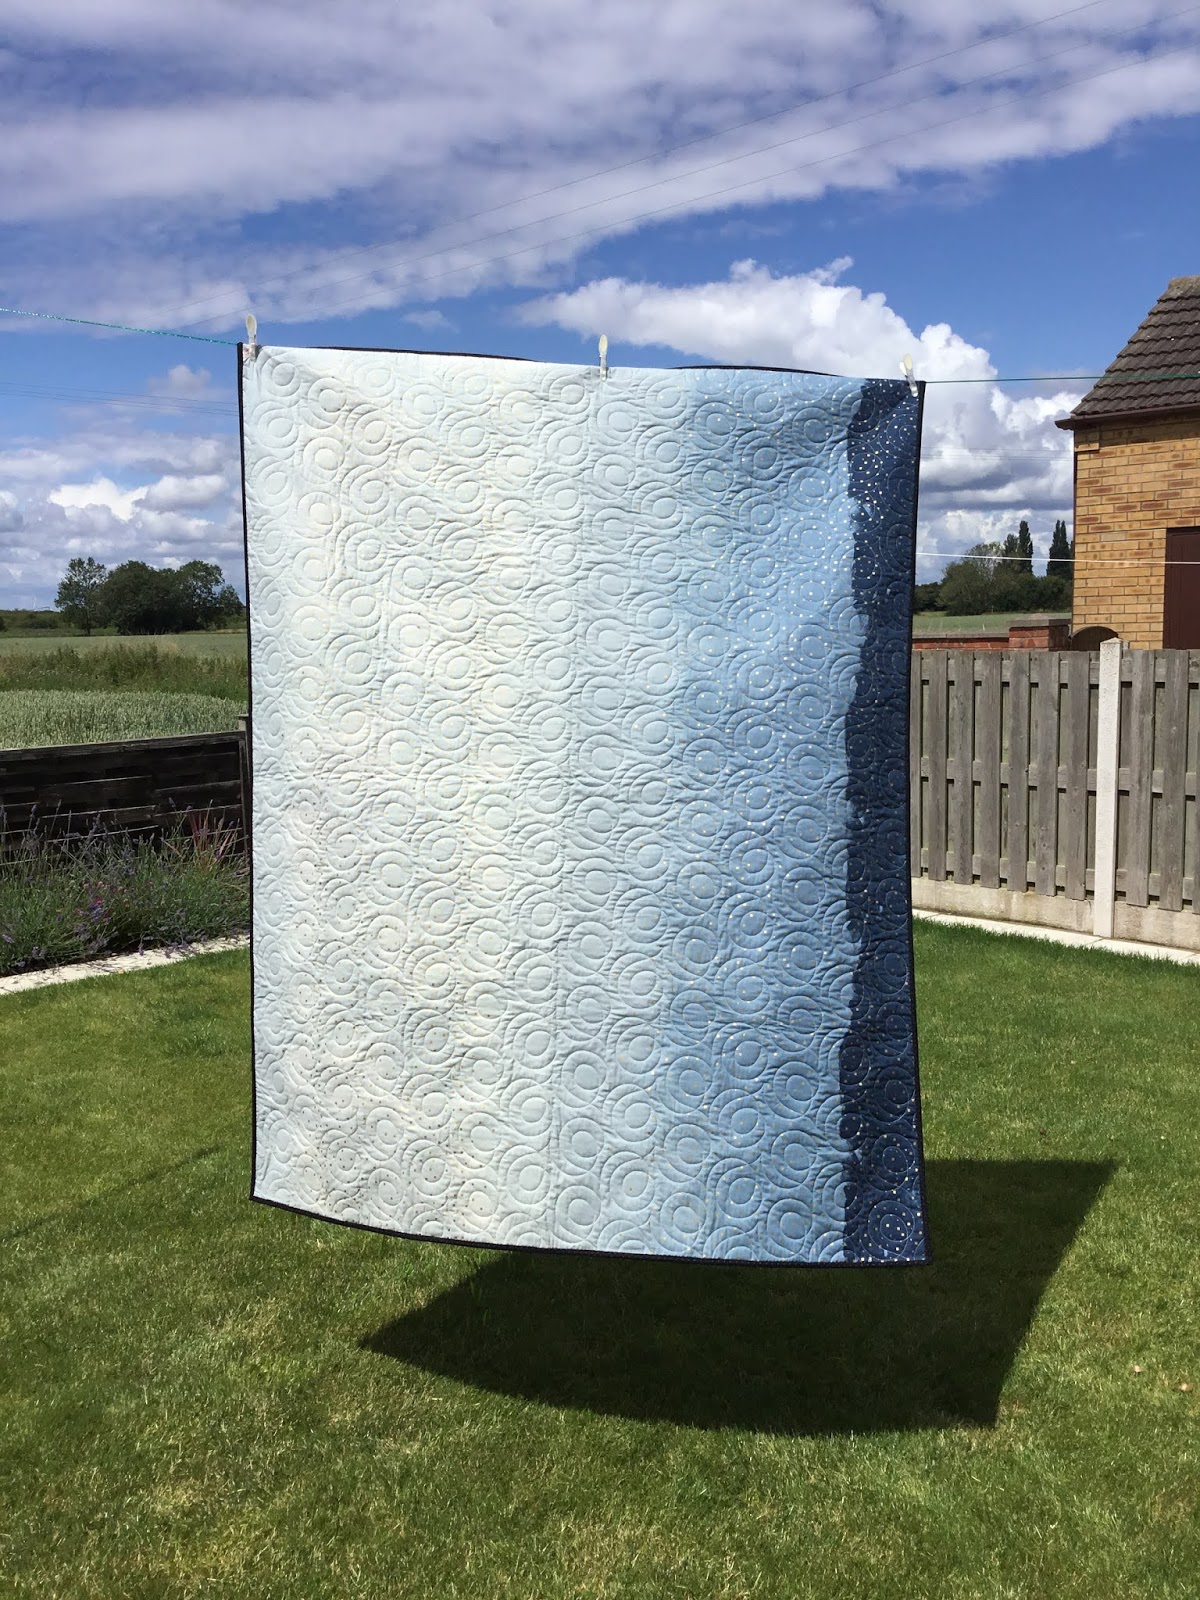
Next was the most difficult part of getting your quilt long arm quilted, choosing your design! Sew Hot have a great selection on their website, however nothing was really catching my attention. There is the option to visit 2 websites and have even more choice though. After a little searching, I found what I thought was the perfect design for this quilt, the swivel circle. 

They matched the thread colour perfectly to the quilt. After doing the quilt, it was time to do the pillows I sent. I wanted them to match, but the design I chose was quite large, so I was asked if I wanted to alter the size. I said 'yes please' and they did. I am so pleased they asked and I did as they look so much better for it. 

 One downside, is they don’t offer a binding service. The quilt comes back trimmed though, so putting the binding on myself isn’t too bad. 

Now it’s time to relax with some hand stitching, there is quite a lot so I might be a while. Finished quilt reveals coming soon hopefully.


Mx

Thursday, 25 February 2021

My liberty Collider cushion...


I had the pleasure of pattern testing for the collider quilt by made just sew. I was excited to get started when I saw the pattern, although I couldn't commit to an entire quilt, we agreed I would make one block into a cushion. I chose to use Liberty London tana lawn fabrics.

 To make the prints stand out a little I added a solid, I chose the art gallery pure solids, as they are a nice weight cotton to use with lawn fabrics. I used  the cotton candy pink since I didn't want white and thought it would work nicely with the prints I had picked out. If you fancy making your own cushion using this pattern, I made the throw size block to make an 18" cushion and used one fat quarter for all the background pieces.

The pattern is well written and came together nice and quickly. Since there's a lot of sewing and cutting on the bias, I did use best press to starch my fabrics before I started cutting and sewing. I would highly recommend this with this pattern and fabrics. I also used a 75/11 sized needle in my sewing machine because I was using the lawn fabric. 


I decided to do some hand quilting for this cushion. I used a 12 wt Aurifil thread in shade 2021. I used thread gloss to help with the stitching, its not necessary but I enjoy the smell and using it.   
Once it was all hand quilted, I was straight on to making it in to a cushion. 


To make the zip cushion back, I used my tried and trusted method. You can see my tutorial here on how I make them.

The collider pattern is lovely and I'm so happy with my new cushion. You can now buy the pattern here.

Mx


Saturday, 18 July 2020

My #100daysusingcottonandsteel project finished!

Let’s face it my #100dayproject2020 did not go entirely to plan. There's some projects on my list I intended to do and didn't, some I actually finished and a few I started, but are still in progress. So here's a run down of the projects I made...

The postage style quilt- I was super pleased to get it slightly bigger than I expected at 84 inches square. This was 441 4” squares in the end! I chose a quilting design that needs custom quilting by a long armer and there was quite a wait list, so it will be a while before I get it back to bind and finish. We will all just have to wait a while for those photos, but here is the finished top before the quilting!

The scrappy triangle cushion- this was finished early in the project. I pieced and then hand quilted it. I am super happy with how it looks and it's now in full use in the lounge. Tutorial blog for that is here!

Patchwork tote- well this was worked on a little in the middle of the 100 days but left until the last push to actually finish. I went with using only melody miller designed fabrics in the end and love the way it turned out.

Pin badge banner- made for my sisters birthday. I have been wanting to make one for ages, so I’m pleased I have made one now. I added a rainbow panel to the top for some fun colour. I also made her a key ring with the perfect selvage too!

A rainbow jelly roll quilt- so technically I didn’t use a jelly roll at all, which would have made it so much easier. Anyways, I am so happy with my new quilt. You can see and read more about it here including where to get the free pattern to make your own!

Selvedge cushions- I always wanted to use the fun selvedges from my stash but I wasn’t sure what for exactly. I took inspiration from a quilt a lady was making on instagram. I didn’t have any where near enough for a quilt, so I made a pair of cushions instead. They look so fun with my quilts and other cushion in the lounge.

I made 2 pouches- one to join in with a sew along, (although I didn’t like the original size so changed everything.) I made another where I supersized the idea to be a pencil case, again using all my own measurements and a different construction method to make it work.

A fabric bookmark using a few scraps, which I was going to give away but ended up keeping in the end... I did gift something else instead !!

I also made a few smaller projects: a #weeboxybasket (pattern by sweet cinnamon roses), 2 key rings using selvedges, which feature the fun text and prints to make them extra special for myself and mum and a simple hair ribbon, made using lawn fabric for extra softness.

It wasn't just me using my cotton and steel stash in the 100 days... My mum used my mini travel pinnie pattern (available in my Etsy store here) to make a gift for my sister.
My sister is also in the middle of using my stash to make herself a quilt too! I didn’t take photos to share but I finished cutting out my entire ice cream soda Epp quilt. I also cut out and have started a triangle quilt, more will be shared for that soon, hopefully. I also used some stash doing a giveaway of 70 precut hexies. 

So overall during the project I might not have finished everything but I feel like I got a lot made so I’m happy with that. I did however end up purchasing a few bits, mainly large cuts for backings and a few basics. This definitely wasn’t helpful in reducing my stash. In fact even though I have made so many things, including cutting out 5 quilts, I still don’t look to have used much!
I learnt I actually like doing my other hobbies still and miss them if I give something else too much attention. I also feel a little lost now my challenge is over and my focus has been removed.
I think going forward I need to set smaller goals to get the sense of achievement, but definitely make time for other activities I enjoy too. 
Mx

Tuesday, 14 July 2020

My rainbow jelly quilt!


I saw this rainbow jelly roll quilt pattern, designed by ruby star society, on Instagram. Ruby star society hosted a quilt along and I was so desperate to take part. Unfortunately I had too many projects started already, but I couldn’t resist any longer, especially since it is a free download from the moda fabrics website here. 

Technically I didn’t use a jelly roll at all, which would have made it so much easier. Instead I stuck with my 100 days using cotton and steel project and used some of my stashed cotton and steel prints. My sister helped me raid my stash and find the fabrics that were long enough. We then put them into block combinations with little ombré colour groups and cut the strips to size. It took a while to cut out but it was worth the extra effort. I also made more work for myself by making 2 extra blocks (20 more stripes) to make the finished quilt longer. Luckily, I wasn’t too difficult to piece together although the blocks are quite large and I wish my quilting ruler was longer for the sub cutting! I'm pleased I made it bigger though as it definitely makes it a more useable size for us as a family. 


We had a nice bit of sunshine when I finished the top so I managed to get photo in the garden before it was sent away to be quilted. I sent it away to Cath at Cumbria long arm quilting for some of her magic. Although the quilt wasn't huge, I didn't really fancy quilting it myself and I love the swirl design we picked for the quilting. The swirls are much more decorative than I could do and think they work lovely with the patchwork. Cath attached the binding to the front and I sat with a few films to hand stitch the binding to the back. 


I am so pleased with my final quilt and it is on the sofa with my catty corner quilt, looking great together!

Mx

Wednesday, 12 February 2020

catty corner quilt

I recently got the chance to pattern test the catty corner quilt and I jumped at the chance. I have given my feedback and my quilt is all finished, so thought I’d share more about it here.
Although it was a small timescale, I chose to do the throw size and thought it would be manageable. I really wanted to make a scrappy cotton and steel quilt and this looked like a great opportunity to make it. The material requirements were slightly different to what I expected, but thankfully only needed to buy a couple of cuts to finish it all.
The first step was a fabric pull, I get my sister to help with this part. I think she enjoys it more than me, although she can get bossy at times. We sectioned my fabric in to colours, then ordered the cuts by size. I picked 5 fabrics from the bluebird range for the centres, even though no one would probably notice, I really liked the idea. We looked at the pattern and laid out some fabric to get a feel for how it would look, took pictures then re-arranged until it looked perfect.
 
 
 We originally had both black and navy but felt it was too dark, switched out the teal with cream but it was still just not quite right. We revisited the centres but I didn’t like them as much. I then wondered what it would be like without the black so we could have both the cream and teal... it was a winner.

I always take a photo when I choose fabrics. I have such a poor memory and would easily forget what was meant to go where without one. I did change a couple of fabrics around during the cutting and making process, but overall I mostly stuck with what I planned.


The main part of the pattern is only made of 4 large blocks, which are fairly easy to sew. The clever part of this pattern is in the placement and the extra cutting. Of course I wont go into details... you need to buy the pattern for that!! It is quite a large throw and required a bit of very large cutting, so I thought I’d share a funny progress shot of the measures to keep it in place for trimming...
 

I thought about quilting this throw myself but decided to treat myself to it been long arm quilted instead. I knew I would struggle to get it finished in time to a high standard, plus sending it away also meant I could do some other sewing at the same time my quilt still got quilted. I decided since it was going away, it might as well have a fancy back too. I decided to make an extra block and couple of halves to piece a section of the back. For the remaining section, I chose a cream and pink sprinkle. I had bought a big piece so this was the perfect opportunity to use it.

 When you send a quilt to be long arm quilted, the backing and the batting/wadding need to be 4 inches bigger than the top on all 4 sides. I didn’t quite have enough fabric (plus I didn’t want to loose too much patchwork, so I added extra borders using some cheap fabric my mum had bought years ago. Believe it or not, it was only 30p a metre from a market! The backing did look a bit funny when I sent it off, but this was only temporary. Given it's size, it was rather hard to photograph and this was the best I could capture...


For the quilting I chose a geometric pattern, diagonal plaid, which used squares. I liked the way it reflected the quilt blocks and thought it would look more modern than a swirly design. I’m so pleased with how it looks now the quilt is finished. I got Cath (Cumbria long arm quilting) to trim and attach the binding for me too... did you know they can do that ?! I didn't get it done last year with my meadowland and regretted it as I struggled with the trimming and attaching on a domestic machine with the size and weight of the quilt. Since I didn’t have the time to dither about this one, having it done saved me the trouble. It was lovely to have it come back all ready for me to just hand stitch the reverse of the binding to finish.


I am quite slow at hand stitching and I found the black cotton and binding harder than on previous quilts. Saying that, I probably finished in record time with the deadline spurring me on !! I was so happy with how it looked once finished and was excited to get photos. However, British winter is notoriously quite dark and windy, but luckily we had a window of nice light and took advantage. Mum was on hand to go up the ladder to hold the quilt whilst I took as many photos as possible. It was still quite windy but I think we got a nice photo.


As for the back, Cath did a super job of lining it up with plenty of patchwork on show at the bottom. The wind picked up and the picture isn’t quite as good but it’s the best we could do.


 If you want to see the individual blocks and some more photos of the quilt details, you can see them over on my instagram @craftylilmouse . I love how this quilt looks, it is so bright and modern. It's also lovely that it includes so many lovely cotton and steel prints and to get to use up quite a lot of my stash was a bonus! I think this is a great quilt pattern... if you'd like to make your own, the quilt pattern will be on sale soon. I'd also recommend a visit to stitch and yarn's etsy store for more of her patterns too.
 
Mx

Saturday, 4 January 2020

Meadowland quilt

 
I wanted to share this quilt with you now that it is finally finished... it took most of 2019 to complete, but I am super proud of it!!


I decided to join the quilt-a-long on instagram for the meadowland quilt, run by the pattern designer @thencamejune. This ran from February 25th for 6 weeks to finish with the quilt top. I had bought the my minds eye for riley blake 'blush' collection with the intention of making myself a quilt to go on my bed, so this seemed like the perfect excuse to start. Although the deadlines were stressful, they did keep me motivated to stick with it and keep sewing.
 
 
The hardest thing was choosing the fabric placement to get a nice mix of colours and prints across the quilt top. It was the first time I had followed a proper pattern for a quilt so working the fabrics into the existing design was something new for me. I was originally going to just go for it and let it be random, but ended up opting for a repeat of four blocks which used all of the fabrics once.


Once happy with the design, I began making. I cut all of my pieces out and used the chain piecing method to speed up the initial sewing process. I was very cautious with the flying geese sections to ensure my fabric ran in the same directions and the points matched perfectly. I'll admit there were some tears and unpicking to shift the blocks over just a few mm's to get it right and although not perfect it's as near as is possible !!


I made the quilt top to one of the largest sizes on the pattern and when it was pieced, it was quite an impressive size. It covers a double bed easily and meant a few step ladders were needed by my helpers to get a full length photo !!

 
Given the size of the quilt, I decided to treat myself to having it long arm quilted. I pieced the pink backing fabric and sent it off to the cumbrian longarm quilter and chose a nice swirly design as I didn't want to clash with the fabrics or patchwork design. I got it back in early May, around my birthday and was super excited to see it quilted, but also daunted by the prospect of trimming and binding it.
 
 
When December came around, I was determined to get the quilt done before Christmas, so I got some help to get the binding on and sat with Christmas films to hand finish the 9m of binding.


On Christmas eve, I finally had a completed quilt. With the festivities, I didn't get around to laying it out and photographing it. I would have liked to have taken it to the coast for some pretty pictures with scenery, but instead opted for keeping it clean and showing it on the bed !!
 
 
I'm rather proud of this quilt as it's my biggest one to date and I get to keep it and enjoy it for years to come. I'm also pleased to say it's another project ticked off my finish-a-long list too.
 
Mx

Tuesday, 31 December 2019

Glam bag

I made this bag as part of a Christmas gift for a friend. She's a beautician so when I saw these fabrics, I knew they would be perfect for her bag. I mixed prints from the 'Kiss me, Kate' range by See Kate Sew for Riley Blake and 'Glam Girls' by American Dream House for Michael Miller.
 

I designed the panels to mix the fabrics and spread the colours. I then worked out the quilty maths and cut my pieces as follows:
 
lips: 15 1/2" x 3 1/2"  +  14 1/2" x 3 1/2"
xox: 3 1/2" x 4 1/2"  +  3 1/2" x 4 1/2"
bows: 9 1/2"x 2 1/2"  +  3 1/2" x 5 1/2"
lipsticks: 6 1/2" x 6 1/2"  +  6 1/2" x 4 1/2"
eyelashes: 9 1/2" x 4 1/2"  +  3 1/2" x 4 1/2"
stripe: 6 1/2" x 4 1/2"  +  6 1/2" x 5 1/2"
 
The panel was made using the quilt as you go method with 1/4" quilting and seam allowances. I then added the sequin print to the top and base with 1/2" quilting. I created the handles with the same sequin fabric, with interfacing for strength and batting for comfort.  
 
 
I boxed the corners on the base and lined with the bows fabric to finish. I also added a little handmade label into the side seam.
 
 
I'm pretty pleased with how the bag turned out and think it's a useful size... Thankfully my friend is also pleased with it!! This is one of my finish-a-long projects which you can find here.
 
Mx

Friday, 27 December 2019

Bunnies and blossoms pouch


I decided to take part in one Christmas swap this year, but wanted something a bit easier than last year. The #simpleandsweetchristmaspouchswap was perfect!
The guidelines were one pouch made to your partners preferences, with a nice size limit (maximum size 15”x12”, minimum 8”x6”). The parcel could also include 1 or 2 Christmassy extras. I was given Naomi as my swap partner aka @naomic08 on Instagram. I was very happy to be making for her, since she had made a wonderful cotton and steel swap parcel for me... see this here. 


Firstly, I decided I would make one of my snappy zip pouches but would enlarge it a little. My final pouch measurements were 10 1/2”x 9 3/4”. I couldn’t decide what fabrics to choose, so I gathered a few options and posted about it on Instagram. I had been eager to use these cute bunnies and blossoms fabrics for a while and was thrilled when Naomi commented she liked them too.  

 
I went for a patchwork panel, to include plenty of the fabrics with a few cute fussy cuts too. Simple straight line quilting, 1/2” apart worked out well too. I used the strawberries for the main pouch lining and the pink lace check for the flap and zip pocket lining. I decided not to quilt the flap and am pleased I didn’t now.


I found the sweet little strawberry bead in my jewellery supplies and made a cute zip pull charm with it. I love the way this pouch looks and hopefully Naomi does too!

My pattern is available on Etsy here, if you fancy making your own version of this pouch.
 
This was also one of my finish-a-long projects. See more of my list here, and visit their blog for more details about the challenge. 


Mx