Showing posts with label scrap buster. Show all posts

Sunday, 26 April 2020

scrappy triangle cushion

I made this cushion using my cotton + steel fabrics as part of my #100dayproject on Instagram. I grouped the fabrics into colour families and pieced half square triangles around a central economy block to create the design. The cushion finishes up at 18". If you would like to make your own, here's how to do it …


To create the patchwork, you will need to cut: 

1 blue square @ 4 3/4"

4 yellow triangles
8 navy triangles
20 cream triangles
20 pink triangles
12 peach triangles
4 teal triangles

 For the half square triangles, I use the easy angle ruler and cut to a 3 1/2". If you don't have this ruler, cut squares at 3 7/8th" and split on the 45 degree angle. 


For the economy block, position the first two triangles opposite each other, RST onto the central square. Align along the outer edges, pin and sew. Press open, then repeat for the remaining two sides as seen above. Trim the finished block to a square (this should be 6 1/2"). 


 To construct the half square triangle blocks, place two triangles RST, pin and sew along the long edge. Press open and trim to a square, removing the dog ears on the corners. Ensure all of the half square triangle blocks are the same size (this should be 3 1/2"). 


To put the cushion top together, I like to lay out all of my cut pieces to check I'm happy with the layout. I then stitch the centre block, followed by the surrounding half square triangles. I like to chain piece, so I prep all of the blocks and then stitch and press in stages. To join the blocks, I group into 4 patches around the centre, then piece together as shown above. 


I chose to hand quilt the top to highlight the diamonds created by the colours. I used aurifil 12WT and echo quilted, using a large quilting hoop to help with the tension as I stitched. Of course, you could machine quilt if your preferred. 


To finish the cushion, I created a concealed zip back (tutorial post here) and bound the edges with 2 1/4" binding (binding tutorial post here) for a neat finish to coordinate with my catty corner quilt (see here).


I'm pretty pleased with how this turned out and Millie approves too. I hope this blog helps you to create your own version. Of course, you can switch around the colour schemes for completely different looks to make use of your fabric scraps. 

Mx

Friday, 27 December 2019

Christmas coin purse...


This Christmas, I am taking part in the #simpleandsweetchristmaspouchswap on Instagram. For the swap you needed to make one pouch and up to two Christmassy extras. I will be sharing the main pouch after Christmas, I have already shared my first extra here and this is the second extra I sent...

 
It is a simple coin purse for all those festive shopping trips... or I imagine it might hold a small Christmas stitching project.
 
I used cotton and steel Noel and tinsel fabrics, plus some basics in the pink colours. I did some scrappy patchwork to make the most of the fabric I had, plus the chance to include more prints. I did  choose the cute candy cane print for the lining. I added a little star charm to the zip pull as a final detail. Since my partner had said she liked these fabrics, I really hope she likes what I made.


If you want to make your own zip pouch, but don’t know where to start, I made this tutorial a while ago. Read it here!

I am also including this project as one of my finish-a-long Q4 finishes. You can view my list here and learn more about the challenge on their blog here.

Mx

Tuesday, 14 May 2019

Liberty kantha cushion


I had seen the #libertysocietykanthastitchalong on Instagram last year...A chance to use some of my liberty fabric stash and try something I had never done before. Lots of beautiful projects were made last year, but I didn’t get chance to join in so I was excited to get started this time round.
I patch-worked my panel on the machine, using some of the liberty scrap packs I had bought from duck egg threads online. I then chose my batting and added a piece of white cotton, to make my quilt sandwich. I chose a few colours of #8 perle threads. It was my first time using these too, with a slight sheen, they where easy to stitch with. I used my add-a-quarter ruler to keep marking a guide line with a clover Hera marker. 
Unfortunately the quilt for nanas 80th birthday took priority, so I only got time to finish my panel while the sewalong was still running. I should have picked a smaller project but I just knew I wanted a cushion. To make up the cushion, I used a bigger piece of liberty tana lawn to coordinate with the front. Since I didn’t want to bind the cushion, I just did the turn out method, but it didn’t quite look right. I top stitched a border about 1/4” from the edge and I think this was the finishing touch it needed. 
It was quite relaxing to do the kantha stitching and gives such great texture. I also think it was quite good practice for if I wanted to do some hand quilting in the future. The liberty is so soft and the overall cushion feels very luxurious. I love it and am so pleased I took the time to make it.


This was one of my Q2 finish-a-long projects. If you want to read that list, click here!
Also if you fancy looking at some very beautiful projects similar to mine...Go to Instagram and check out #libertysocietykanthastitchalong, which was hosted by the lovely @tincatsew.
Mx


Tuesday, 8 January 2019

12daysofchristmasswap


I signed up to do the #12daysofchristmasswap2018 on instagram a few months ago. The idea is to make and buy 12 gifts for your partner to open on the 12 days after Christmas.
It is a secret swap and you are assigned a partner and no one knows who is making for who. When you sign up you fill out a form telling your partner your preferences and make a mosaic and post to instagram for more inspiration.
My partner was Helen, known as @polly_dolly_wolly on instagram, these are the gifts i sent...


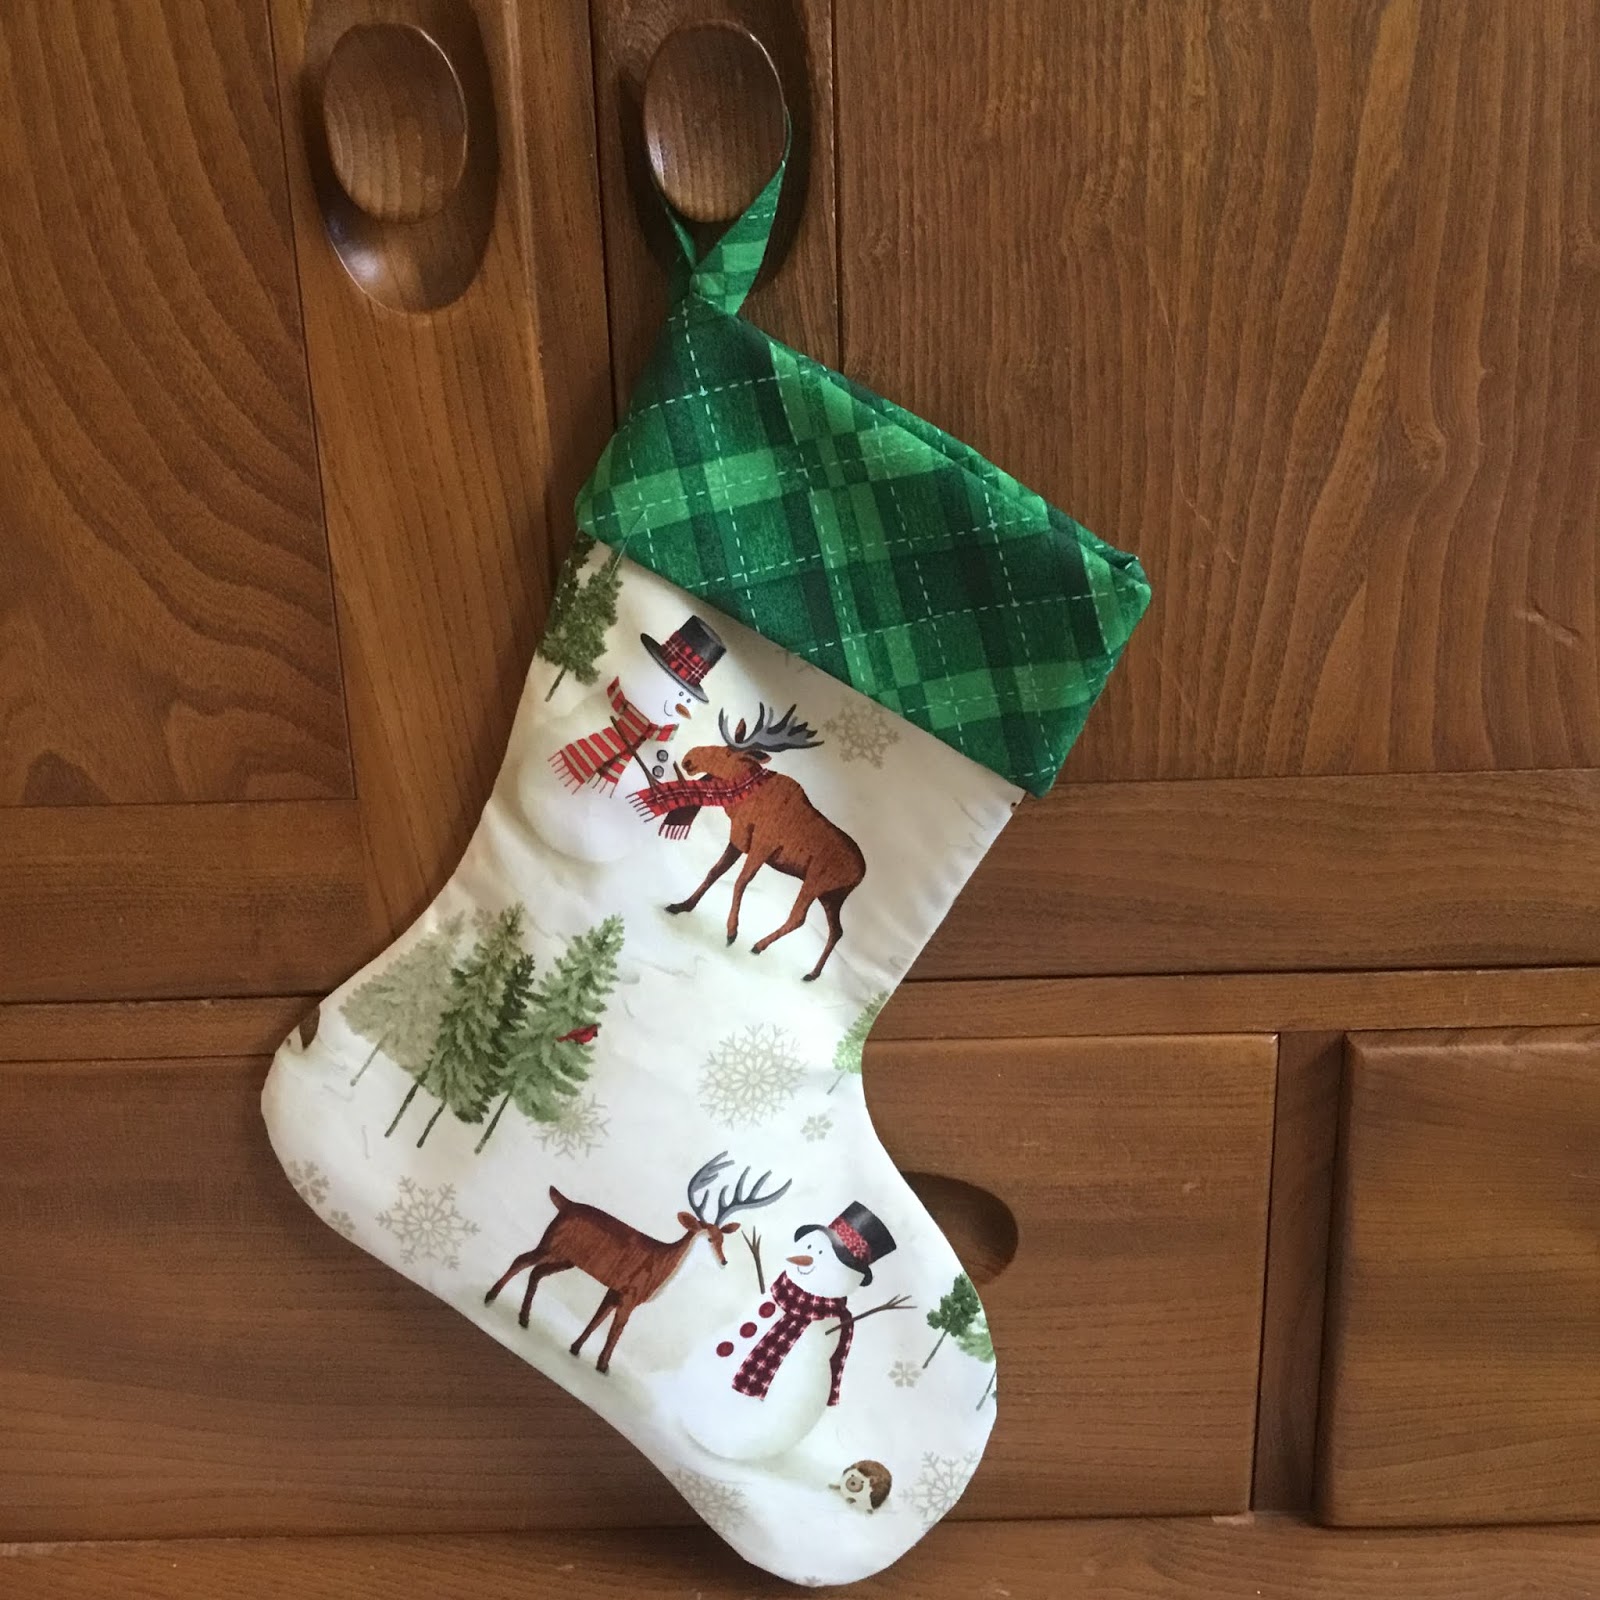
My first make was this Christmas stocking, using a fabric that was trational but still cute. I added the green cuff to be more Christmassy and fussy cut the characters to show them all. 


Next make was these 2 felt decorations, I chose the designs and cross stitched the centre panels. I added a felt border and back and blanket stitched together, also adding some stuffing for a plush feel.
 
 
Next was a partly bought and partly handmade gift. Since I didn't know her scent preference I purchased a selection of Christmas scented Yankee Candle tea lights along with a glass holder. I then made a hexagon shaped box for them to be gifted in. I added an acetate lid and some shredded tissue to give a more professional feel.
 
 
I made a zip pouch with a matching key fob for her next gift. I used a variety of coloured fabrics to make a patchwork panel and mixed it with some linen/calico fabric. I added a wipe clean lining and one of my handmade labels inside.
 
 
I chose a bright coloured zip that I felt worked with my fabric choices. The final touch was a charm for the zip pull. I used some jewellery supplies and chose this fun bead that matched the colour of the zip.
 
 
I screen printed a tote bag with a kitten design, using my screen sensation system, kipton the kitten screen and potting shed ink.

 
The next two gifts were a pin cushion and a needle book. I created the pattern for the pin cushion a few years ago and have made a couple before. For this one, I chose some bright coloured vintage sewing themed fabric and added lace and purple ribbon trims to the jar. 
 

I used the Aneela Hoey pattern for the needle book, doing the same adjustments as I did for the one I made in the sew along. I used the fabric to match the pincushion and combined it with some cream linen. I used some decorative stitches on my sewing machine with purple thread to add some detail on the pockets and on the front. 

 
The other gifts I included were a map puzzle, lindt chocolate, an organizer, loccitane soap and hand cream. I also sent some haberdashery items that I thought she might like; a needle egg, sparkle embroidery thread packs, vintage lace (that I found at a antiques fair) and some vintage buttons (that were from my granny).
 
I love gifts to be perfect for the person receiving them so I always put a lot of thought into gift giving. I was rather stressed at times about this swap, but was happy with what I sent. Thankfully Helen likes hers gifts and I even managed to choose some of her favourite things. 
 
These items were also on my finish a long list and although I knew I needed to finish them, it was quite hard not sharing any progress so this was an extra bit of motivation. You can read more about that here.
 
Mx

Monday, 26 September 2016

halloween bunting!!


  • basic grey for moda cotton (Halloween fabric) 3 x half a metre
  • iron on interfacing (medium weight) 1.5 metres
  • black bias binding (1 inch wide) 9 metres
  • sew easy equilateral 60' triangle template
I cut 3 different patterned fabrics into 5 1/2" strips. I cut these into the bunting shape using the sew easy- equilateral 60' triangle template. I cut interfacing into 5" strips and used the template to cut my triangles. I ended up with 96 fabric triangles and 48 of the interfacing. I then paired up the fabric triangles with one layer of interfacing for each pair. I then ironed the interfacing to one of the triangles from each pair, before sewing the pair of fabric triangles right sides together leaving the top edge open. I then trimmed the excess fabric with pinking shears and turned them right way around. I then pressed each of the triangles to keep the edges neat and shapes flat. To assemble the bunting, I first arranged the colours into the desired pattern. I then folded the binding in half and ironed along the full length to create a crease. Each of the triangles was then placed between the binding and pinned into position, leaving an inch gap between them and 5 inch spare on either end. The final stage was to sew along the entire length of the binding to secure all of the triangles in place.
 
The bunting was then ready to hang for a party or special occasion. This one is for Halloween but a change of fabric could make it perfect for any occasion or just for interior décor !! It can also be a great project for scrap busting to use up those offcuts of different fabrics. This project did leave me with some spare fabric which could be used up in other projects or a miniature version of bunting.
 
Mx