Showing posts with label screen sensations. Show all posts

Tuesday, 8 January 2019

12daysofchristmasswap


I signed up to do the #12daysofchristmasswap2018 on instagram a few months ago. The idea is to make and buy 12 gifts for your partner to open on the 12 days after Christmas.
It is a secret swap and you are assigned a partner and no one knows who is making for who. When you sign up you fill out a form telling your partner your preferences and make a mosaic and post to instagram for more inspiration.
My partner was Helen, known as @polly_dolly_wolly on instagram, these are the gifts i sent...
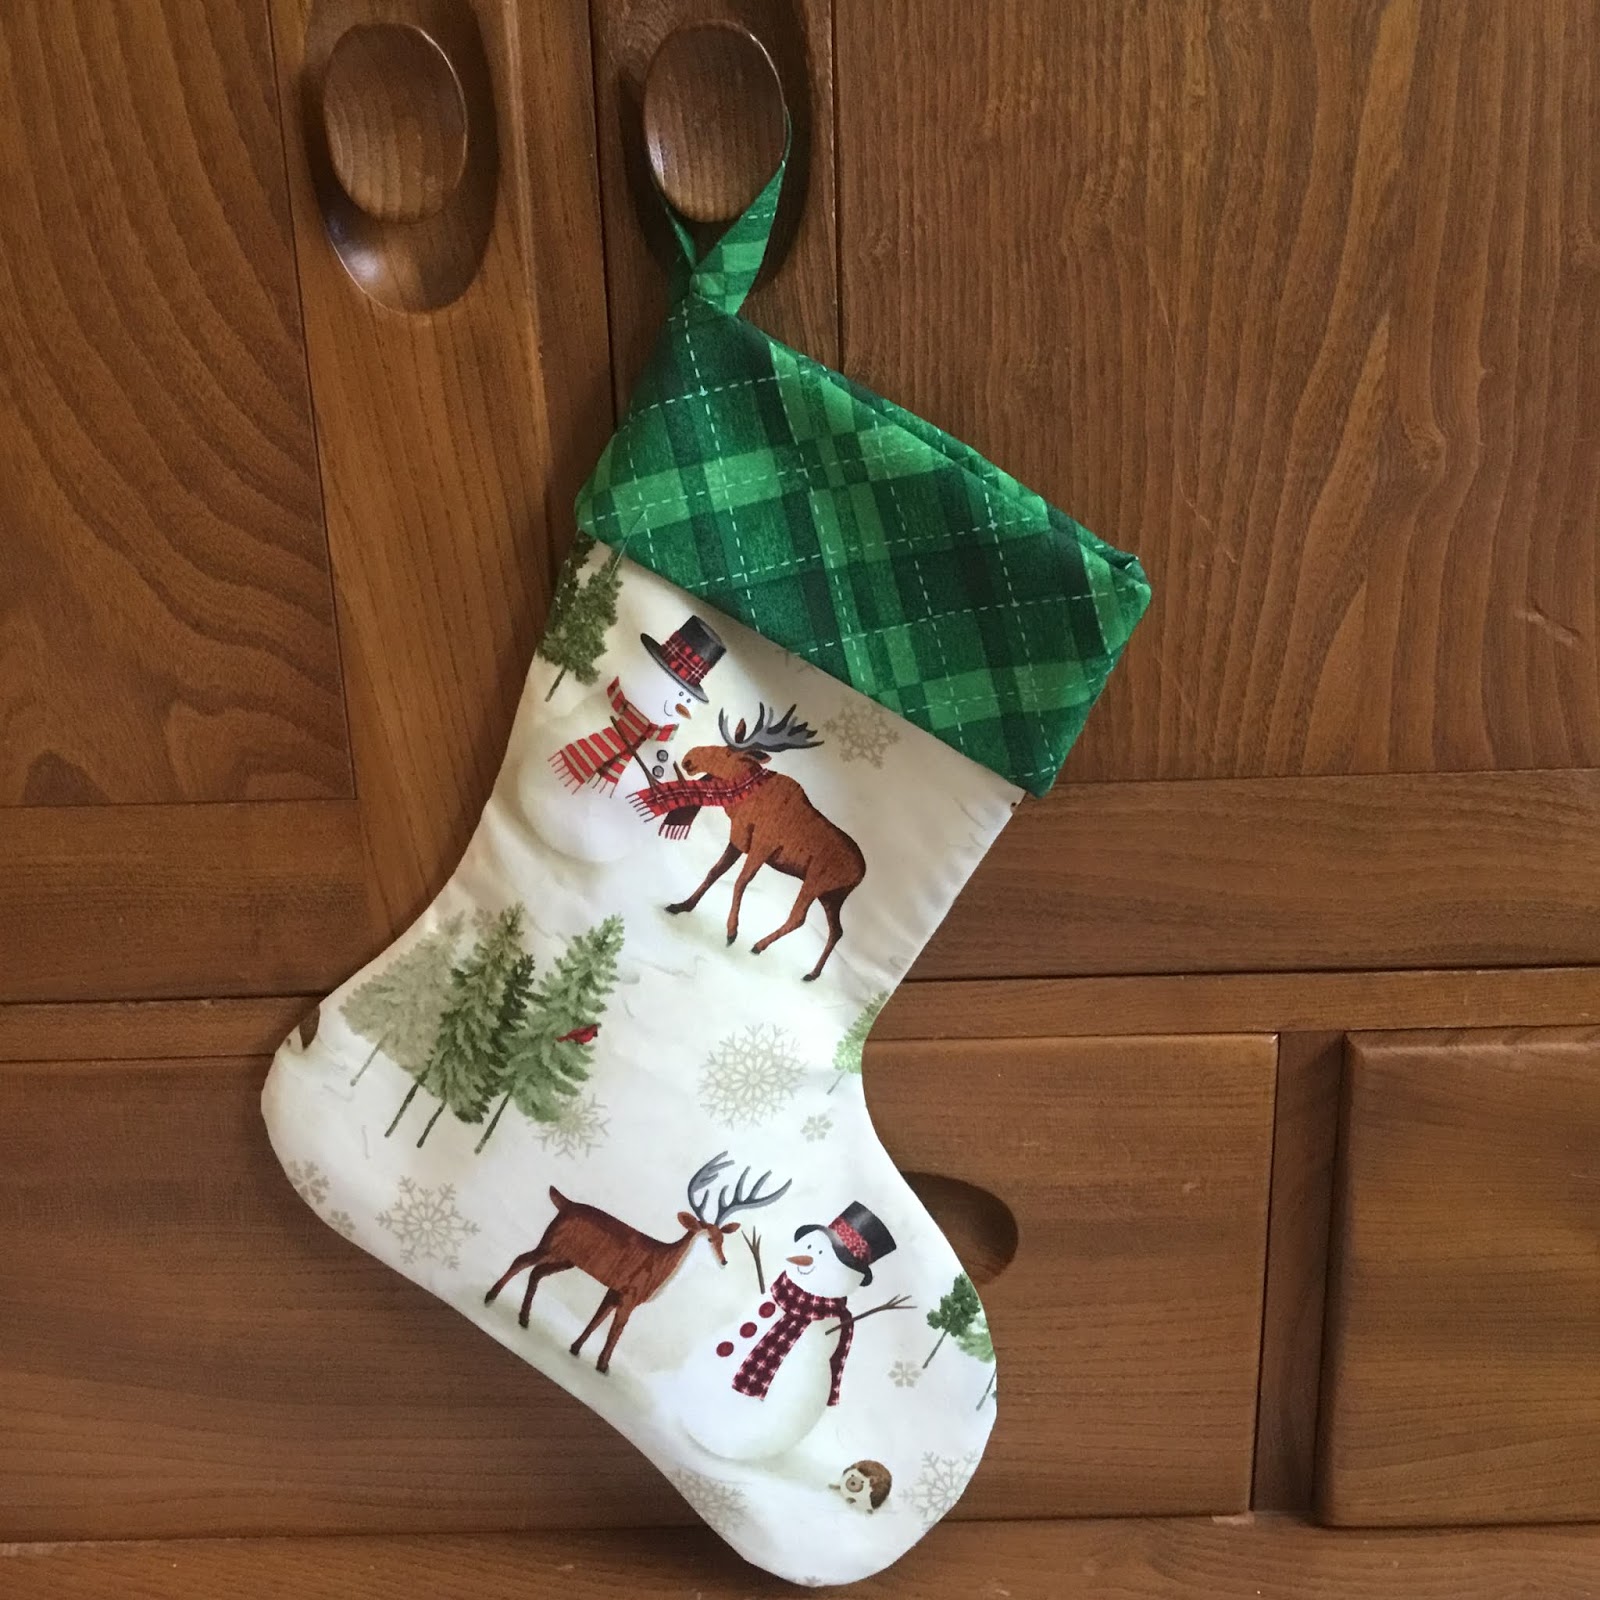
 

My first make was this Christmas stocking, using a fabric that was trational but still cute. I added the green cuff to be more Christmassy and fussy cut the characters to show them all. 


Next make was these 2 felt decorations, I chose the designs and cross stitched the centre panels. I added a felt border and back and blanket stitched together, also adding some stuffing for a plush feel.
 
 
Next was a partly bought and partly handmade gift. Since I didn't know her scent preference I purchased a selection of Christmas scented Yankee Candle tea lights along with a glass holder. I then made a hexagon shaped box for them to be gifted in. I added an acetate lid and some shredded tissue to give a more professional feel.
 
 
I made a zip pouch with a matching key fob for her next gift. I used a variety of coloured fabrics to make a patchwork panel and mixed it with some linen/calico fabric. I added a wipe clean lining and one of my handmade labels inside.
 
 
I chose a bright coloured zip that I felt worked with my fabric choices. The final touch was a charm for the zip pull. I used some jewellery supplies and chose this fun bead that matched the colour of the zip.
 
 
I screen printed a tote bag with a kitten design, using my screen sensation system, kipton the kitten screen and potting shed ink.

 
The next two gifts were a pin cushion and a needle book. I created the pattern for the pin cushion a few years ago and have made a couple before. For this one, I chose some bright coloured vintage sewing themed fabric and added lace and purple ribbon trims to the jar. 
 

I used the Aneela Hoey pattern for the needle book, doing the same adjustments as I did for the one I made in the sew along. I used the fabric to match the pincushion and combined it with some cream linen. I used some decorative stitches on my sewing machine with purple thread to add some detail on the pockets and on the front. 

 
The other gifts I included were a map puzzle, lindt chocolate, an organizer, loccitane soap and hand cream. I also sent some haberdashery items that I thought she might like; a needle egg, sparkle embroidery thread packs, vintage lace (that I found at a antiques fair) and some vintage buttons (that were from my granny).
 
I love gifts to be perfect for the person receiving them so I always put a lot of thought into gift giving. I was rather stressed at times about this swap, but was happy with what I sent. Thankfully Helen likes hers gifts and I even managed to choose some of her favourite things. 
 
These items were also on my finish a long list and although I knew I needed to finish them, it was quite hard not sharing any progress so this was an extra bit of motivation. You can read more about that here.
 
Mx

Saturday, 15 December 2018

#sncaswap18


Over on Instagram I join in with the #saturdaynightcraftalong most weeks. Towards the end of the year they have a swap. Last year I signed up and although quite stressful, I received the most beautiful gift and enjoyed making my gift to send too. This year I signed up to do the #sncaswap18 as soon as I could.


I found out my partner was @a.fox.made.this I was thrilled as I knew who she was straight away. I was able to order some fabric straight away as I thought her favourite designer is Tula pink. Alex makes the most beautiful bags and pouches so I crossed making those of my idea sheet. I had thought of making a cushion but eagerly waited for her inspiration mosaic. I was thrilled to see a couple of cushions and plenty of patchwork. I was drawn to one of the patterns on her board and decided that could work nicely in the Zuma fabric range by Tula pink. 
 

I did have to do some quilty maths and a couple of sample blocks before I made a start. The patchwork came together surprisingly well and although most of my points aren’t perfect the overall effect i thought was quite striking. I added fusible fleece to the back and did some simple quilting, either side of the seams. I made the cushion back with a zip in. I basted the two sides together and attached the binding. I used a ladder stitch to hand sew the binding to the back and finish my cushion for Alex. For my first attempt at this much patchwork and making a cushion this way, I am very happy with what I made. 
 

To complete the swap package, I added in some fox socks from accessorize, a christmas scented diffuser, a colouring in postcard and a screen printed tote bag I made.

This was also one of my finish-a-long projects that I had on my list. you can see the original post here to find out more!  

***


The other part of this swap is what I received. I made this mosaic and posted it on Instagram as inspiration for my partner.
 

 I received my parcel from @sewinthecorner and it’s beautiful. Michelle has made me a sewing caddy to use when I hand sewing in the lounge and this will definitely be going away with me and used in the car too. I especially love the cute fussy cut patchwork panel on one side.


As an extra Michelle also made a beautiful bee pin cushion that was featured on my mosaic, I love the added embroidered details on the bottom too. As extras she included some yummy chocolates, ribbon, embroidery threads and some washi tape.


Mx

Thursday, 31 May 2018

home sweet home ...

I bought a cheap cushion to customise for some screen sensations home décor. I simply centralised the 'home sweet home' screen on the front of the cushion cover and printed with 'potting soil' ink to tone in with the neutral check. I think it makes for a simple but effective way to personalise your home and this screen is perfect for the job!!
If you fancy screen printing at home, check out my blog post here all about screen sensation... plus there is a discount code to get 25% off supplies at crafting.co.uk
Mx

Thursday, 24 May 2018

simply screen printed totes

I have customised plain white cotton and calico tote bags with screen sensation screen prints. I have used  the 'dog', 'gothic peony', 'kaleidoscope', 'plumage' and 'plumage & folliage' screens with 'black', 'chrysanthemum', 'harbour blue', 'raspberry' and 'turquoise' inks. The screen prints add a bit of personality to a plain tote, perfect to use for shopping or gifting to others!

If you fancy screen printing at home, check out my blog post here all about screen sensation... plus there is a discount code to get 25% off supplies at crafting.co.uk
Mx

Friday, 11 May 2018

colourful creations...


 I took some basic white tote bags and customised them using two processes to create these colourful creations. To get the background colour, I first dyed the totes using inkodye. Each bag was scrunched and folded in different ways to create the tie dye effect. Although the dye can look great on it's own, I decided to add another layer to some using screen sensations prints. I have used the 'dog', 'fantasy flight', 'gothic peony', 'kaleidoscope' and 'plumage' screens with 'black', 'chrysanthemum' 'raspberry' and 'shadow purple' inks. I think these make the perfect gift for somebody who likes to be unique, since no dyed bag comes out the same and the screen adds a bold dash of personality to each one.


If you fancy screen printing at home, check out my blog post here all about screen sensation... plus there is a discount code to get 25% off supplies at crafting.co.uk
Mx

Friday, 27 April 2018

don't quote me!!

 I've been using some of the quote screens to customise more tote bags. Above is the 'be courageous and the wonders will follow' design printed in 'black' ink on a black handled calico tote and 'follow your dreams they know the way' screen printed in 'white' ink on a black tote. I think the lettering looks really nice in these simple monochrome variations, but it also works well in more colourful options.
 I have printed these two white tote with the 'be the reason that someone smiles today' screen. To create the two prints, I added blobs of  'berry', 'raspberry', 'bubblegum' & 'orange zest' inks. The first pull creates a streaked effect with the different colours, whilst the second pass creates a more subtle blend as the inks mix together more. The two white bags below were printed in the same way, this time with a mix of  'key lime' and 'blue sea' inks. I pulled across the 'make today amazing' screen for the first print, then downward on the second pass to create quote different looks on each.

if you fancy screen printing at home, check out my blog post here all about screen sensation. plus there is a discount code to get 25% off supplies at crafting.co.uk

 Mx

Tuesday, 3 April 2018

Screen sensation


One year ago, an at home screen printing system was launched, called screen sensation. It was something new and quite exciting, so I bought the first kit and have added to my selection of designs with the new screen collections released since. I mainly use my screen sensation to decorate tote bags, clothes and print my own fabrics, however, the possibilities go far beyond this.

Screen sensation is made up of 3 parts... 
the kit, the screens and the inks:
  • The kit includes a base unit, frame, squeegee, stir sticks and a collapsible ink bowl
  • The screens come in two sizes (12x12" & 5x7") in a wide variety of designs. You simply fix the screens to the frame using screen sensation fixing tape. This tape has been formulated especially to use with the screens, to be safe for use on the emulsion layer. If you are feeling really creative there is also a kit available to design your own screen.
  • The ink is water based, drain safe and washes out in cold water. Once the ink is fully cured (about 7 days) onto a solid surface or heat set on fabric (iron on reverse for 2 mins, washer safe to 40'c) it becomes permanent. The inks are very thick and need to be stirred before use. There is a lovely selection of colours available, but you can also mix them together to create your own custom colours.

How to use your screen sensation:
  1. Use the fixing tape to attach the screen to the back of the frame, where the screen sensation logo is. Also consider that if you have text on your screen this needs to be the right way up when printing (so backwards when taping). For the best quality of print the screen must be fixed so it is drum tight. At this stage, you may also wish to mask off areas of the design. Simply tape over the section you don't want to print (see image below). Once fixed, slide  the frame into the base unit.
  2. Place the item you are wanting to screen print onto the base unit. If you are printing onto fabric it is best to iron it first to remove any creases and put a piece of card/paper behind where you will be printing (inside a t-shirt for example) to catch any ink which could go through the layers of fabric. Push the base unit lid down to hold the item in place.
  3. Give the inks a good stir before adding to the top of the screen. It's better to have a lot of ink on as you don't want to run out and you will scrape the excess back into the pot when you have finished printing so it doesn't go to waste!! You can use multiple colours at a time to create different effects. I use less ink when doing this as you don't want to put mixed colours back into the original pots. You can still reuse this ink though, just buy empty pots to put your mixed colours in.
  4. Pull the ink across the surface of your screen using the squeegee at a 45 degree angle. I like to spread my fingers over the length of the squeegee to get even pressure. You don't need a lot of pressure as too much can wrinkle the screen and ruin your print, (you can do a dry run to check if you're unsure). When you print occasionally you feel like you have missed a bit, in this case you can just add a little bit of ink to that piece with the small squeegee. Although not advised, if you are worried you have missed quite a lot, you can carefully reprint the screen pressing lighter on the squeegee. I have done this with no problems but there is a risk of getting a blurred image.
  5. Finally, lift the lid to reveal your print. Remove the printed item from the base unit and set aside to dry. I often hang my bags and clothes onto a clothes airer to allow them to dry flat without taking up all of the counter tops.
  6. When you have finished printing your chosen design, lift the frame out of the base unit, remove all the fixing tape (if it doesn't have any ink on this can use re-used) and wash your screen in cold water. The water must be cold or it will set the inks and ruin the screen. Once you have washed your screen and removed all the ink residue, lay this flat to dry on a towel. You don't want any fluff sticking to the screen so it is best to use an older towel.
  7. Once your screen is fully dry, it can be put back in its packaging for protection and kept ready to use again. Once your prints are dry don't forget to heat set them or leave them to cure for 7 days.
Alternatively, if you are printing a bulky item that wont sit flat inside the base unit, you can print using the frame separately from the base unit. To do this, tape the screen on the opposite side of your frame (without the logo) ensuring your design is seen in reverse at this stage. Then, lay out your item that you are wanting to print directly onto a hard and sturdy flat surface. To print, turn the frame over so the logo is facing up towards you and hold it down firmly in position on the item. It is important not to move the frame during printing as this can smudge the print. If possible, I find it's best to get someone else to hold it while you print. Once set up, you can simply follow the instructions above from stage 3 onwards, (except at stage 5, simply lift your frame up in one smooth motion, ensuring it separates from the print item as the ink can hold the print to the screen.)

If you are interested in learning more, you can visit the screen sensation website to find out more information and videos demonstrating the system.

If you want to screen print at home, you can get 25% off any screen sensation purchase at crafting.co.uk ...simply checkout using the special discount code: SSBL25-OHC21
(valid until 30 June 2018)
Mx


Monday, 19 March 2018

bags for the little ones

I bought these plain cotton drawstring bags online and thought they would make great bags for kids with the addition of a fun design on them. All the designs and inks are from screen sensations. I think they would be a great gift for little ones to give them a fun bag to carry their things in. I used the 'king lion' screen with 'orange zest' ink and the 'dinosaur' screen with 'key lime' ink for the above designs.
 
I masked off the writing on the 'cool croc' screen to only print the character using 'crisp apple' ink for the bag above. The 'unicorn wishes' screen was printed in a custom mix of 'berry', 'raspberry', 'bubblegum' & 'orange zest' inks. I only partially mixed the ink blobs directly on the screen before pulling the squeegee through to give the marbled effect. I simply used the 'peach amber' ink to print the 'alphanumerical' screen design on the final bag pictured below.


Mx

Saturday, 25 November 2017

monochrome totes

I have customised these black totes with white ink and screen printed designs from screen sensations. I have used the 'mask', 'gothic peony', 'kaleidoscope' and 'plumage & folliage' screens. The white ink really pops on the dark fabric and adds some interest to these plain totes I got online.

Mx

Sunday, 12 November 2017

black strap totes

I found these totes online which come with the black handles and thought they would look great customised with black screen printed designs. I have used the 'kaleidoscope', 'plumage' and 'wisdom' screens and the black ink from screen sensations and I'm pretty pleased with the results.
Mx

Tuesday, 18 July 2017

for the little kiddy winks ...

 
I bought these plain white bodysuits to customise for gifting. I used the screen sensations 'kiddywinks' screen and masked each design to screen print them separately with different coloured screen sensations inks. I used the 'smoothie' for the unicorn, 'niagara' for the bunny and 'seaglass' for the dinosaur. I think these cute little designs work perfectly to customise clothes for a baby.
 
Mx