Saturday, 9 February 2019

My first blocks


 These were the first patchwork blocks I ever made and am so happy to see them finally made into something. I went to a patchwork class at a local shop, where every class you made a new block with the goal of having a sampler quilt at the end. I let my sister choose the fabrics with the intention of her having the quilt as a gift. Sadly though, the shop closed when we only had 7 blocks made. We didn’t have enough blocks to make a quilt and I wasn’t too thrilled with the designs to just make repeats. Without much experience the blocks just got shoved in a cupboard while I did other projects, until a few months ago. My plan was to make them into cushions for Christmas, however, I had lots of other gifts to make and these got pushed to the bottom of the list with the promise that I’d do them as soon as I had time.
She had a couple of large cushions that had covers which really didn’t match the décor. We had a discussion and I came up with this solution. I used 2 full blocks and split the 3rd in half, once joined together they made just the right sized cushion fronts. I added some batting to the back of the patchwork and did some straight line quilting about an inch apart. I backed the cushions with some plain grey fabric that I got from IKEA and did an envelope back to make them super simple. The blocks worked out to be enough to do both large cushions, one in each colour way.
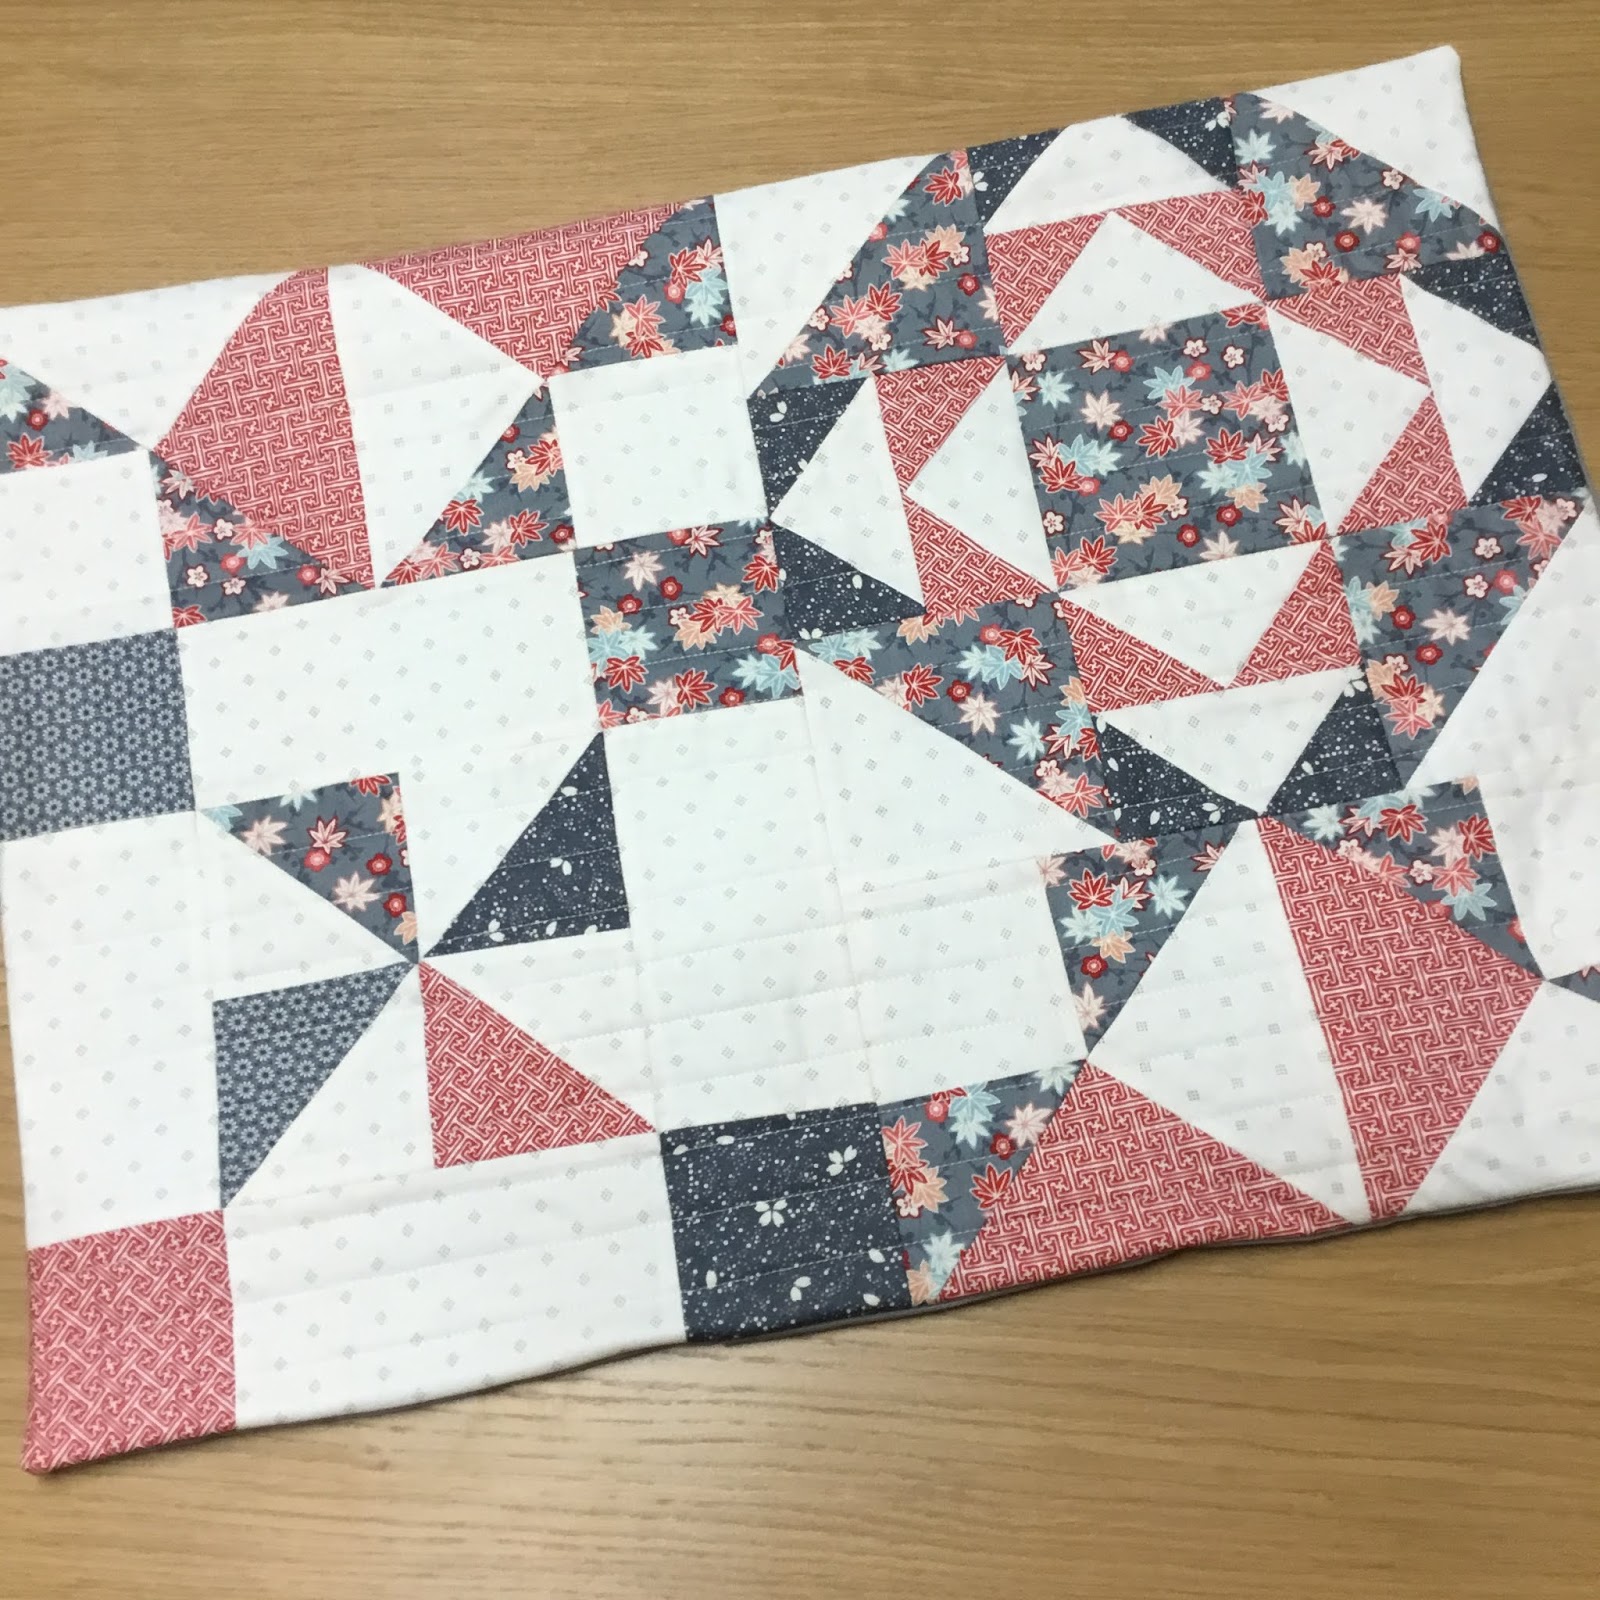
Since I had one block left over, I made one more smaller cushion. The block was slightly too small for the cushion she had, so I simply added a border to the block. I used some of the blue fabric I had left over to tie the cushions together a little more. I also finished this cushion with an envelope back in the same grey fabric.
These cushions were simple to make and I’m so happy with them. It’s a shame they weren’t finished earlier, however, they probably wouldn’t have been made the same or turned out as nice. They are quite a quirky design but fit both my sisters personality and room perfectly.
Mx


Thursday, 7 February 2019

Micky quilt


Since I made a quilt for Annie’s christening (read about this quilt here) I thought it was only right that I made a quilt for another friends baby who was born at similar time. I knew he wasn’t going to have a christening, so his first birthday seemed like the perfect opportunity. 
For Finlay’s quilt, I wanted fabric that would also be quite timeless so he wouldn’t grow out of it too fast. I was lucky to find this Micky material on sale at a local shop and it seemed like fate... After all what is more timeless than Disney's Micky mouse!
As I had left it a little late to start, I chose to do a simple square patchwork design. I did however choose to combine 3 of the fabrics, using the layout to make a pattern. I think this makes quite a striking design and am very pleased I decided to make it this way. I was quite surprised how quickly it came together, made easier by a lot of chain piecing. My mum was also very helpful and did quite a lot of pressing the seams for me.

 
I chose the grey fabric for the backing since it was darker than the other prints but included all of the colours. I also made the quilt to the width of the fabric to save me piecing the back. I chose to do simple straight line quilting, going diagonally across the squares. I only quilted every other square too to give the quilt a softer feel. I used the red print as the binding to frame both the front and back nicely.


The measurements I used to make this quilt are below if you would like to make your own:
 
finished quilt size is 40.5" x 58.5"
 
fabric A (white) cut 35 @  5"x5"
fabric B (blue) cut 58 @  5"x5"
fabrc C (red) cut 24 @ 5"x5" plus 2.5" strips for binding
 
I cut the binding strips first, taking advantage of using the full length of the fabric. Then cut the squares from the remaining fabric. I cut and joined at least 230" of binding just to be safe.
I used 1/4" seam allowances throughout my quilt.
 
 
It was a very dull and windy January day so the pictures aren’t great, but the quilt was happily received and that’s the thing that matters the most.
 
This quilt was a project for my Q1 finish-a-long, you can read more about this here!
 
Mx

Tuesday, 5 February 2019

Epp on the go


 As part of the #100hexies100days Instagram challenge hosted by @sewfoxymama, I was encouraged to baste 100 hexies. I chose to do all cotton and steel fabrics, although it was hard to find fabric to fit the weekly themes I just managed to do it. I was so pleased I completed all 100 days and on time! I was determined to make them into a project for me to keep and use. I originally thought of a bag but decided on this 2 in 1 pouch designed by aneela hoey. I actually had too many to just make this one pouch so I chose which hexies I wanted and gave the other half to my sister, for her to make a pouch too.
 
 
I decided on this layout and set to hand stitching them all together. Once stitched, I added batting to the reverse and did some straight line quilting going diagonally through the hexies. I chose my favourite girl with balloons fabric and used a medium/heavy interfacing on the reverse to line. Sparkle vinyl was an obvious choice for my pouch. I found a couple of bits from my scrap bag for the fastening tab and decided on a bright pink kam snap. I picked pink zips and the wonderful teal sprinkles fabric from cotton and steels basic range as my binding.
 
 
I must admit that I didn’t follow the book instructions completely. After making this pouch as part of the sewalong last year, I had a few little adjustments that made things a bit easier this time.

I am so happy with this pouch, all of my fabric choices and the cute fussy cut hexies makes it perfect. It is also super handy and has been used to hold my supplies for my ice cream soda EPP quilt I’m making. I will be doing most of the sewing on the go so it’s great to be able to pick this up in a rush and know I have everything ready to see, well apart from my glasses!
Mx


Sunday, 13 January 2019

GU cheesecake pincushion


I have made a few of these pin cushions now and personally I love them. They recycle a gu cheesecake jar (old style with straight sides), they are a really nice size and because it's also a little heavy, it can double as a pattern weight.
I choose to trim mine with some lace and thin ribbon, but you could use whatever you prefer. I think pom Pom trim would be so fun!

To make your own, you will need:
the pattern and instructions sheet
fabric
thread and needle
hot glue gun
trims

I sew mine on my machine, but you could use a small back stitch to hand sew yours.
 
If you share your pincushion online please make reference to this blog and if you use Instagram, don’t forget to share your pincushions with the #craftylilmousepatterns

Happy stitching 
Mx

Friday, 11 January 2019

2019 finish-a-long Q1


It’s a new year and a new quarter of the finish-a-long. I was so pleased to find this planner on studios sew of course blog... it makes it so much easier to plan and see what stage my projects are at. I didn’t however put them in any reasonable order, so we will see how it goes and possibly make an edited list next quarter. 
 
 
There is simply too many projects to list, you’d fall asleep before you got to the end, instead I have picked out my top 16 (8 shown above): 
  • Finish the pouch made from my 100 hexies 
  • A patchwork for my nana’s 80th birthday 
  • The unicorn pouch I didn’t finish last quarter 
  • Bambi gifts
  • Mermaid cross stitch 
  • Micky quilt 
  • 2 Easter projects 
  • Continue making my advent calendar
  • Pin badge banners
  • The blocks for abbie
  • Car acsessiories
  • Birthday stitchers swap project 1
  • send a little love swap
Plus I’d love to make a start on my ice cream soda Epp, postage stamp quilt and my liberty quilt.
 
I know this list is unrealistic but you can dream and aim high, if all else fails there is always next quarter!

 If you fancy joining in too, click link here to the blog and find a host, alternatively, go check out their account and hashtag over on Instagram.

Best get sewing!!
Mx 

Tuesday, 8 January 2019

12daysofchristmasswap


I signed up to do the #12daysofchristmasswap2018 on instagram a few months ago. The idea is to make and buy 12 gifts for your partner to open on the 12 days after Christmas.
It is a secret swap and you are assigned a partner and no one knows who is making for who. When you sign up you fill out a form telling your partner your preferences and make a mosaic and post to instagram for more inspiration.
My partner was Helen, known as @polly_dolly_wolly on instagram, these are the gifts i sent...


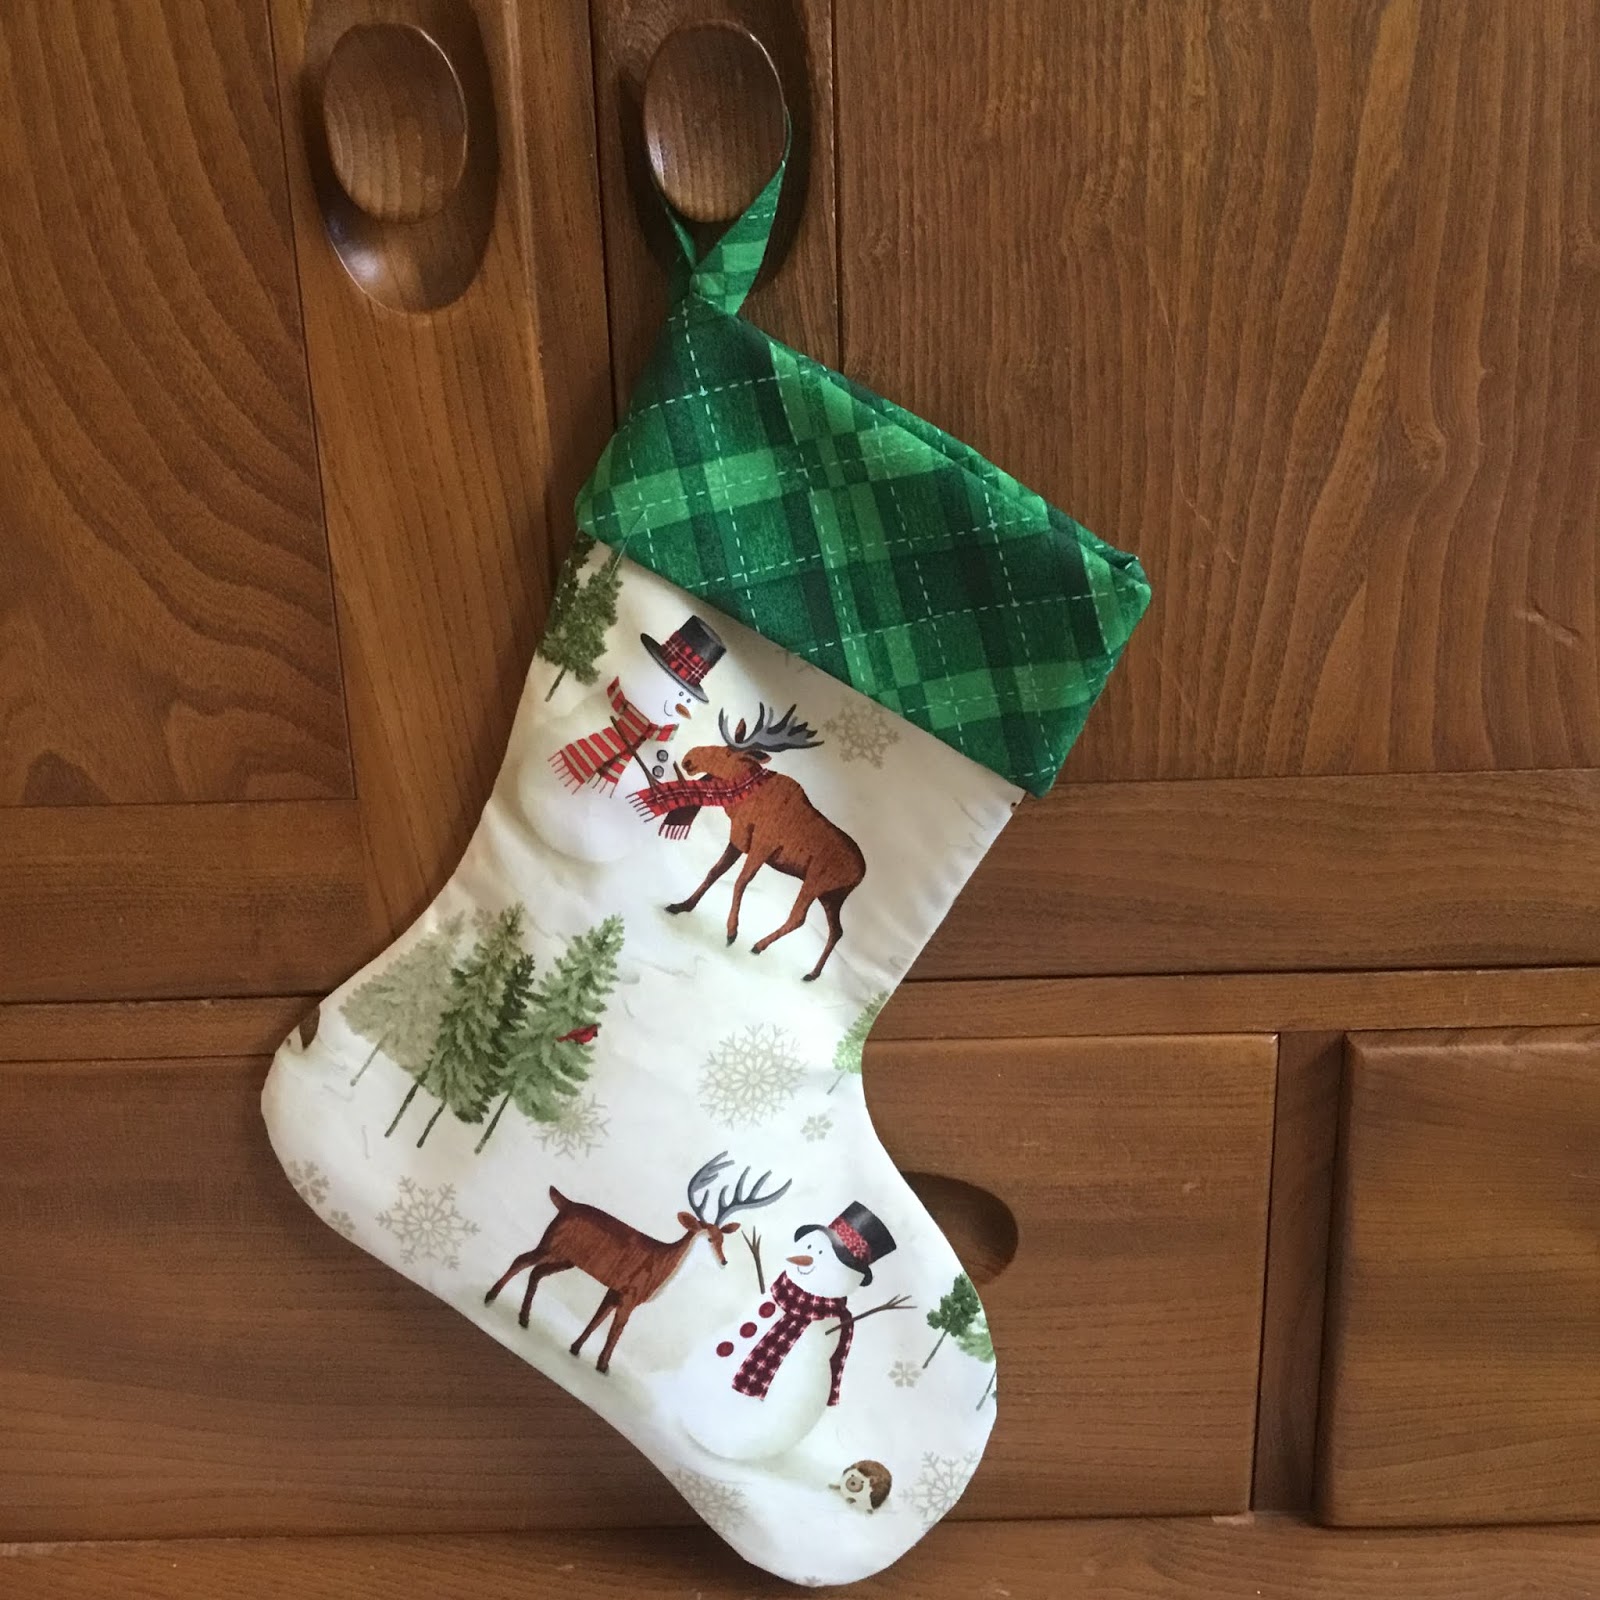
My first make was this Christmas stocking, using a fabric that was trational but still cute. I added the green cuff to be more Christmassy and fussy cut the characters to show them all. 


Next make was these 2 felt decorations, I chose the designs and cross stitched the centre panels. I added a felt border and back and blanket stitched together, also adding some stuffing for a plush feel.
 
 
Next was a partly bought and partly handmade gift. Since I didn't know her scent preference I purchased a selection of Christmas scented Yankee Candle tea lights along with a glass holder. I then made a hexagon shaped box for them to be gifted in. I added an acetate lid and some shredded tissue to give a more professional feel.
 
 
I made a zip pouch with a matching key fob for her next gift. I used a variety of coloured fabrics to make a patchwork panel and mixed it with some linen/calico fabric. I added a wipe clean lining and one of my handmade labels inside.
 
 
I chose a bright coloured zip that I felt worked with my fabric choices. The final touch was a charm for the zip pull. I used some jewellery supplies and chose this fun bead that matched the colour of the zip.
 
 
I screen printed a tote bag with a kitten design, using my screen sensation system, kipton the kitten screen and potting shed ink.

 
The next two gifts were a pin cushion and a needle book. I created the pattern for the pin cushion a few years ago and have made a couple before. For this one, I chose some bright coloured vintage sewing themed fabric and added lace and purple ribbon trims to the jar. 
 

I used the Aneela Hoey pattern for the needle book, doing the same adjustments as I did for the one I made in the sew along. I used the fabric to match the pincushion and combined it with some cream linen. I used some decorative stitches on my sewing machine with purple thread to add some detail on the pockets and on the front. 

 
The other gifts I included were a map puzzle, lindt chocolate, an organizer, loccitane soap and hand cream. I also sent some haberdashery items that I thought she might like; a needle egg, sparkle embroidery thread packs, vintage lace (that I found at a antiques fair) and some vintage buttons (that were from my granny).
 
I love gifts to be perfect for the person receiving them so I always put a lot of thought into gift giving. I was rather stressed at times about this swap, but was happy with what I sent. Thankfully Helen likes hers gifts and I even managed to choose some of her favourite things. 
 
These items were also on my finish a long list and although I knew I needed to finish them, it was quite hard not sharing any progress so this was an extra bit of motivation. You can read more about that here.
 
Mx

Diamonds for Christmas...


I made this cushion as a gift for my friend Zena for Christmas. I used cotton and steel fabric in pink and red tones. I mainly used the Noel and tinsel fabric ranges but added some off their basics to break up the prints. I knew she loves diamond patchwork so it was an obvious design choice for her cushion. I cut quite a few diamonds then played around with the layout until I was happy. I took a picture as reference and began sewing. I found it a little confusing to sew together at first, but I soon got the hang of things. I was quite pleased with how it came together and that most of my points matched. I used some fusible batting on the back and quilted using some verigated thread. I chose to just do a straight line of quilting either side of the seams. I made up the back of the cushion in the light pink colour and included a zip. I couldn’t decide which colour/fabric would look best so opted to make this cushion using the turning out method instead of binding it like a quilt.


I also added some extras to my parcel, a haberdashery design biscuit tin with cookies inside, a winter scented reed diffuser. I cut some low volume fabric to make a mini hexie charm pack and made a couple of felt decorations for her tree. I included this cute Christmas card that I made too, which used the perfect image since Zena loves deers. 
Mx