Sunday, 8 August 2021

My wheel chair cover


So I recently bought a wheel chair for myself. It took a bit of shopping around and trying different ones to find the best fit. I went for the excel G Logic (18" standard seat) in the end. However it came with a bright orange and black seat (other colours are usually available). Of course there is nothing wrong with this, but it isn't really my style, so I wanted to make a cover for it. I knew I needed to make it removable for washing so I used snap fastenings as they are quick and easy. I also wanted it reversible to be able to change the look, but also if I spilled anything, it can be quickly flipped until washing. I picked out a lovely patterned piece of cord fabric for the front, hopefully for some durability, and a cotton which I quilted for the reverse.  I will say the cord is totally not necessary and cotton for both sides would work just as well, you could also try a canvas or denim. 


I didn't take any photos during construction, so this can't be an in depth tutorial unfortunately. However these are the measurements and some instructions, which you might find useful I you want to make one. I will say not all wheel chairs are one size so unless you have the excel G logic, you will have to tweak them a bit. The main thing would be to measure the width of your seat and use a tape measure to check if you need to add to the length, making sure it folds over at the top and under at the front, remembering to add seam allowance too.


Measurements (HxW) :

main panel- 2@ 40 1/2" x 18 3/4" (plus 1x batting and 2x interfacing)

tab 1- 4@ 3" x 1 3/4" (plus 2x interfacing)

tab 2- 4@ 3" x 2 1/4" (plus 2x interfacing)

tab 3- 4@ 1 1/2" x 3" (plus 2x interfacing)

5 sets of kam snaps 

Instructions :

  1.  Cut out the 2 main panels. For the first one add interfacing to the wrong side of the fabric. For the second piece of fabric, place wrong side to the batting and then add interfacing to the other side of the batting. Use a longer stitch length to quilt and hold all 3 layers together (for this side I cut the fabric bigger than needed then trimmed back after quilting).
  2. Next make the 6 tabs. Interface the fabric then place 2 pieces right sides together. Sew 3 sides (leaving one Height side) , using a 1/4" seam allowance. Turn out through the unsewn edge, press and top stitch for a neat finish. 
  3. Baste the tabs in place, with the raw/unsewn edge at the outer edge of the main panel. If you are using a different fabric for each side, check the matching fabric is right sides together. Tab 1 should be placed 3/4" from the top edge of the main panel. Tab 2 should be 5 1/4" down from the top edge. There should be 2" between tabs 1 and 2. Tab 3 should be 5" up from the bottom of the main panel. I would recommend placing on the chair, to check your happy with placement before doing the next step. 
  4. Place one of the main panels right sides together with the other main panel that has all 6 tabs basted in place. Sew all the way around the edge, using a 1/4" seam allowance. Remembering to leave a turning gap at the bottom.
  5. Once sewn together, turn out through the gap. Press and hand stitch up the turning gap. Don't worry if its not too neat, as it will not be seen easily under the wheel chair. Top stitch all the way around the edge for a neat finish, remembering to keep the tabs out of the way of this stitch line.
  6. Add the snaps in place. You may wish to put it on your chair to check and mark placement of your snaps. The bottom snaps that go with tab 3 are placed through the main panel 3/4" in from the bottom corner.  
  7. Finally fasten the cover in to the wheel chair and crease where the back of the seat meets the base. Use a hera marker or pins to mark the line, then top stitch along it. This is not necessary although does make the cover sit in place better.
The full cover laid flat.

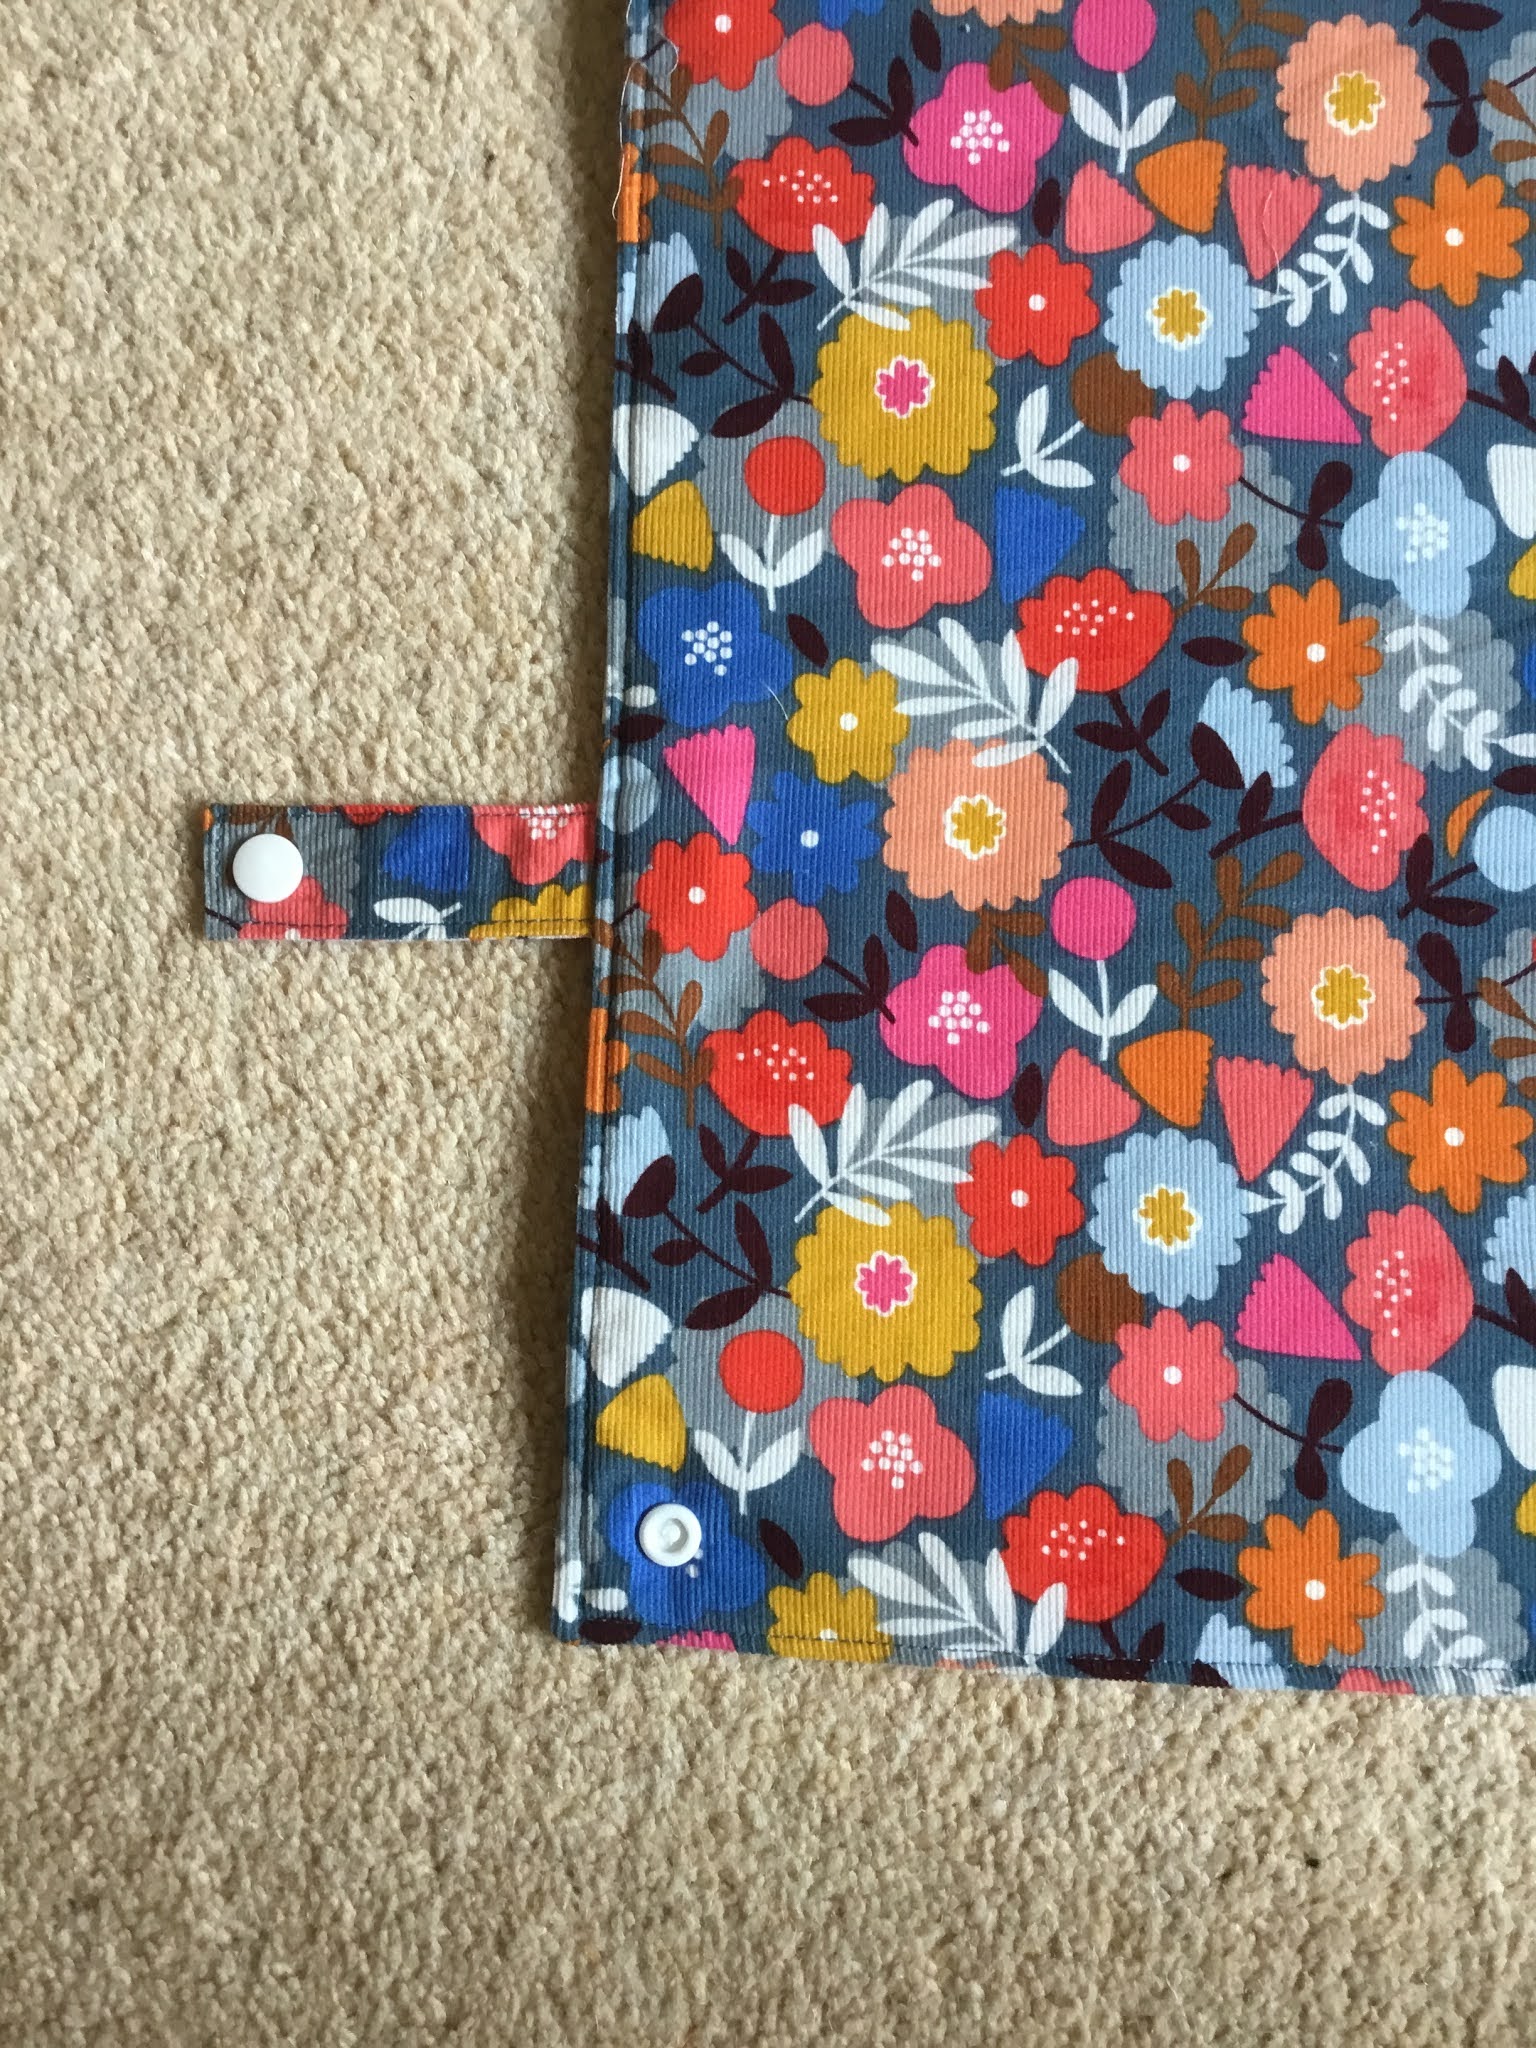
Tab 3 and snap on main panel.

Tab 1 & 2 on main panel.

I hope these instructions and few photos make it understandable and will be useful if you are wanting to make one yourself.
Mx 

Thursday, 5 August 2021

The sweet wonder quilt!


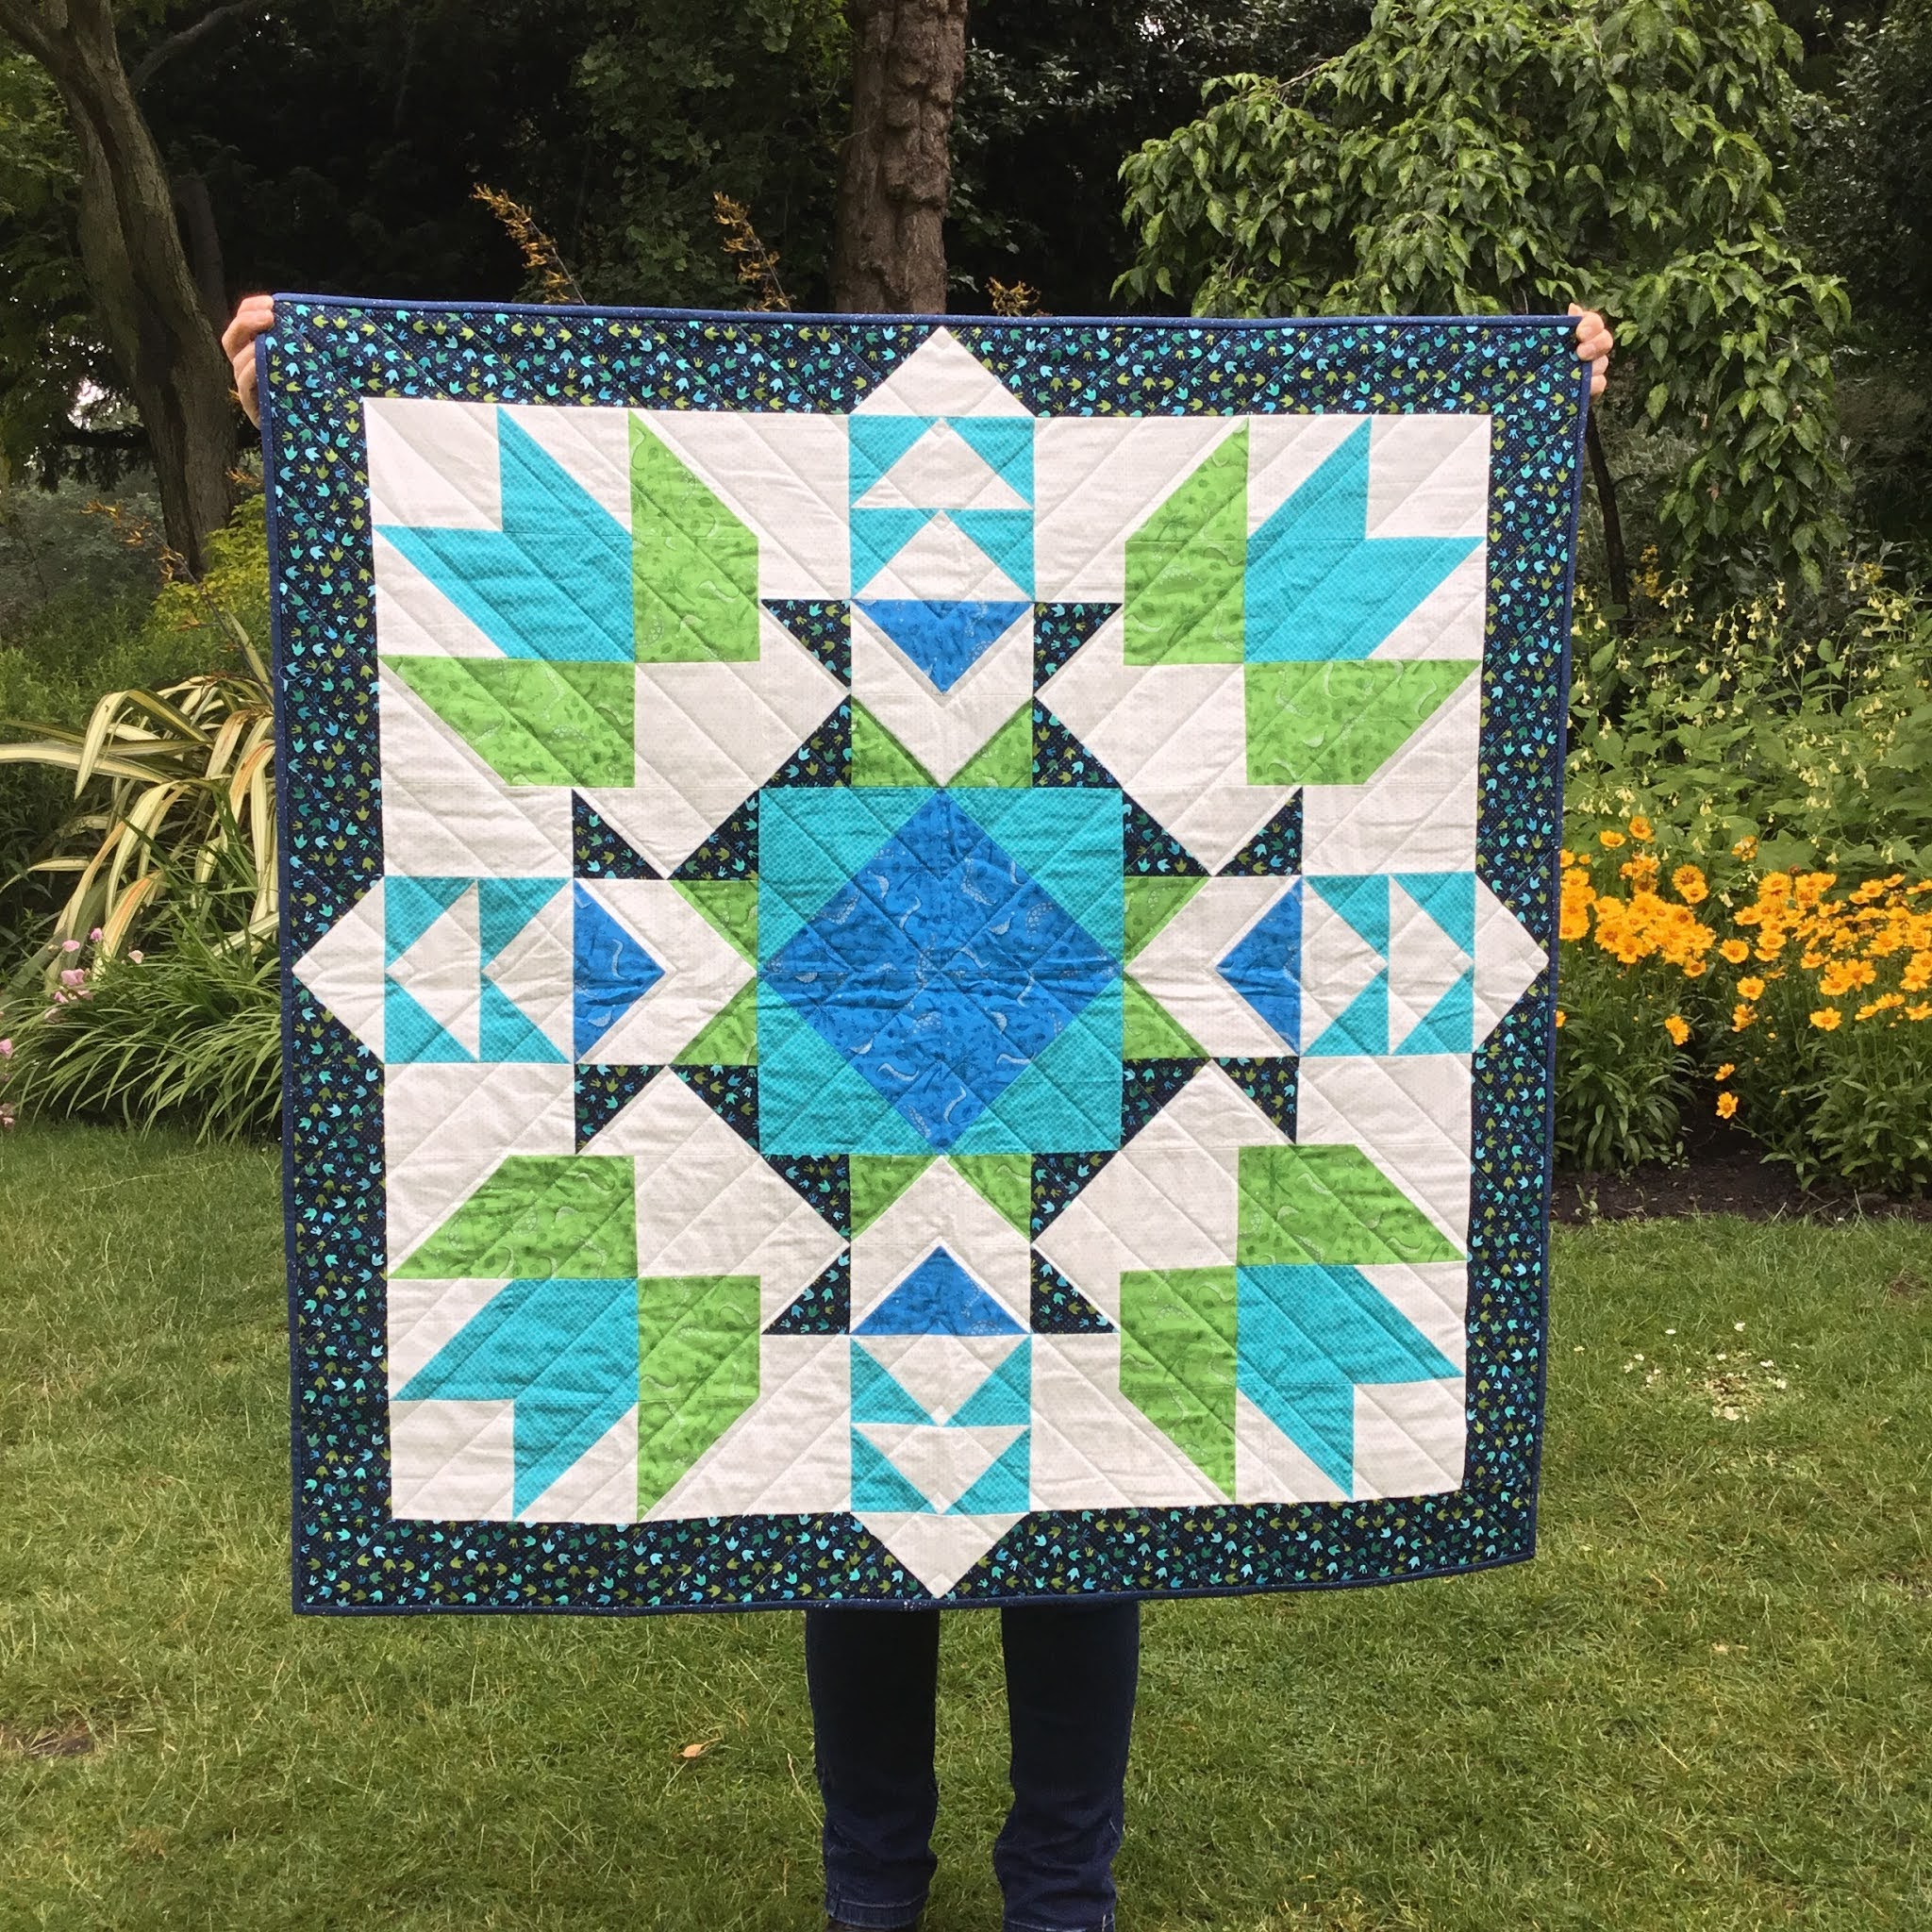
I recently had the pleasure of testing made just sew’s latest quilt pattern. It is fabulous! I’m in love with the baby quilt I made and the bonus is, it was so simple to make. It’s a quick make too, start to finish for me was about  10 days, but I know a lot of people in the test group did it faster. 

So more details about my quilt. I used dinosaur themed fabrics in blue and greens:

The dinosaur fabrics are camelot (no name on my cut), foot print is 'i love you this much' by leanne & kayttyn anderson for henry glass, teal dot print is upper case volume 3 circular logic for windham fabrics. Binding is the Navy Blue tonal fabric Spectrastatic II collection by Giucy Giuce for Andover Makower

I used aurifil 50wt thread, 2021 for Construction. Then 1320 and 2805 for the quilting.


I actually quilted this quilt myself, since it was a manageable 42” square. I used the walk book by jacquie Gering. It was still simple lines, but made an impactful design on the quilt.


I couldn’t resist making a cushion to be gifted with the quilt. I wanted it to match the centre of the quilt. I had to resize the pattern, but it was worth the effort to match. I also did matching quilting design and used my favourite way to sew a cushion back to complete it.


You can find the cushion back tutorial here!

I just had to take this quilt for a little trip out to get some #quiltsinthewild photos. I think I found the perfect background at the York museum gardens. More photos can been found on my Instagram @craftylilmouse

Overall I would highly recommend giving this pattern a try, Claire’s other patterns are great too, and you can buy them here!

There was plenty of amazing testers versions, which means there plenty of colour inspiration to get you started too. You can have a look on this handy blog post here or check out the #sweetwonderquilt on Instagram, why not give @madejustsew a follow too while you are there!

Mx


Sunday, 11 April 2021

Finish-a-long Q1 finish and Q2 plans...


This was my list for Q1 :
  • snappy zip pouch for mobile- on Q2 list
  • liberty cord and cork pouch/bag- finished!
  • pouch for dad- on to Q2
  • 2 doll house fabric quilts - one top is done but these are for Q2.
  • sewing machine cover- finished!
  • C+S square cushion- finished!
  • floral quilt and cushions- finished the quilt! Still have the cushions on Q2.
  • dog fabric car quilt- Q2 
  • sugar plum/Trixie quilt- Q2
  • tasha noel skirt- Q2 
  • adele dress- Q2 if at all.
  • my meadowland cushion- Q2 
  • liberty hst quilt- Q2 
  • Sarah Jane bag- Q2 
  • Embroidery case- Q2 
  • Felt animal kits- finished both!
Other quilts:
Ice cream soda epp
Hexie epp
Sweet Christmas quilt
Green blanket
Neverland
Wee wanders
Riley Blake sewing kit
Tula all star
Hedgehog kit
Ruby star trio
Little sweetness
Liberty castaway
... probably still forgetting some!

I feel quite pleased with my finishes this quarter. Hopefully I will get some more projects finished this quarter but I am having a room switch about and working on a pattern or 2 so we shall see.

Mx

Friday, 12 March 2021

Easter Pattern


Last year I started designing embroidery patterns which are on sale on my etsy page, but thought I'd share my latest one with you for free here !! 


The idea with this one is to be able to turn it into a cute little hanging egg shaped decoration for Easter, but I always love to see everyone's unique versions. Please feel free to share your makes on Instagram using #craftylilmousepatterns and check it out for inspiration.

Mx 

Thursday, 25 February 2021

My liberty Collider cushion...


I had the pleasure of pattern testing for the collider quilt by made just sew. I was excited to get started when I saw the pattern, although I couldn't commit to an entire quilt, we agreed I would make one block into a cushion. I chose to use Liberty London tana lawn fabrics.

 To make the prints stand out a little I added a solid, I chose the art gallery pure solids, as they are a nice weight cotton to use with lawn fabrics. I used  the cotton candy pink since I didn't want white and thought it would work nicely with the prints I had picked out. If you fancy making your own cushion using this pattern, I made the throw size block to make an 18" cushion and used one fat quarter for all the background pieces.

The pattern is well written and came together nice and quickly. Since there's a lot of sewing and cutting on the bias, I did use best press to starch my fabrics before I started cutting and sewing. I would highly recommend this with this pattern and fabrics. I also used a 75/11 sized needle in my sewing machine because I was using the lawn fabric. 


I decided to do some hand quilting for this cushion. I used a 12 wt Aurifil thread in shade 2021. I used thread gloss to help with the stitching, its not necessary but I enjoy the smell and using it.   
Once it was all hand quilted, I was straight on to making it in to a cushion. 


To make the zip cushion back, I used my tried and trusted method. You can see my tutorial here on how I make them.

The collider pattern is lovely and I'm so happy with my new cushion. You can now buy the pattern here.

Mx


Sunday, 3 January 2021

Finish a long Q4 update... lots finished!

 It’s the new year and time to review 2020 Q4 finishes:

  • postage stamp style cotton and steel quilt- finished!
  • HST cotton and steel quilt- needs binding
  • halloween embroidery project and sew along- finished!
  • pixie noel quilt- finished plus 3 cushions and a stocking!
  • my merry lil christmas swap parcel- finished!
  • c+s christmas cushion, stocking & makers mat- will do these 2021
  • polar bear cushion- finished!
  • christmas cross stitch- needs back stitch/outline
  • dashwood advent pouches- finished, well I did let me mum do them so slightly cheated.
  • christmas bunting- finished!
On to 2021...
This is my list for Q1, although I am realistic enough to know it will probably take all year. I really do want to get to the bottom of my wip pile. In no order:
  • snappy zip pouch for mobile
  • liberty cord and cork pouch/bag
  • pouch for dad
  • 2 doll house fabric quilts
  • sewing machine cover
  • C+S square cushion
  • floral quilt and cushions
  • dog fabric car quilt
  • sugar plum/Trixie quilt
  • tasha noel skirt
  • adele dress
  • my meadowland cushion
  • liberty hst quilt
  • Sarah Jane bag
  • Embroidery case
  • Felt animal kits
Other quilts:
Ice cream soda epp
Hexie epp
Sweet Christmas quilt
Green blanket
Neverland
Wee wanders
Riley Blake sewing kit
Tula all star
Hedgehog kit
Ruby star trio
Little sweetness
Liberty castaway
... probably still forgetting some!


Mx

Friday, 11 December 2020

christmas gift cushion

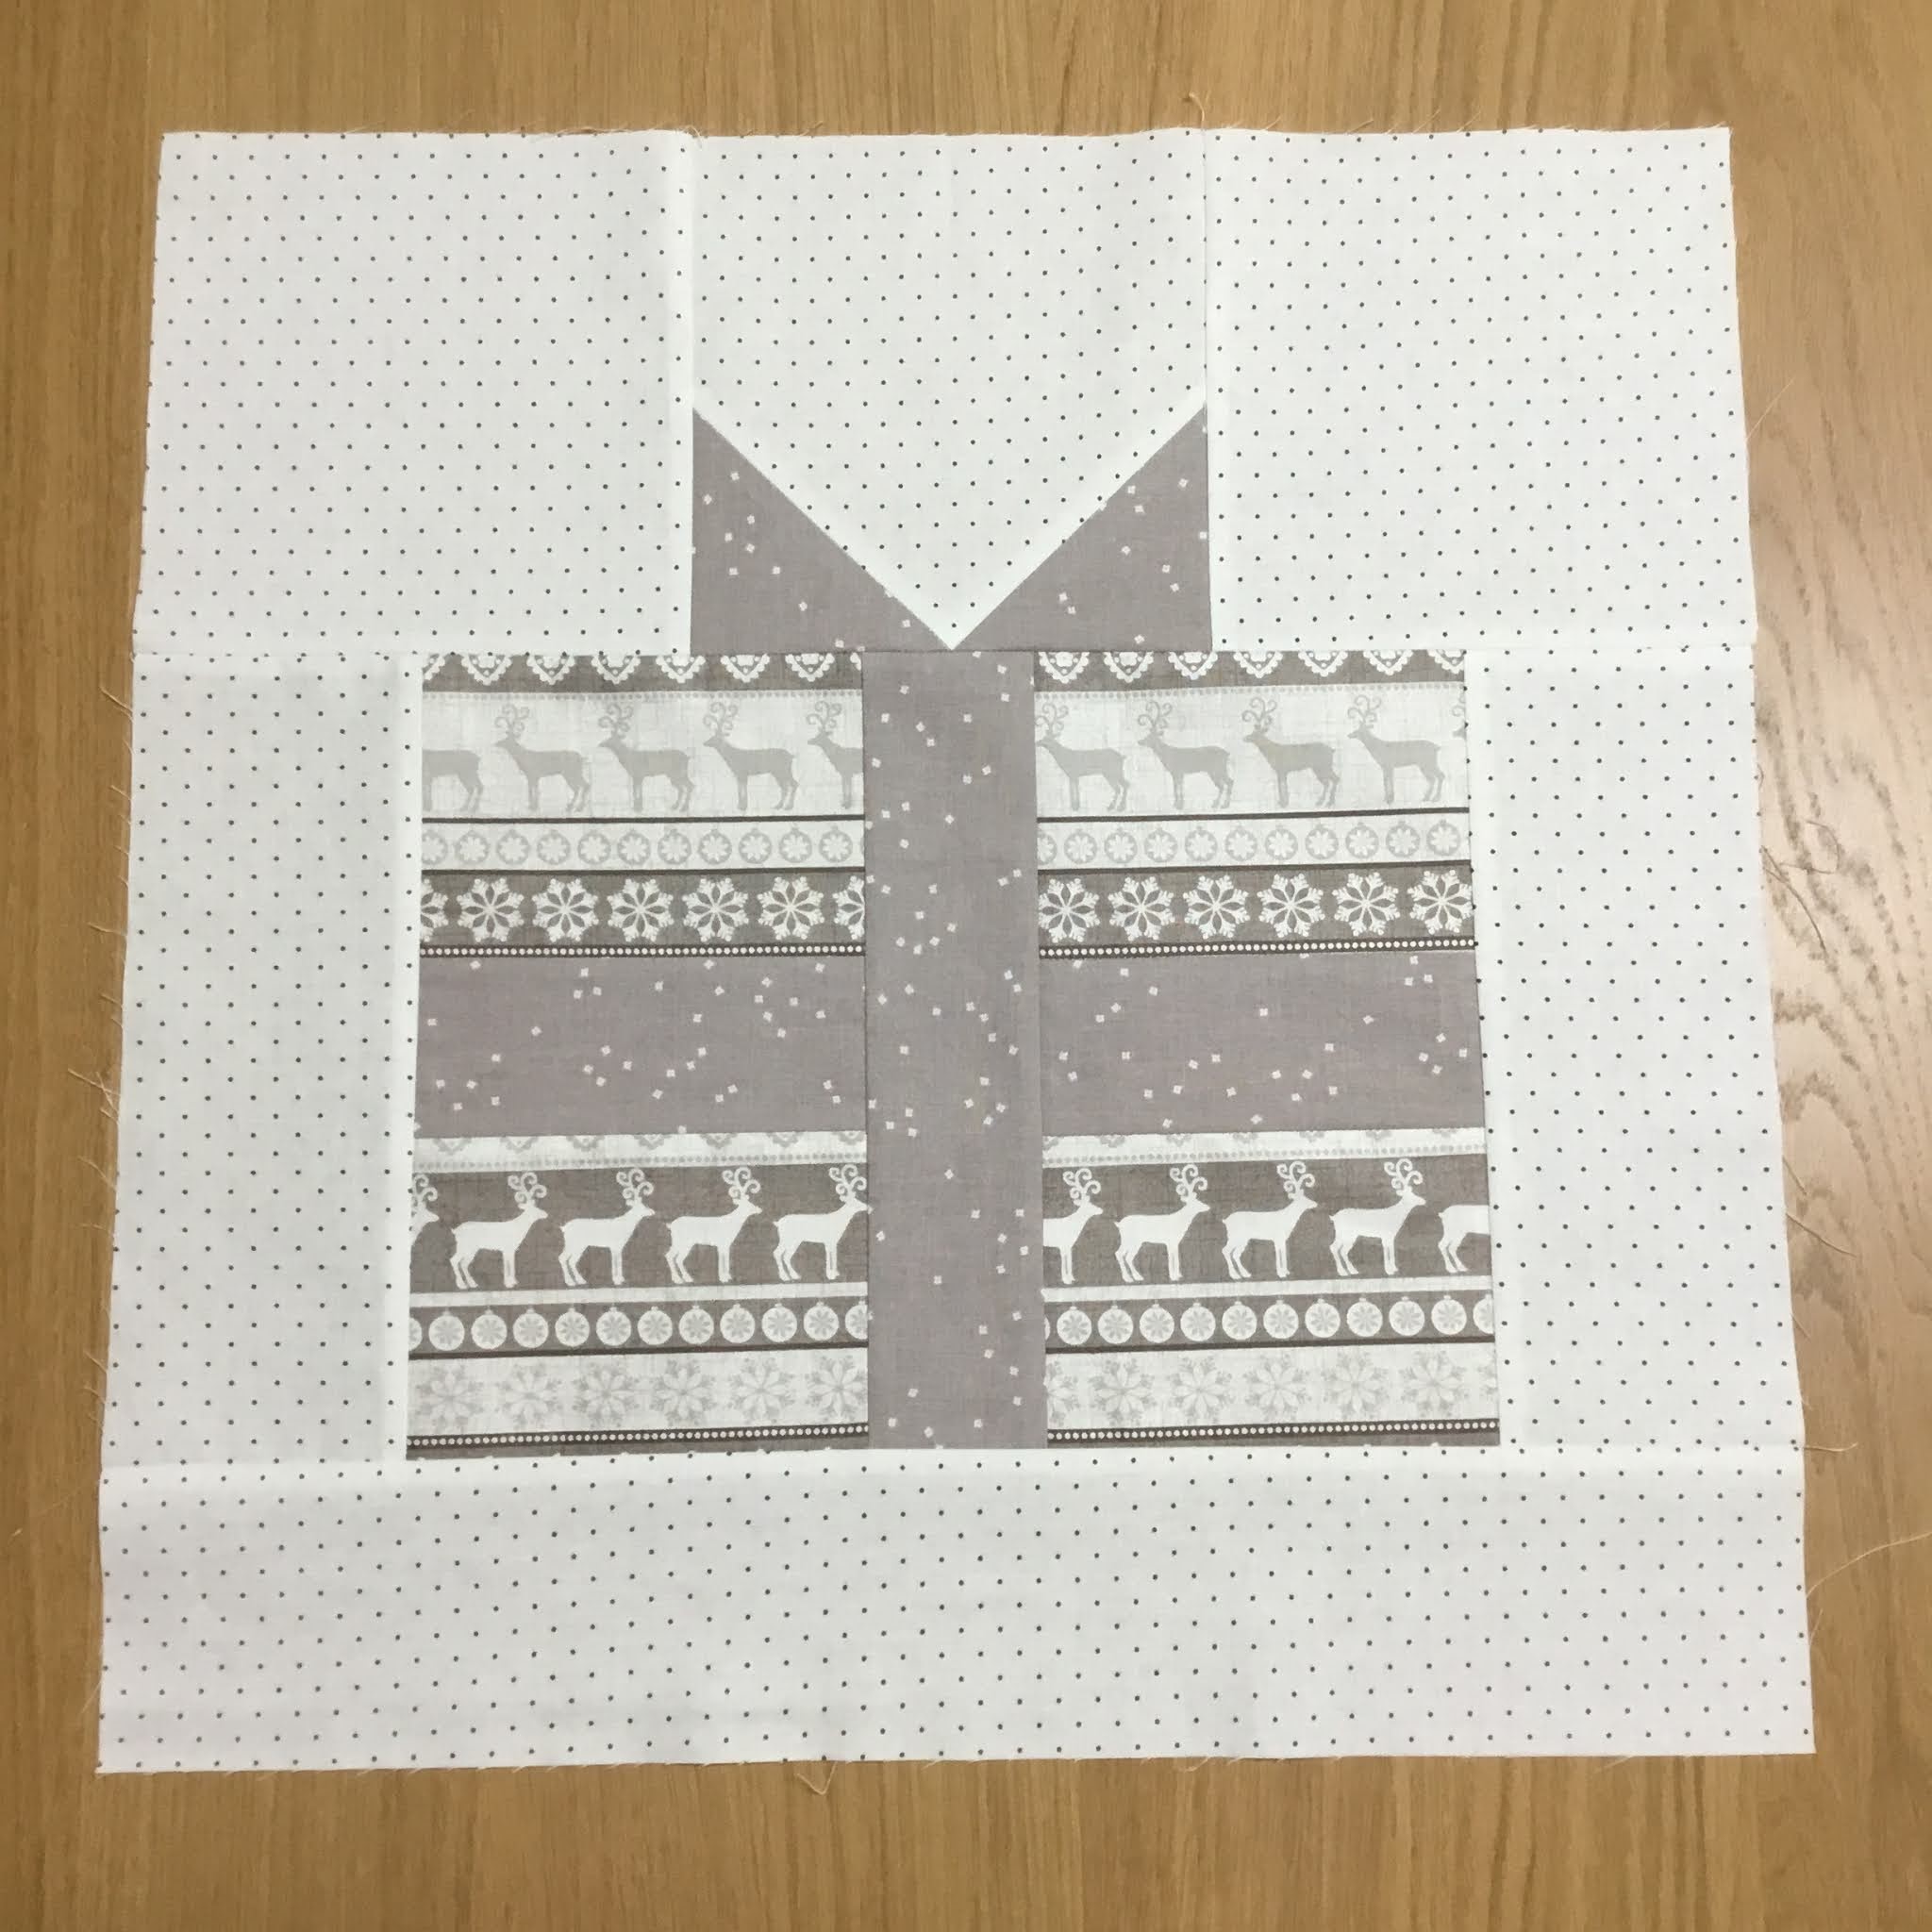
 There are so many present style patchworks about and most are free. However they weren't quite the right size and had extra seams... so I made my own and thought I'd share it here with you.

It is really simple patchwork and easy for a beginner, (an advanced stitcher will have it made in no time!)

So here we go... all measurements are height x width. Seam allowances are 1/4" unless otherwise stated. The finished cushion is 17" square, although larger borders could be added to make it bigger.

Background: cut 3@ 6 1/2" x 6 1/2"

                 2@ 9 1/2" x 3 1/2"

                 1@ 3 1/2" x 18 1/2"

Ribbon: cut 2@ 3 1/2" x 3 1/2"

            1@ 2 1/2" x 11"

            1@ 9 1/2" x 2 1/2"

Present: cut 1@ 8" x 11"


To assemble:


1.  Take a 3 1/2" ribbon square, on the wrong side of fabric draw a diagonal line from corner to corner. Place it on top of one of the 6 1/2" background pieces, right side together, and sew on the line across the corner.
2. Trim away the corner to leave a 1/4" seam allowance. 
3&4. Press seam open. Repeat for the other bottom corner.


5. Sew a 6 1/2" background square to both sides of the finished block, using a 1/4" seam allowance. Press seams away from the center.


6. Cut the present fabric in half horizontally. Place the matching ribbon piece in the middle and sew. Press seams open.

7. After stitching the ribbon, cut in half vertically this time. Add the next ribbon piece in the same way, this time press the seams in towards the centre. It will look like this...


8.  Place the 9 1/2" x 3 1/2" background pieces right side together on each side of the present. Press seams away from the centre.

 
9. Once you have the present section all sewn, add the ribbon section to the top. Press this seam open. Then add the remaining background piece to the bottom, press seam away from the centre, to complete the block.


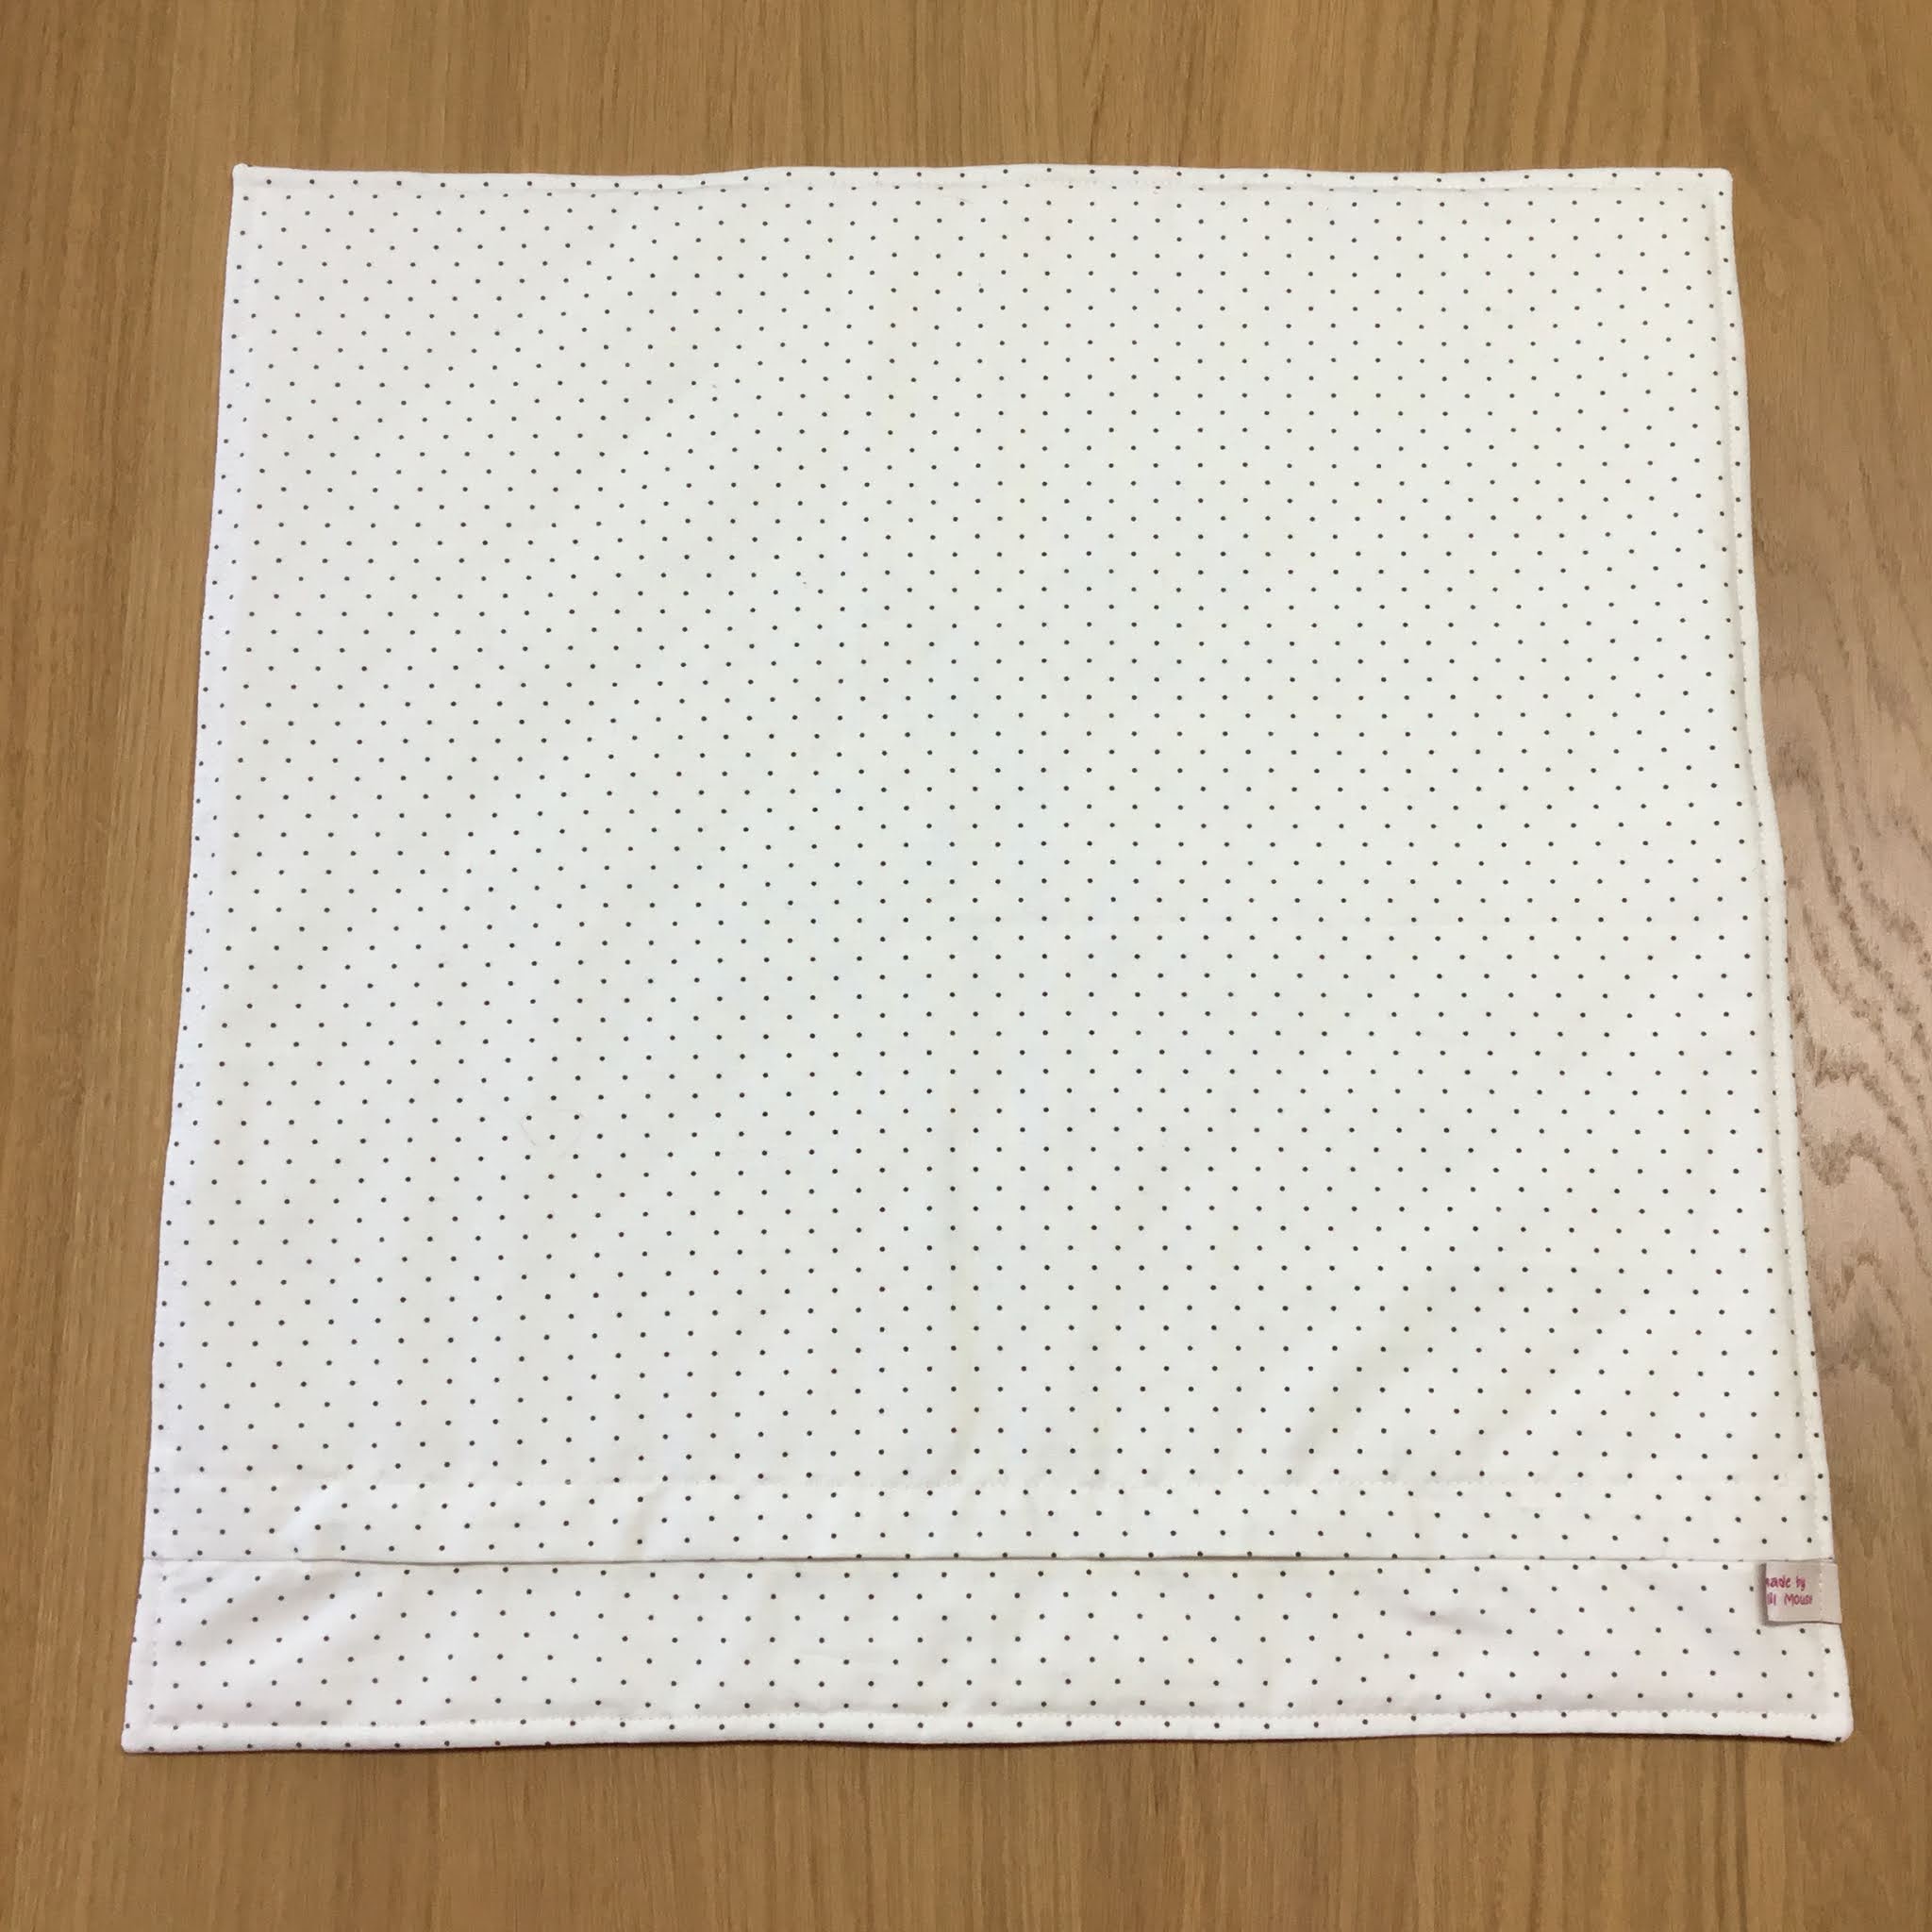
This is what the back will look like.


To finished my cushion, I quilted using a 2" grid on the diagonal. I made a cushion back using my method (find the tutorial here). To keep it simple I didn't add binding this time, choosing the turn it through method and adding a top stitch 1/4" in from the edge.


 I hope you liked the tutorial and I would love to see your finished projects too. Please tag me on social media @craftylilmouse and use the #craftylilmousepatterns
Mx