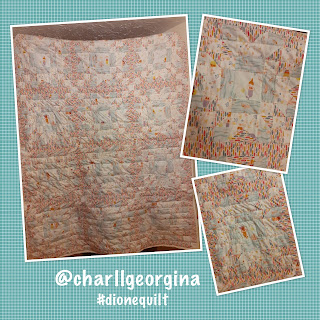
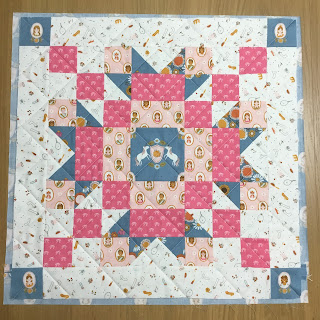
As I release my first ever quilt pattern, I looked back on my blog tutorials to help people finish their quilts and decided it was time for an update . I wanted to share step by step instructions on how to cut, join and attach binding to complete a project for anyone needing a little extra guidance.

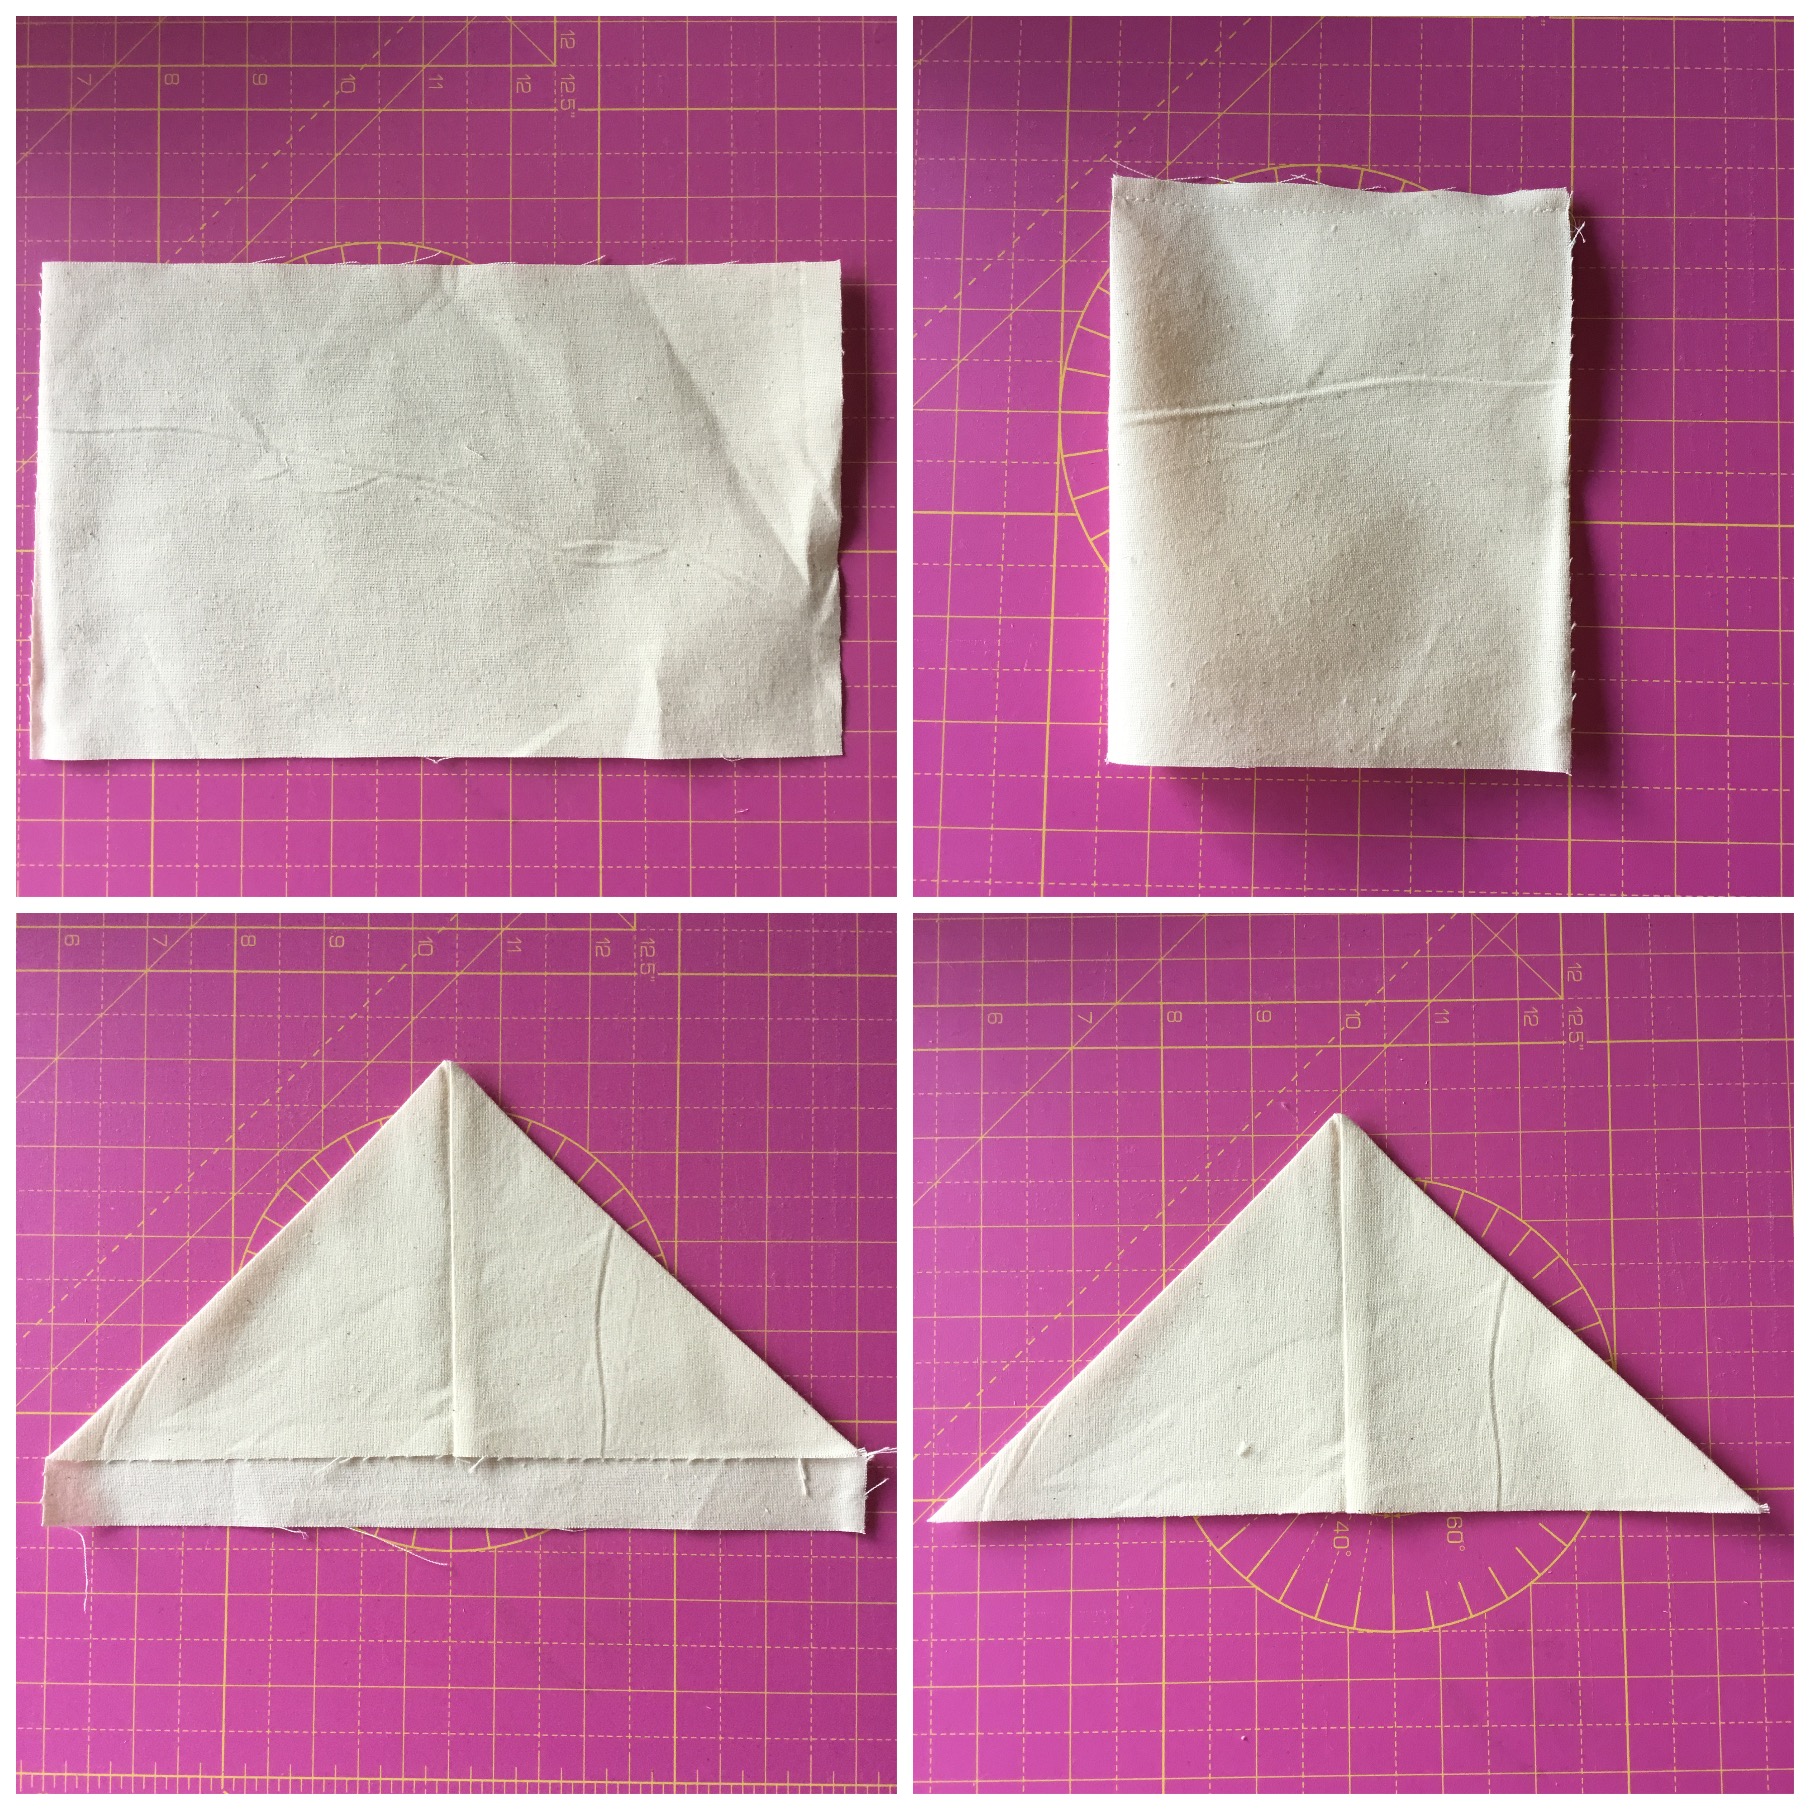
My preferred method of binding, especially for big projects and quilts is this one. I cut 2 1/2" X WOF (width of fabric) strips. If necessary, I join the strips to create one length. You can use a straight join with the strips simply attached end to end, however, I prefer a 45° join as they are less bulky. To create the 45° join, take one strip on the wrong side and draw a line at 45° across the end. Lay this on top of your next strip, right sides together at 90° with the draw line across the outer corner. Pin together and sew along the marked line. Trim off the corner to leave a 1/4" seam and press open. Repeat as needed to create your continuous length of binding, then press in half lengthways.

Take the pressed binding strip and position on the front of your project, with the raw edges of the binding aligned along the outer edge. I like to start the binding along the bottom edge as the join is usually less noticeable there. Clip or pin the binding in position along the first edge and start to stitch, leaving the first 4 - 5" of the strip loose. Use a 1/4" seam allowance along the raw edge and a walking foot on your sewing machine if possible (as this helps to feed the layers through evenly).
For the corners, stop stitching 1/4" from the end. Then, fold the fabric 90° away from the project, creating a 45° fold at the corner. Holding the corner fold (you may wish to pin), flip the binding 180° so it aligns with the next raw edge creating a neat 90° corner, covering the 45° fold inside. Clip in place and restart sewing from the corner edge, continuing to use the 1/4" seam allowance. Repeat for each corner until you come towards the final length of binding. You will need to leave a gap with loose end to join to the beginning of the strip.
To join the strips on a project, lay the binding down flat across the unstitched gap. The binding should overlap. Measure and trim the ends so that they are a neat straight edge with an overlap of exactly 2 1/2".
Then, open out the folded strips and mark a line 45° across one end. Making sure you don't twist the strips, position the marked end right sides together at 90° with the opposite end, held away from the edge of the project. Pin and stitch along the marked line, then open out to check the join is correct and will lay flat. If so, trim the corner off leaving a 1/4" seam and finger press open. Stitch the remainder of the binding to the project.
With the front sewn on, the pressed edge of the binding can then be folded over to the back to be stitched down. This can be done by machine for speed, but I always prefer to hand sew using a ladder stitch for an invisible finish. Carefully fold over the binding one section at a time, using binding clips to hold in place. These can mark fabric if left on too long so just clip each section as you are sewing then remove. The binding shouldn't be pulled so it is too tight over the edge of the project, or be left loose. Once clipped in place, simply ladder stitch along the pressed edge onto the backing fabric. For the corners, sew down flat until you reach the edge of the project, then folding the excess in, fold the next edge over to create a mitred corner. Clip in place and continue stitching the folded edge of the binding, repeating at each corner until the binding is fully secured. The finished binding will look similar on both sides.
Mx