I thought it's time to share an updated tutorial on how to make a zipped cushion back as my first ever quilt pattern is released today and includes a cushion size! I make a lot of cushions and wanted to show how I like to get a nice neat finish for the back for you to try on your own. Start with your finished cushion front and follow the cutting instructions below for the back sizes.
W= total width of cushion front + 1"
H= total height of cushion + 1"
Zip = width of cushion - 2"
For the bottom section (piece A), cut W x 2 1/2"
For the top section (piece B) cut W x H
So, for a 20" square cushion, cut piece A @ 21" x 2 1/2" and piece B @ 21" square, with an 18" zip.

Lay your zipper teeth down onto the right side of piece A and pin in place, so the zipper tape lines up with the top edge of the fabric and is centred across the width.
Stitch along the top edge with your zipper foot on your machine running along the edge of the teeth. Fold the fabric back, press and top-stitch along the edge of the zip.

Lay piece B right side up with piece A right side down on top, so the zip teeth face down and the tape aligns with the bottom edge of piece B. Pin and sew using your zipper foot.
Now at each end of the zip, you are going to sew an 'L' shape to stop the zipper and create the concealed fold. With your fabrics still right sides together and the zip pull in the middle, mark 2 1/2" in from the side and 1" up from the bottom edge (as in the photo above). With both ends of the zip marked, sew along your marks ensuring you run across the zipper teeth a few times to make it extra secure. Now fold back your piece B and press carefully over the zip.
Next, topstitch along the top side of the zip with the zipper foot running along the zipper teeth, stitching through all layers of the fabric flap to hold them in place. Make sure your cushion back is the right size and square.
If you don't want to add binding, place your front and back right sides together, with the zipper open and stitch all the way around using a 1/4" seam allowance. Turn the cushion through the gap in the open zipper and press. As a nice alternative to binding or piping to give the cushion an extra finishing touch, I like to add a simple stitched border. I topstitch around the edges with a 1/4" seam on the turned through and pressed cushion, burying the threads at the end.
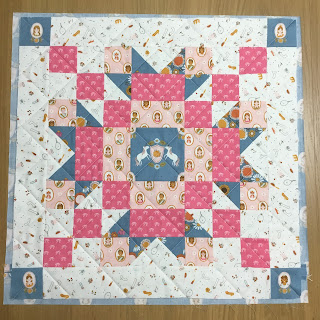
If you like the cushion pattern above, head over to my etsy shop to purchase the Dione Quilt pattern which includes 4 sizes from cushion up to a large throw !!
Mx
No comments:
Post a Comment