Showing posts with label Christmas. Show all posts

Friday, 11 December 2020

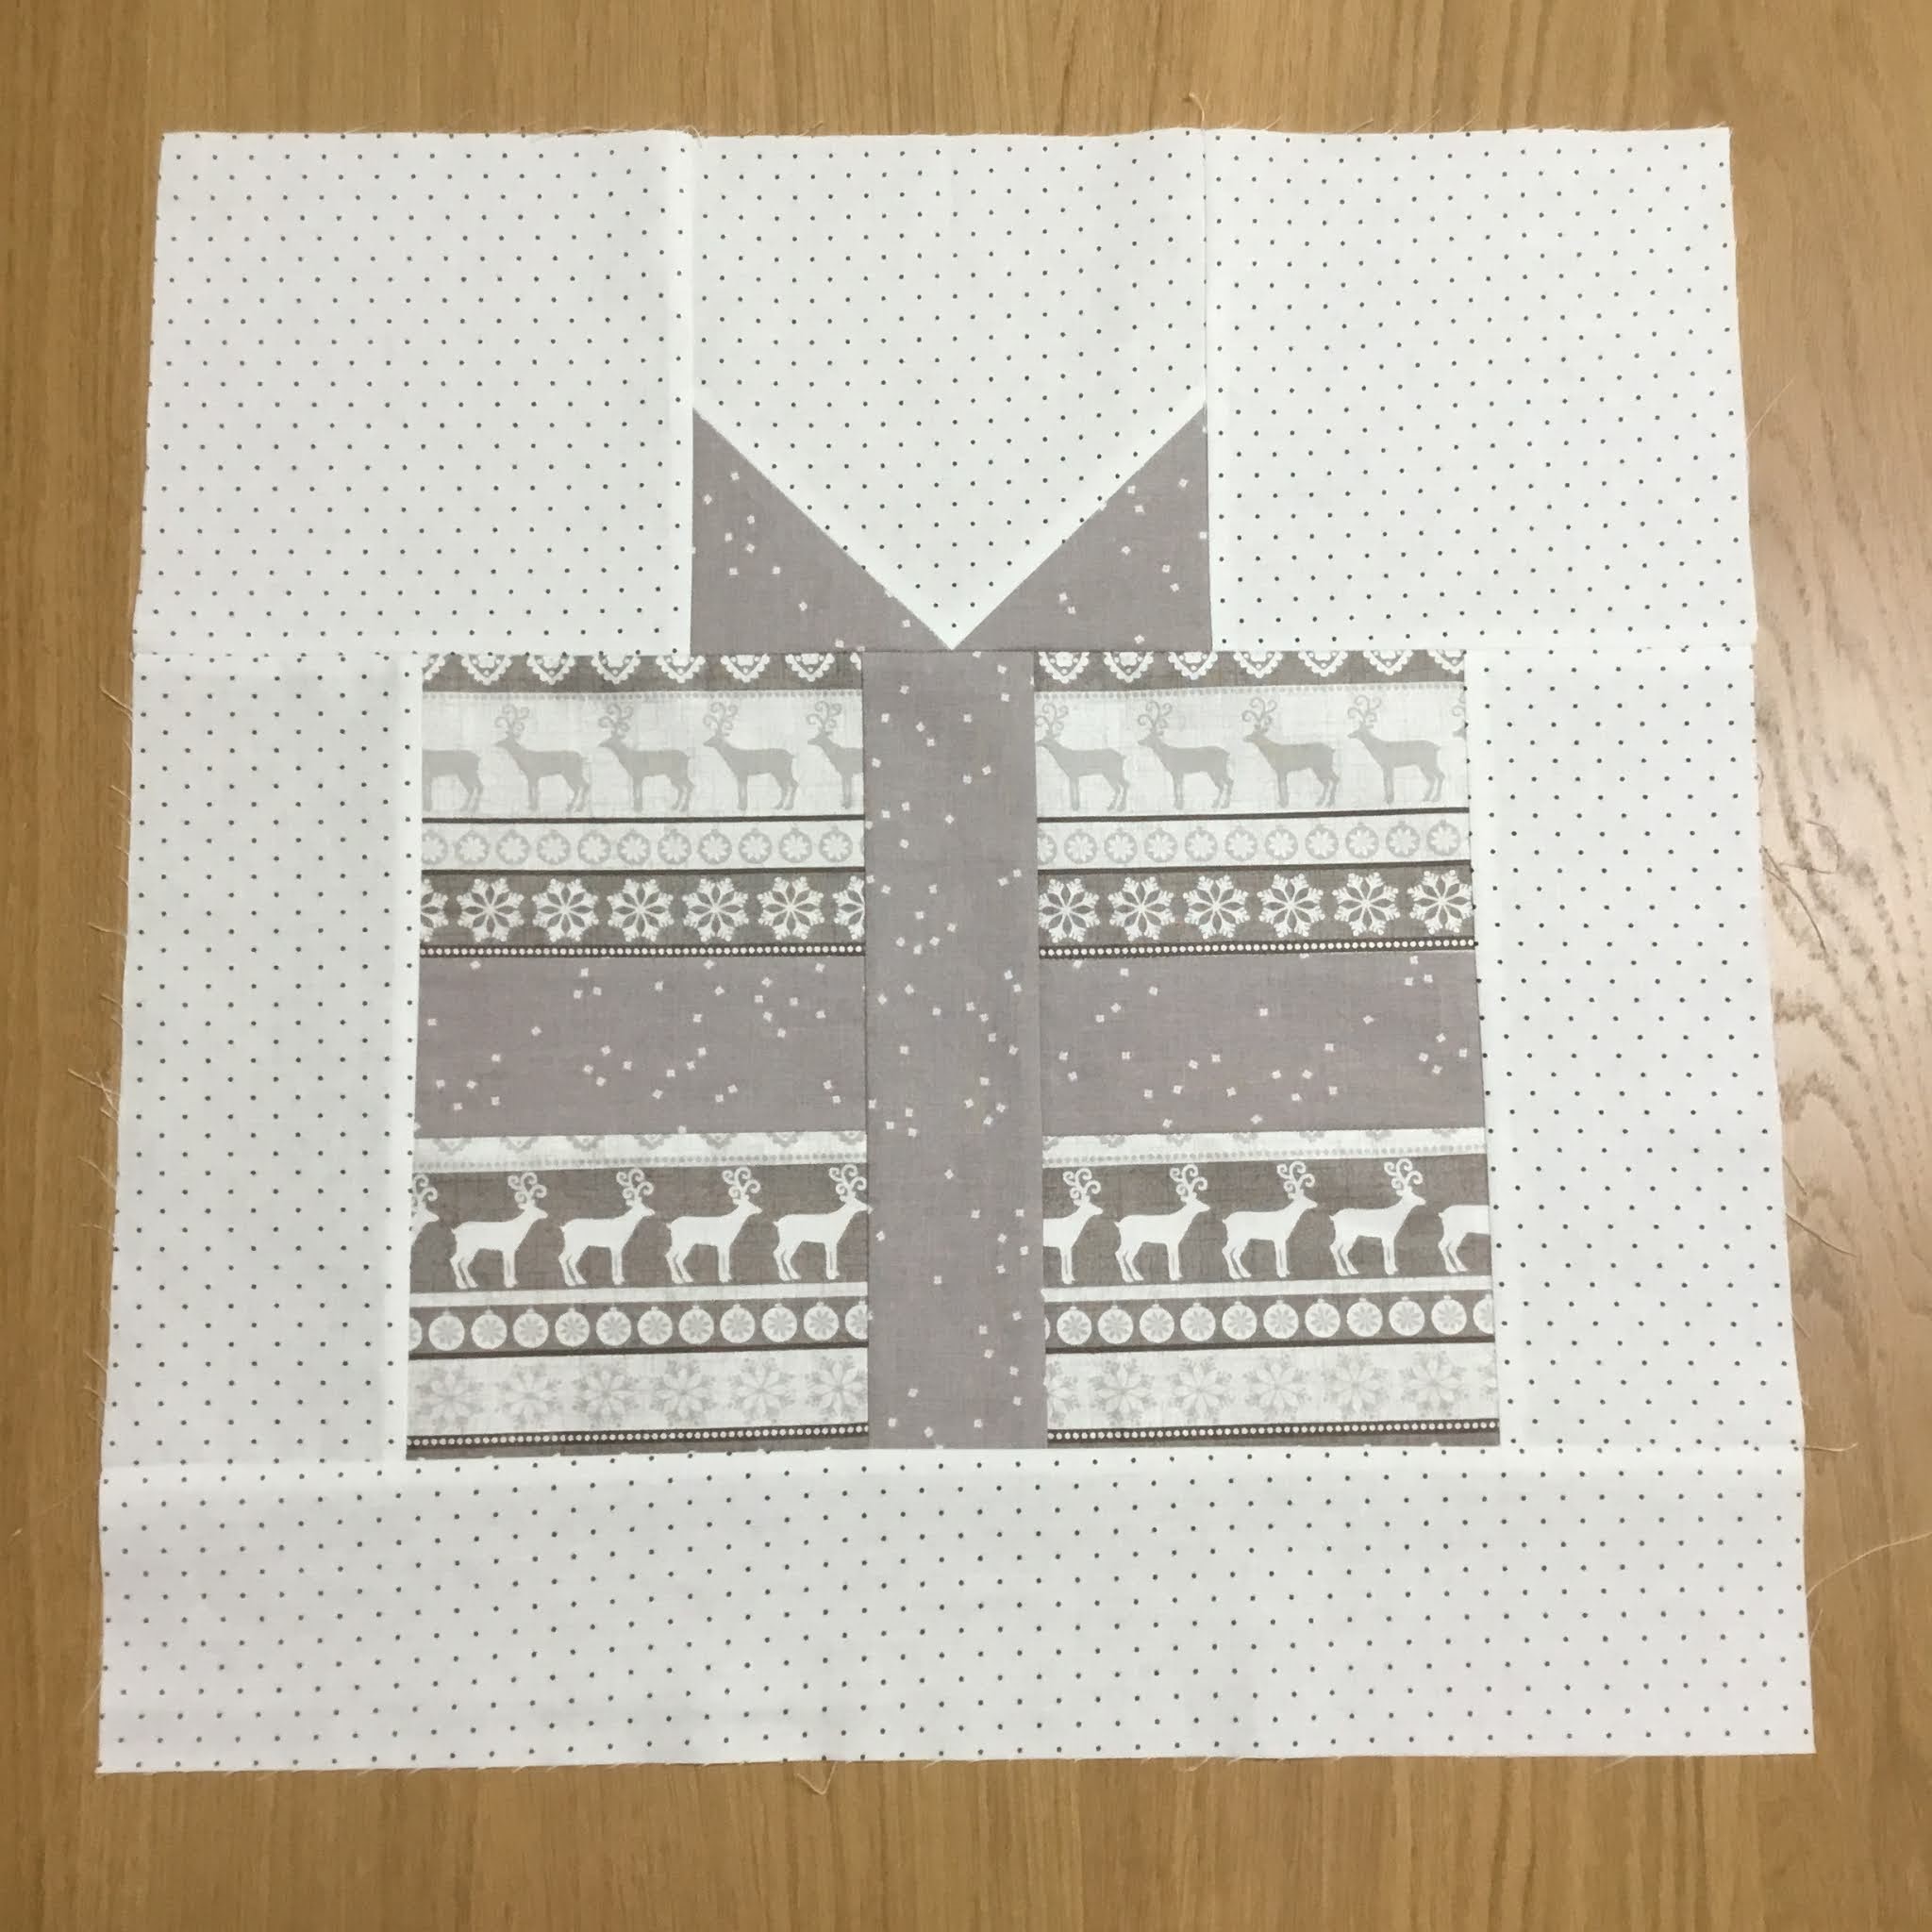
christmas gift cushion

 There are so many present style patchworks about and most are free. However they weren't quite the right size and had extra seams... so I made my own and thought I'd share it here with you.

It is really simple patchwork and easy for a beginner, (an advanced stitcher will have it made in no time!)

So here we go... all measurements are height x width. Seam allowances are 1/4" unless otherwise stated. The finished cushion is 17" square, although larger borders could be added to make it bigger.

Background: cut 3@ 6 1/2" x 6 1/2"

                 2@ 9 1/2" x 3 1/2"

                 1@ 3 1/2" x 18 1/2"

Ribbon: cut 2@ 3 1/2" x 3 1/2"

            1@ 2 1/2" x 11"

            1@ 9 1/2" x 2 1/2"

Present: cut 1@ 8" x 11"


To assemble:


1.  Take a 3 1/2" ribbon square, on the wrong side of fabric draw a diagonal line from corner to corner. Place it on top of one of the 6 1/2" background pieces, right side together, and sew on the line across the corner.
2. Trim away the corner to leave a 1/4" seam allowance. 
3&4. Press seam open. Repeat for the other bottom corner.


5. Sew a 6 1/2" background square to both sides of the finished block, using a 1/4" seam allowance. Press seams away from the center.


6. Cut the present fabric in half horizontally. Place the matching ribbon piece in the middle and sew. Press seams open.

7. After stitching the ribbon, cut in half vertically this time. Add the next ribbon piece in the same way, this time press the seams in towards the centre. It will look like this...


8.  Place the 9 1/2" x 3 1/2" background pieces right side together on each side of the present. Press seams away from the centre.

 
9. Once you have the present section all sewn, add the ribbon section to the top. Press this seam open. Then add the remaining background piece to the bottom, press seam away from the centre, to complete the block.


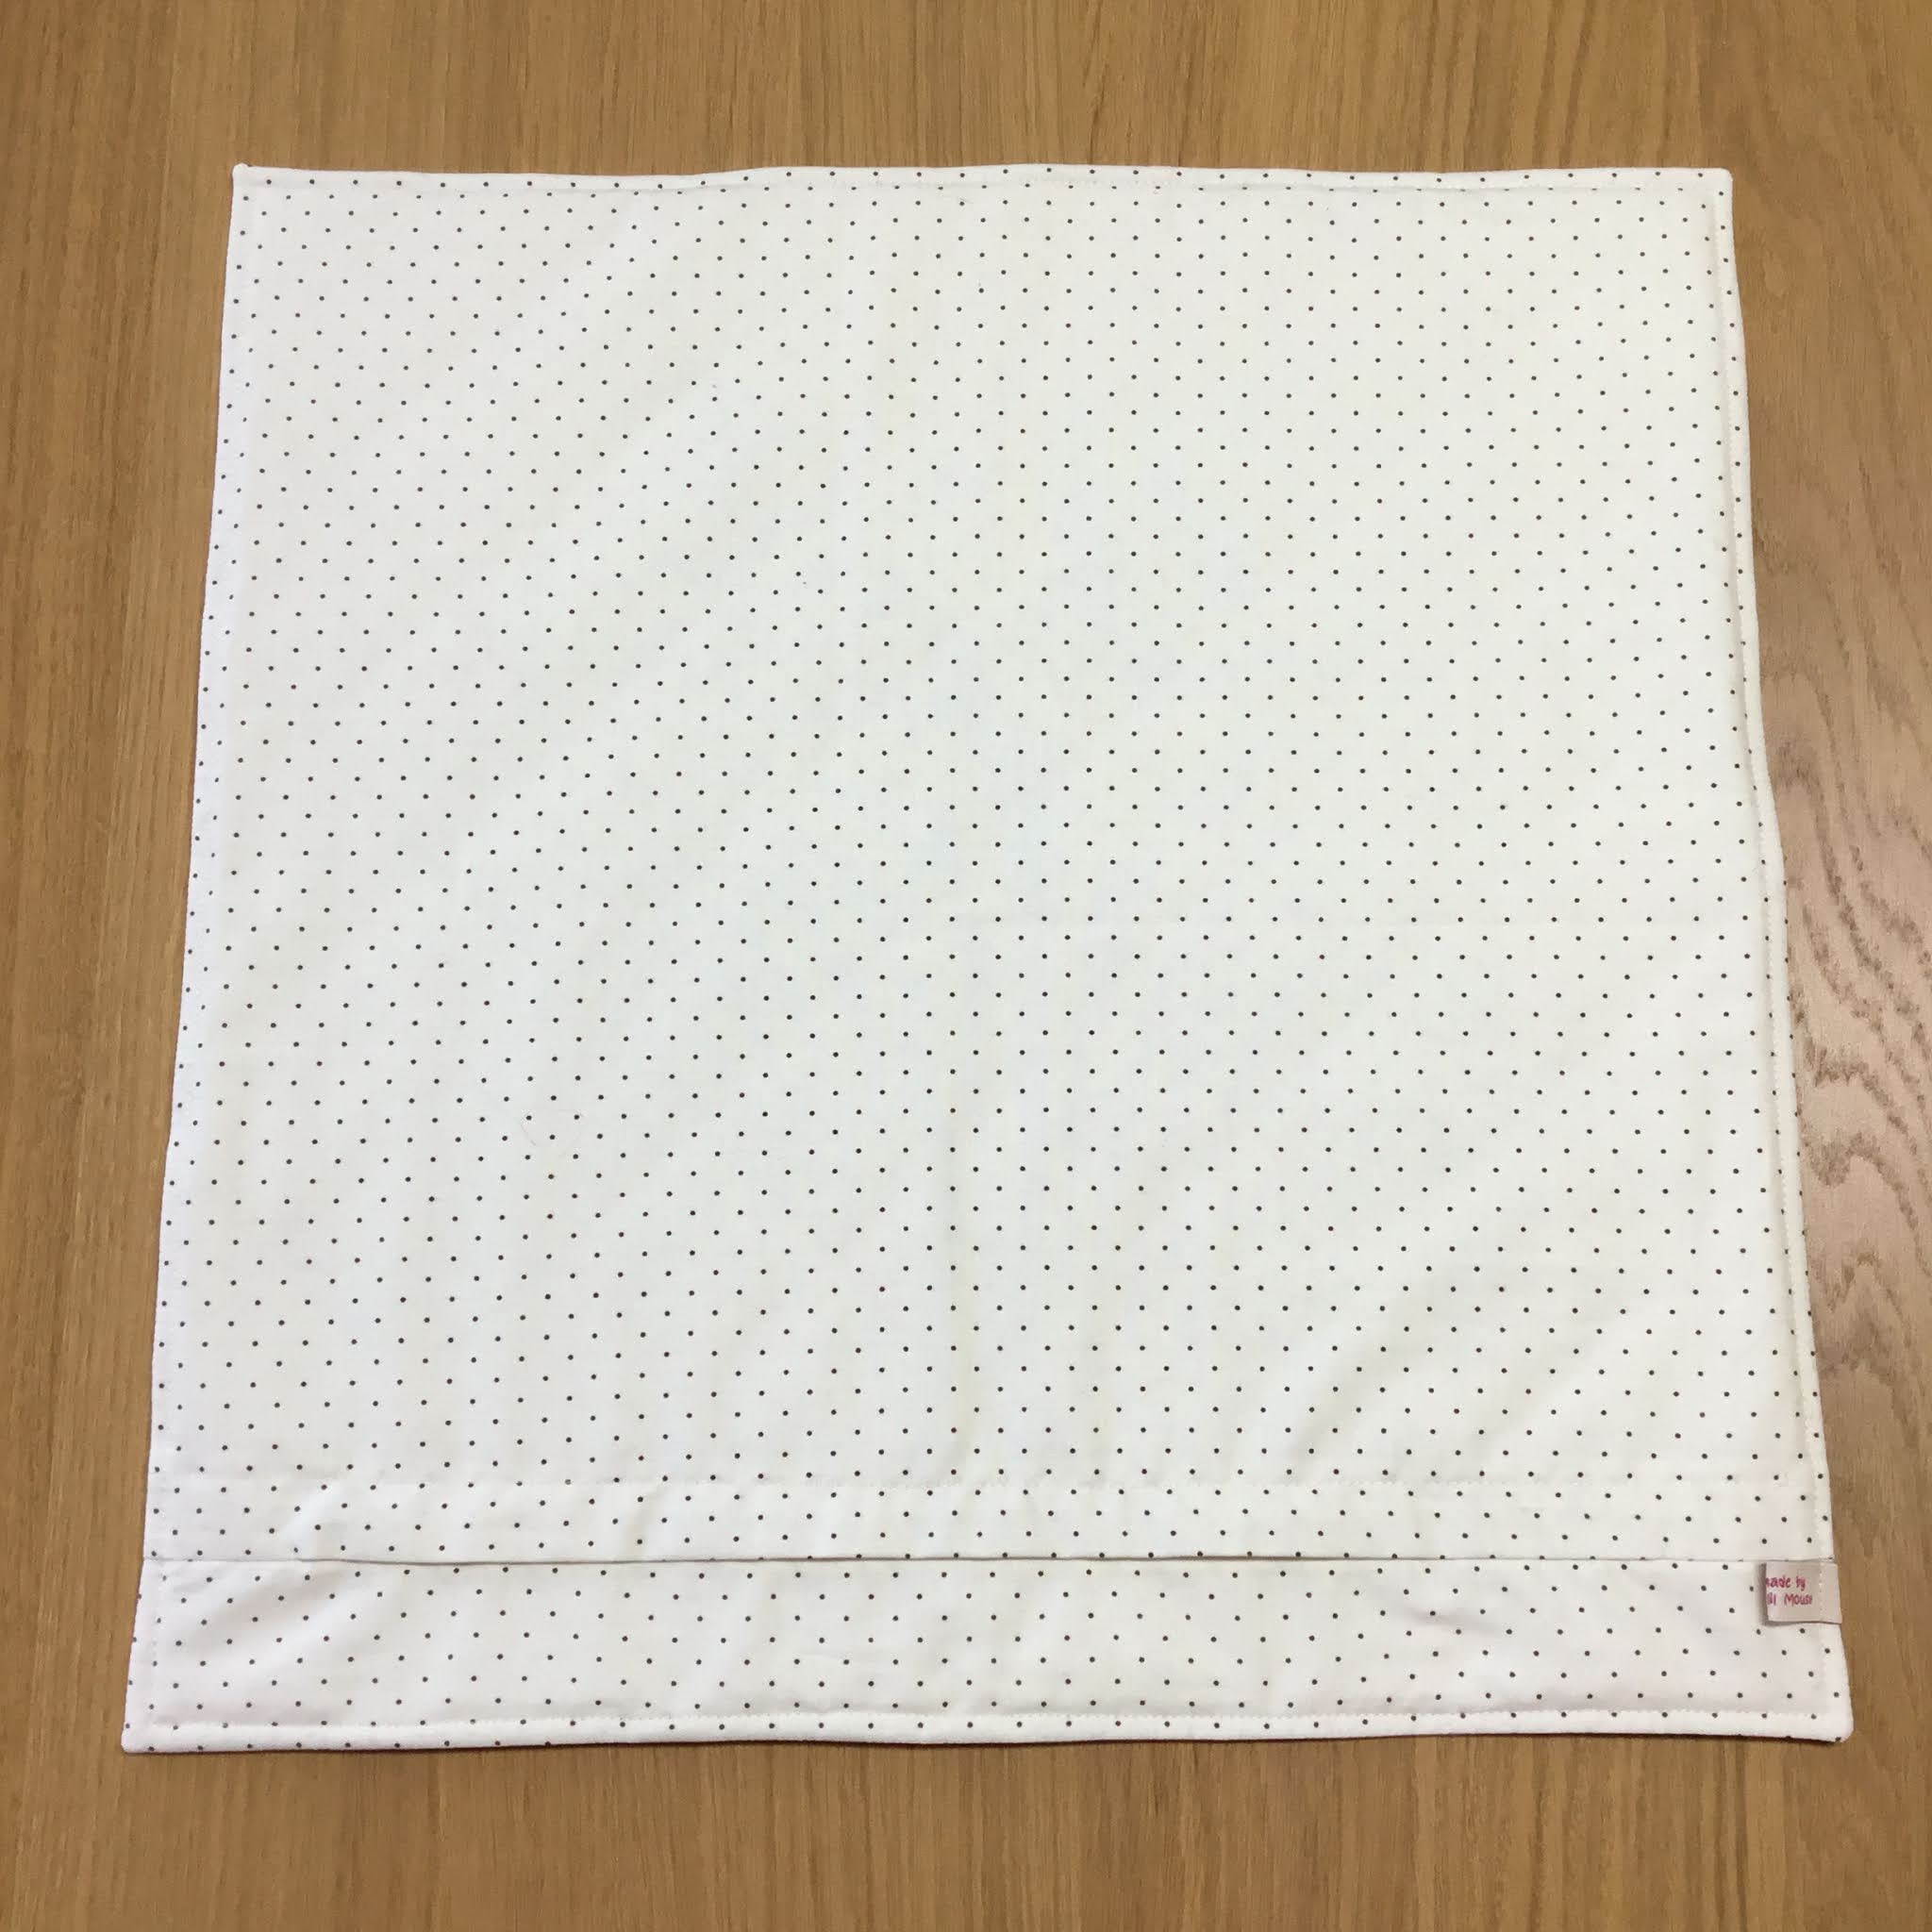
This is what the back will look like.


To finished my cushion, I quilted using a 2" grid on the diagonal. I made a cushion back using my method (find the tutorial here). To keep it simple I didn't add binding this time, choosing the turn it through method and adding a top stitch 1/4" in from the edge.


 I hope you liked the tutorial and I would love to see your finished projects too. Please tag me on social media @craftylilmouse and use the #craftylilmousepatterns
Mx


Tuesday, 28 January 2020

my finish along list 2020!


It’s time for another year of the finish a long, and a fresh start, (although most of the projects are carrying over from last year and some from year before!) The finish a long is going to be more instagram based this year, but I might still try and blog my progress.
I have decided I will write my full work in progress list for reference and in case I just fancy a change of project. I am also going to just pick a handful of projects I really want to finish this quarter.

So Q1:
First is my catty corner quilt. I am pattern testing for @stitchandyarn so I have a definite deadline for the finish. I am making good progress and it will hopefully be finished for mid-end of February!

Next is my #birthdaystitchersswap2020 parcel. I have made one thing this month but have another 3 to make before my partners birthday. As much as I’d like to post sneak peeks and progress photos, I just don’t want to spoil the surprise. They will stay a secret until opened and then I will share.

I’d really like to make a new #snappyzippouch for my phone. I cut it out of some meadowland left overs ages ago but have been distracted by other projects.
I’d also like to make a large fabric basket with my meadowland fabric to keep my hair dryers tidy. Hopefully I will have enough fabric to do it, though I think a bit of patchwork may be required.

A banner for my pin badge collection has been on my make list for ages. My collection has grown so much, I have bought a basket from ikea for them. Now I need to make a fabric basket/liner to go inside and make it easier to use. I will still need to make a small banner for my disney pins too!

Last picks are a couple of pouches. I have had a unicorn retreat pouch cut for a couple of years now and have just been putting it off. It scares me for some reason, a friend recently posted one on Instagram though and it has made me want to give it a try. The other pouch I want to finish for myself is the liberty baby cord and pink cord pouch I started last July. After it looked bigger than I expected during making, I decided to add some hardware and make it into a bag. I have since bought the hardware, but still not finished making so it joins the list.


Now the projects I will probably be leaving til next quarter:
  • A father's day gift: I have bought the fabric and have a pattern I’d like to try. Since Father’s Day isn't until 21st of June, there’s no rush.
  • A case for Millie’s cool mat: Since Millie hates laying on just the mat, we had to use a old postman pat cover last summer. I have bought some lovely summer fabric to make her a new cover this year.
  • A Tasha Noel seaside skirt: I bought a panel in the summer and really wanted to make a skirt. I didn't get it made in the summer ,but hopefully I will this year before all the hot weather comes.
  • The Adele dress: I cut a toile ages ago to check the fit and then never stitched it up.
  • Halloween cushion: I bought the ghost pattern from then came June but don’t fancy an entire quilt. I found some lovely fabric in the sales though so want a cushion or two.
  • Makers mat: I have been wanting to make a makers mat for a couple of years, the pattern designer hosts a sew along for it too. I am really hoping to finally join in this year (about October time) I have my fabric planned and ready. Really I should make 2 but will see how it goes, or if my old sewing machine gets claimed by my sister then I'd only need to make one!
Christmas makes:
  • A Christmas cross stitch: This was started ages ago, so hopefully I will just keep doing a little bit throughout the year and have the finished stitching to frame in time for Christmas.
  • My advent calendar: I started this last new year and didn't get it finished. I joked that I would end up sewing one a day this December, but with gifts still to make, that didnt happen either. It has been put away and will hopefully be out and finished ready for the 1st this year.
  • Christmas bunting: my mum encouraged me to buy a cute panel. I have all the supplies I just need to put together. It shouldn’t take too long, but will be a project for later this year.
  • Polar bear cushions: I can't even remember when I started these! I will try and get them finished this year though.

Quilts:
  • First I need to finish the car quilt I started in July 2019. I finished making the top, just didn't have the right batting to finish it. I have bought the batting but just not gone back to finish the quilt. I also want to make a couple of extra cushions and seat belt cosy.
  • I want to finish the heather ross sugar plum and trixie quilt, it is a big project but I'll hopefully have time to finish it this year.
  • A liberty HST quilt: This has been waiting ages. I started cutting and then it got pushed to one side for other projects. It would be really nice to make it though, especially since I managed to get a big piece of liberty in the sale for backing.
  • A quilt using the doll house range: This wouldn’t be my first choice of quilts I want to finish, however, my mum is redecorating and I think it could look really nice in the lounge so it has been pushed to the top of the list.
  • Ice cream soda quilt: Obviously I still have this to be working on. I am doubtful it will be finished 2020 though, but I'm happy to keep hand stitching them in between other projects and see it grow.
  • Green & cream quilted blanket: I started this years ago, but never completed the quilting.

*I wont bore you with a list of the other quilts I want to make. I have bought the fabric and picked patterns for quite a few. I highly doubt I will finish all the ones above, never mind these but I can always add them later this year depending how things go!*

Lastly I must learn to crochet! I was bought a couple of toft kits to make crochet animals. I really want to make them, but am not having much luck actually learning to crochet. I am really hoping I will manage them this year though.

I think that is everything although I am only planning the get the first few bits done this quarter. I will be posting my finishes on instagram and will try and use the #craftylilmousefal2020 to track my progress. You can also check out the @finishalong account if you want more details on how to join in.

Mx

Sunday, 29 December 2019

Butterfly cross stitch

 
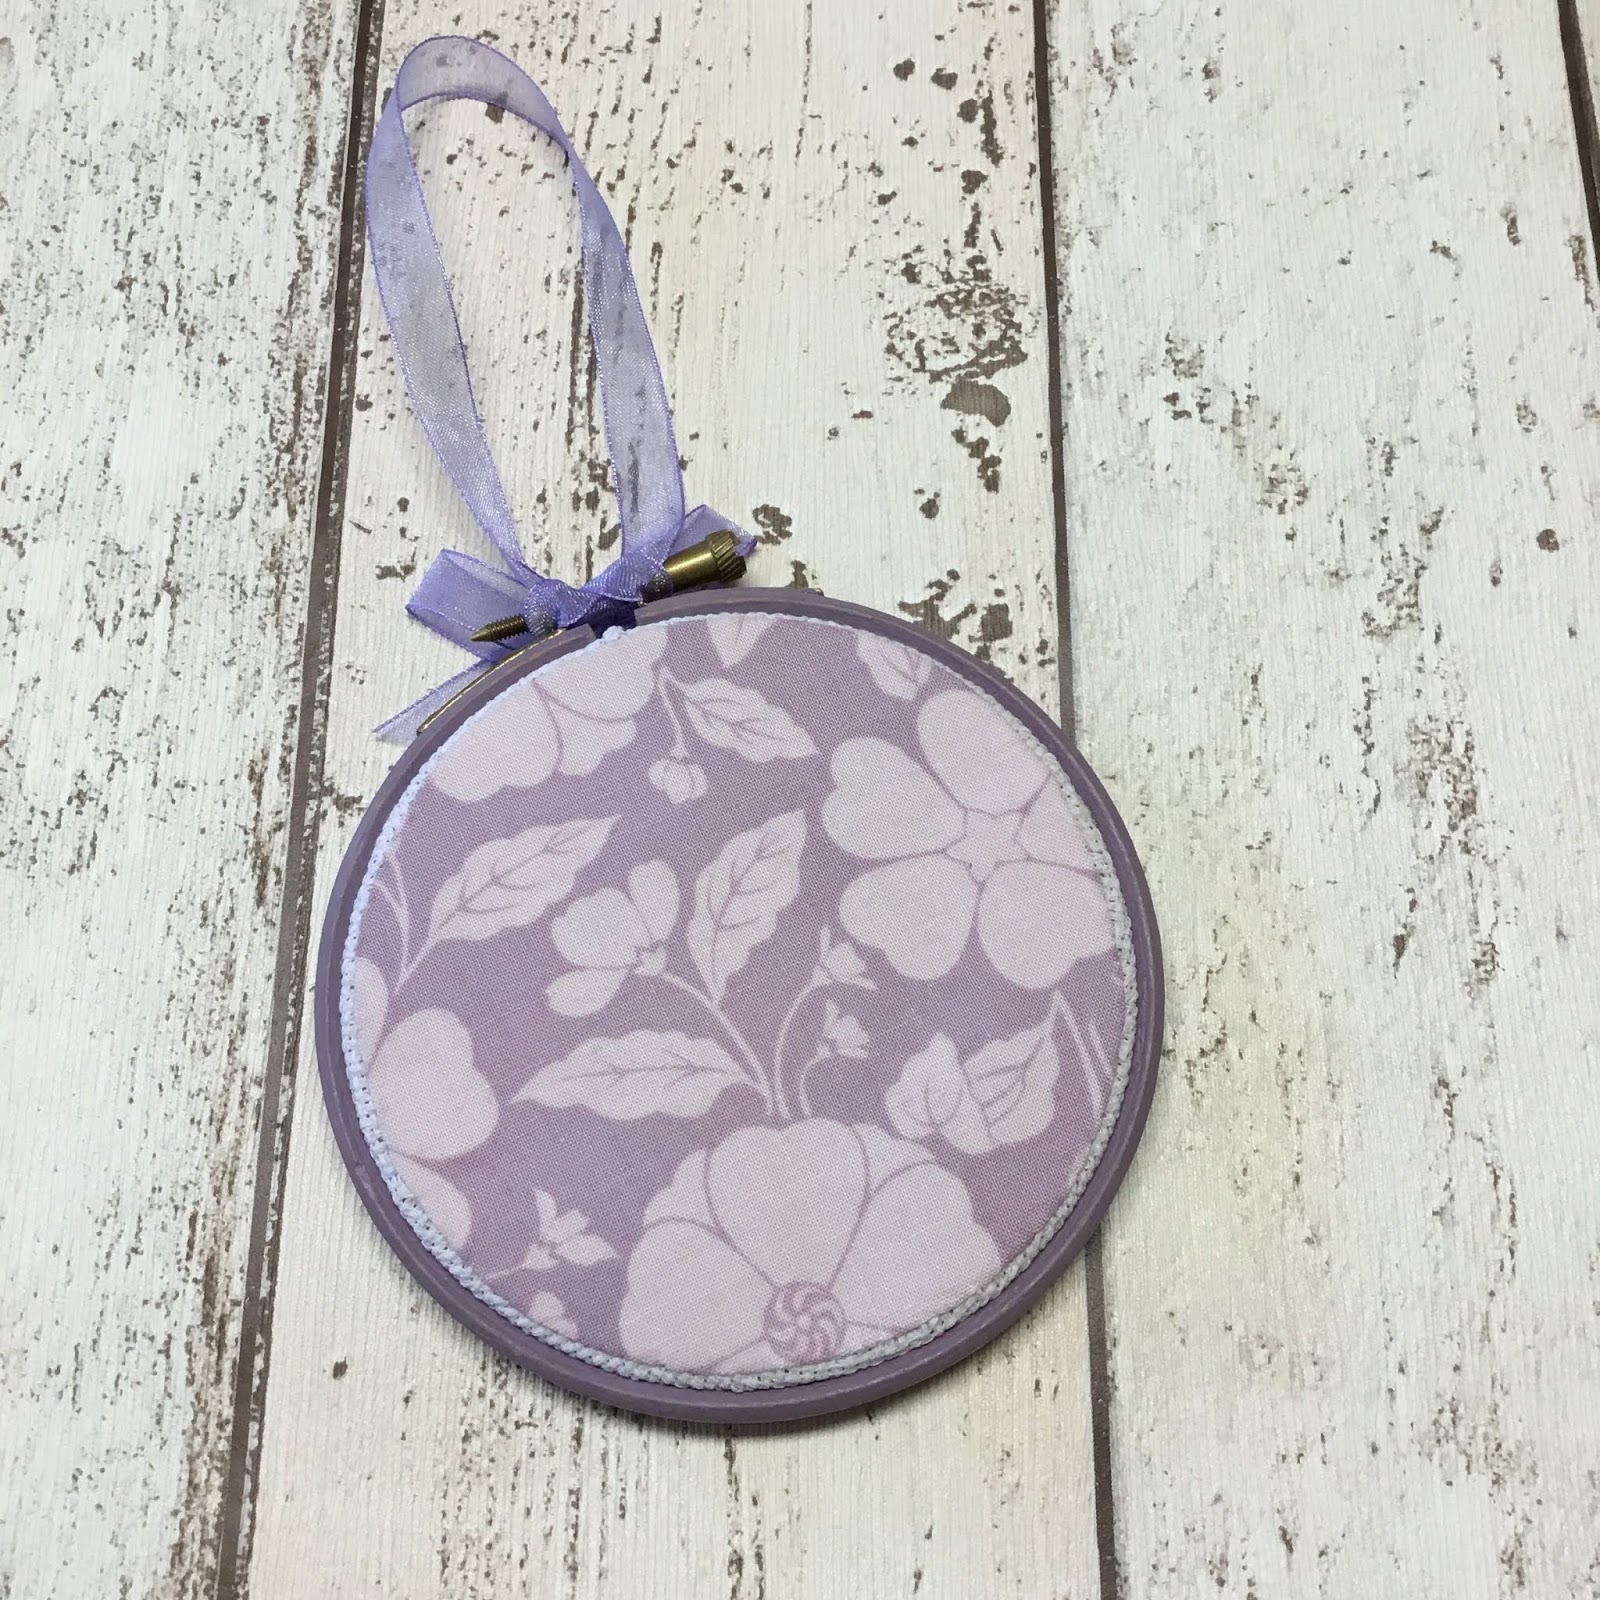
I made this little gift using the butterfly hoop kit from cross-stitch crazy magazine I got a while ago. I followed the kit to stitch up the butterflies on the front, but didn't like the plastic hoop supplied with it. I decided to paint a wooden hoop the same size using my own custom mixed lilac shade of Annie Sloan (I'm afraid I can't remember which colours went into it!).
 
 
I added the coordinating fabric to finish the back of the hoop, first glued and then ladder stitched to secure it in place. The final touch was some organza ribbon to create a hanging loop and bow to cover the screw.
 
 
I finished this project earlier, but couldn't share until now as it was part of a Christmas gift. It is on my Q4 finish-a-long list which you can find here ....
 
Mx

Friday, 27 December 2019

Christmas coin purse...


This Christmas, I am taking part in the #simpleandsweetchristmaspouchswap on Instagram. For the swap you needed to make one pouch and up to two Christmassy extras. I will be sharing the main pouch after Christmas, I have already shared my first extra here and this is the second extra I sent...

 
It is a simple coin purse for all those festive shopping trips... or I imagine it might hold a small Christmas stitching project.
 
I used cotton and steel Noel and tinsel fabrics, plus some basics in the pink colours. I did some scrappy patchwork to make the most of the fabric I had, plus the chance to include more prints. I did  choose the cute candy cane print for the lining. I added a little star charm to the zip pull as a final detail. Since my partner had said she liked these fabrics, I really hope she likes what I made.


If you want to make your own zip pouch, but don’t know where to start, I made this tutorial a while ago. Read it here!

I am also including this project as one of my finish-a-long Q4 finishes. You can view my list here and learn more about the challenge on their blog here.

Mx

Tuesday, 10 December 2019

a Christmas banner...


This Christmas I am taking part in the #simpleandsweetchristmaspouchswap on Instagram. For the swap you needed to make one pouch and up to two Christmassy extras. More about the pouch I made later, but here is the first of my extras.
 

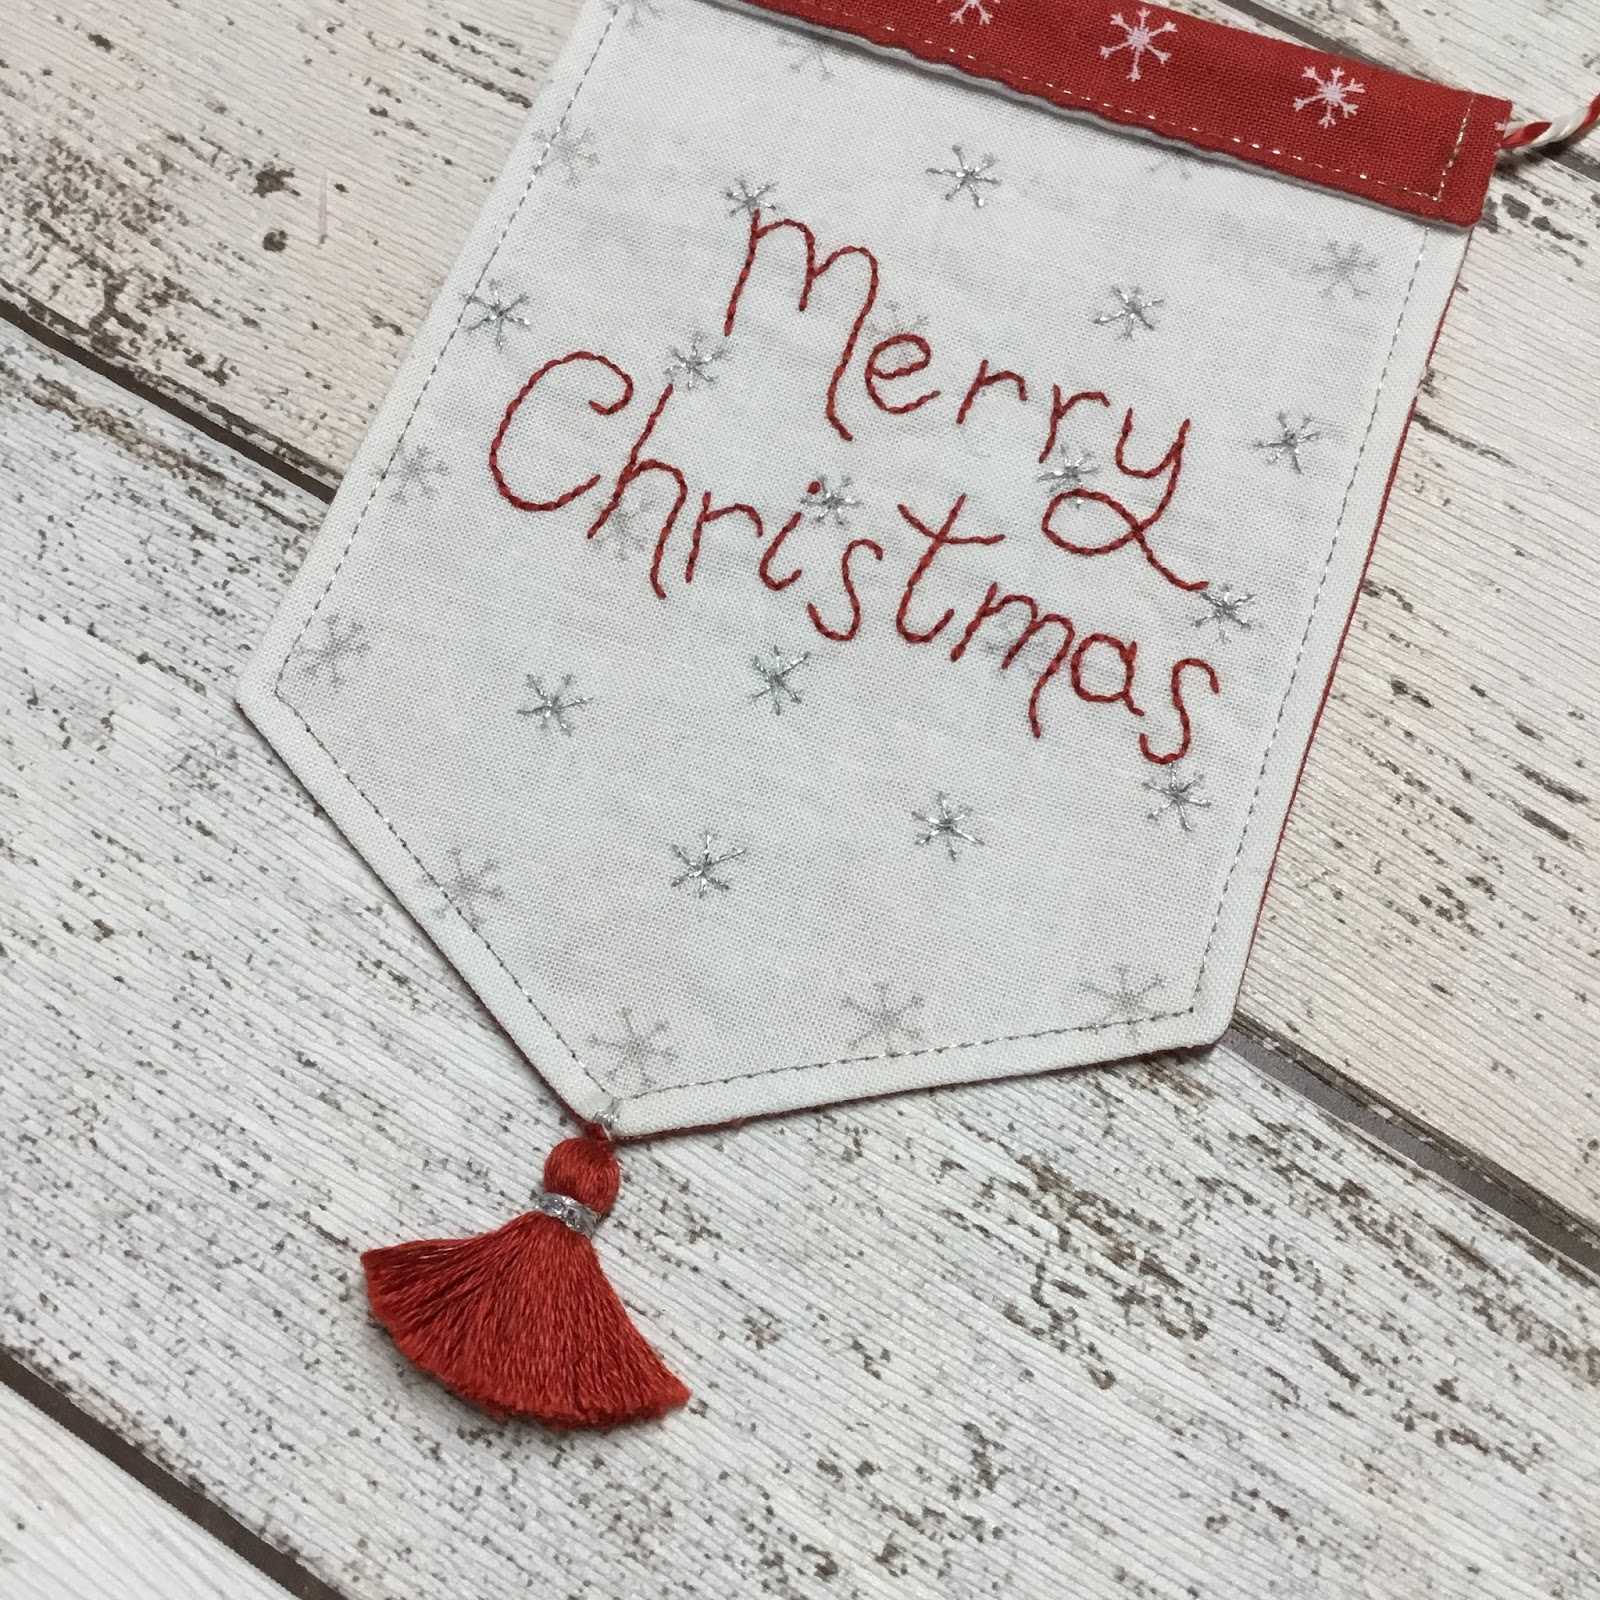
I made this little Christmas decoration banner. I used some of the moda merriments fabrics I had left over from my escape and create blog project (read about this here). Since my partner didn’t want too traditional, I thought this was quite a good choice with the snowflakes. Since the colours were still abit traditional though, I tried to hand letter the ‘Merry Christmas’ in quite a modern style.
I hand stitched the letters with a coordinated thread colour, then added sparkle with some silver thread over the existing snowflakes.
 
 
Once I’d finished stitching, I placed my two fabrics right sides together and drew my banner shape. I stitched along the lines, leaving a turning gap, then trimmed excess bulk from the corners. I turned it out and gave it a good press before stitching closed the gap. I used the silver thread again to top stitch around the edge of the banner. I folded over the top and top stitched in place. I added a section of paper straw inside the fold to hold the banner and threaded some twine through for hanging tied with a little bow in the top, so my partner can either hang it straight up or re-tie it around something.
 
 
The banner needed one final detail though... a tassel. Since I didn’t have one and wanted it to match, I decided to make my own. Although I’m happy with the results, please remind me not to do this in future! If you would like to make your own, I've included the template for the lettering below.

 
This is one of my Q4 finishes for the finish-a-long challenge, read more about my list here.

Mx

Tuesday, 3 December 2019

Dashwood advent

After making a stocking last year for a friends little girl, I decided an advent calendar would be perfect for this Christmas. I picked out the dashwood studio panel, with a very cute illustration, and little pockets for chocolate coins.
 
 
After I’d cut out the pockets, I decided to wundaweb all of the sides down to help stop it fraying with use. I top stitched across all of the top edges and then stitched all the pockets on to the panel.
I cut a piece of backing and wadding to the same size as the advent panel. I also cut out 4 rectangles of backing fabric to create hanging loops. With these, I stitched 2 pieces of backing fabric wst, then turned it out and repeated to create 2. I topstitched the two pieces in place to the upper section of the backing, leaving a gap between them. I then stitched the advent rst to the backing and wadding pieces, trimmed some wadding from the seam allowance and turned out. I stitched up the turning gap and added some top stitching/quilting to the advent to hold the layers together. I cut a piece of dowel to size and threaded it through the tubes. I then ladder stitched both outer ends closed to stop it falling out. The gap in the middle means you can just hang it up or add a ribbon if you need too. 

 
This is one of my finishalong projects, you can check out the rest of my list here.

Mx

Saturday, 2 November 2019

My Christmas stocking


For a few years I have seen a Christmas stocking sew along on instagram. It is hosted my @sunnydaysupply and all the stockings they feature are fabulous... I just had to make my own!
I was going to join in last year, I even started, the plan for my patchwork soon changed though and that patchwork turned into a cushion that was gifted to a friend.
Fast forward to this year and although I had too many projects already, I started my stocking again. This time I wanted to try something different and just have some fun sewing. I decided I would use the scraps I had left from cutting out a quilt. It is some heather Ross sugarplum fabrics, with cute mice! I then chose to patchwork using the quilt as you go method. I have seen it lots on instagram but not found the right project to actually try it... til now.

It was so much fun to just add pieces and quilt, although I did consider fabric placement a little. I did end up with a white patch on one side, but I still think it looks ok especially since its only the one side. I wasn't planning to do both sides, but I was enjoying sewing and had scraps left, so I figured why not?


I finished quilting both sides of my stocking and trimmed to the same size. I cut out the matching check lining, which was a big  piece left over from the same quilt.
Once I had sewn it all together, I still felt like it was missing something. I decided I'd add a pom pom trim... I have kept buying them without a project and they seemed like the perfect finishing touch for this. As it was my first time sewing pom poms, I went for a simple straight top stitch in the middle of the band. I did have to change to a zipper foot on my machine to get past the pom poms. Part of me wishes I had taken the time to hand stitch them in place, however, I think it looks neat enough to be happy as they are.

This was a lot of first times and I am so pleased with how it has come together.

If you want to see more great stocking inspiration, visit the #sunnystockingsal on instagram.

Mx

Wednesday, 23 October 2019

escape and create christmas

I saw a post on Instagram asking for bloggers to join Escape and Create and thought it was a great opportunity. I applied, but wasn’t expecting to hear from them. It was to my surprise that they replied to say I was one of the chosen sewers. I am so thrilled to be part of the team. I have just got my first blog post finished and published with them... I am so excited I figured I’d share it here too!!

 
I love Christmas and thought it was a good excuse to make a reversible Christmas patchwork table runner, placemats and coasters. I wrote the blog to include full 'how to' instructions, with extra information like how much fabric to order and a handy cutting diagram to get the most from your fabric.
Since this made it quite a long blog post, I choose to remove the binding instructions, as readers who are already quilters will know how to sew binding anyway. The project is also suitable for beginners though, so I have shared the tutorial on binding on a separate blog post here. This one goes through the method I used on this project, but I also plan on sharing an alternative binding tutorial later so keep your eyes peeled for that coming up.
 
 
So, if you fancy looking at this project in more detail, want instructions to make your own or just fancy a read... go check it out on the Escape and Create page here. You can also find a great choice of fabrics and patterns on their website too, so I'd recommend a look.
 
This project was also included in my Q4 finish-a-long, so I can tick it off as complete and you can see my list here.
 
Mx

Thursday, 17 October 2019

Binding tutorial: method 1

There are two main methods of binding that I use. The first is a simple binding for smaller projects and the other I mainly use for quilts. I thought I'd write a tutorial for each. The first one today and then the second next month.
Method 1 uses 2” strips of fabric and is sewn on to your project with a 1/2” seam allowance. I sometimes join on the bias however in this example I have used straight seams. The benefits of straight seams are that it requires less fabric and is easier to sew.
 
  
 Cut 2” strips the width of fabric (110cm = WOF)
Place 2 strips right sides together and pin the 2" width at one end. Sew together using a 1/4” seam allowance, then press the seams open. 
 
Press the strips in half lengthways, wrong sides together. Then, bring the long raw edges into the middle crease and press along again.


To attach the binding to your project:
1. Clip the binding onto the bottom edge with a few inches extra at the end for joining later. Stitch the binding on using a scant 1/2"seam allowance.
2. Measure and mark 1/2" from the corner and stop stitching when you reach the mark.
3. To shape the corner, fold the binding down wrong side together, vertically in line with the edge of the project, to create a 45 degree angle on the corner. Holding the corner in place, fold the binding back up and clip in place ensuring it is aligned along the corner edges.
4. Stitch from the bottom edge up to the next corner, stopping 1/2” before the end.
5. Repeat step 3 for each corner and continue sewing until you have about 3” before you reach the start of the binding, then stop.
6. To join the two ends, mark a line about 1” in from the end then fold it back on itself, wrong side together. Lay the other end of the strip over the top, right sides together and pin, only catching the top 2 layers of fabric.
7. Fold over to check, that it lays flat and the binding strips meet at the marked line. Make sure to secure the join in place with pins before you move it to sew.
8. Move the binding so the join overhangs the project. Stitch along the marked line to join the 2 layers of binding together. Once sewn, double check the binding lays flat along your project and trim to leave a 1/4"seam allowance, then press the seam open.
9. Stitch the joined section of binding to the project, again using the scant 1/2" seam allowance.

To finish your binding, turn over your project. Bring the binding over to the back, folding the raw edge in and the folded edge down. Clip to hold in place and hand stitch in place on the reverse. I use a ladder stitch although a slip stitch would also be fine. Alternatively, you can use a machine to top stitch close to the edge of the binding.
Mx
 

Tuesday, 8 January 2019

12daysofchristmasswap


I signed up to do the #12daysofchristmasswap2018 on instagram a few months ago. The idea is to make and buy 12 gifts for your partner to open on the 12 days after Christmas.
It is a secret swap and you are assigned a partner and no one knows who is making for who. When you sign up you fill out a form telling your partner your preferences and make a mosaic and post to instagram for more inspiration.
My partner was Helen, known as @polly_dolly_wolly on instagram, these are the gifts i sent...


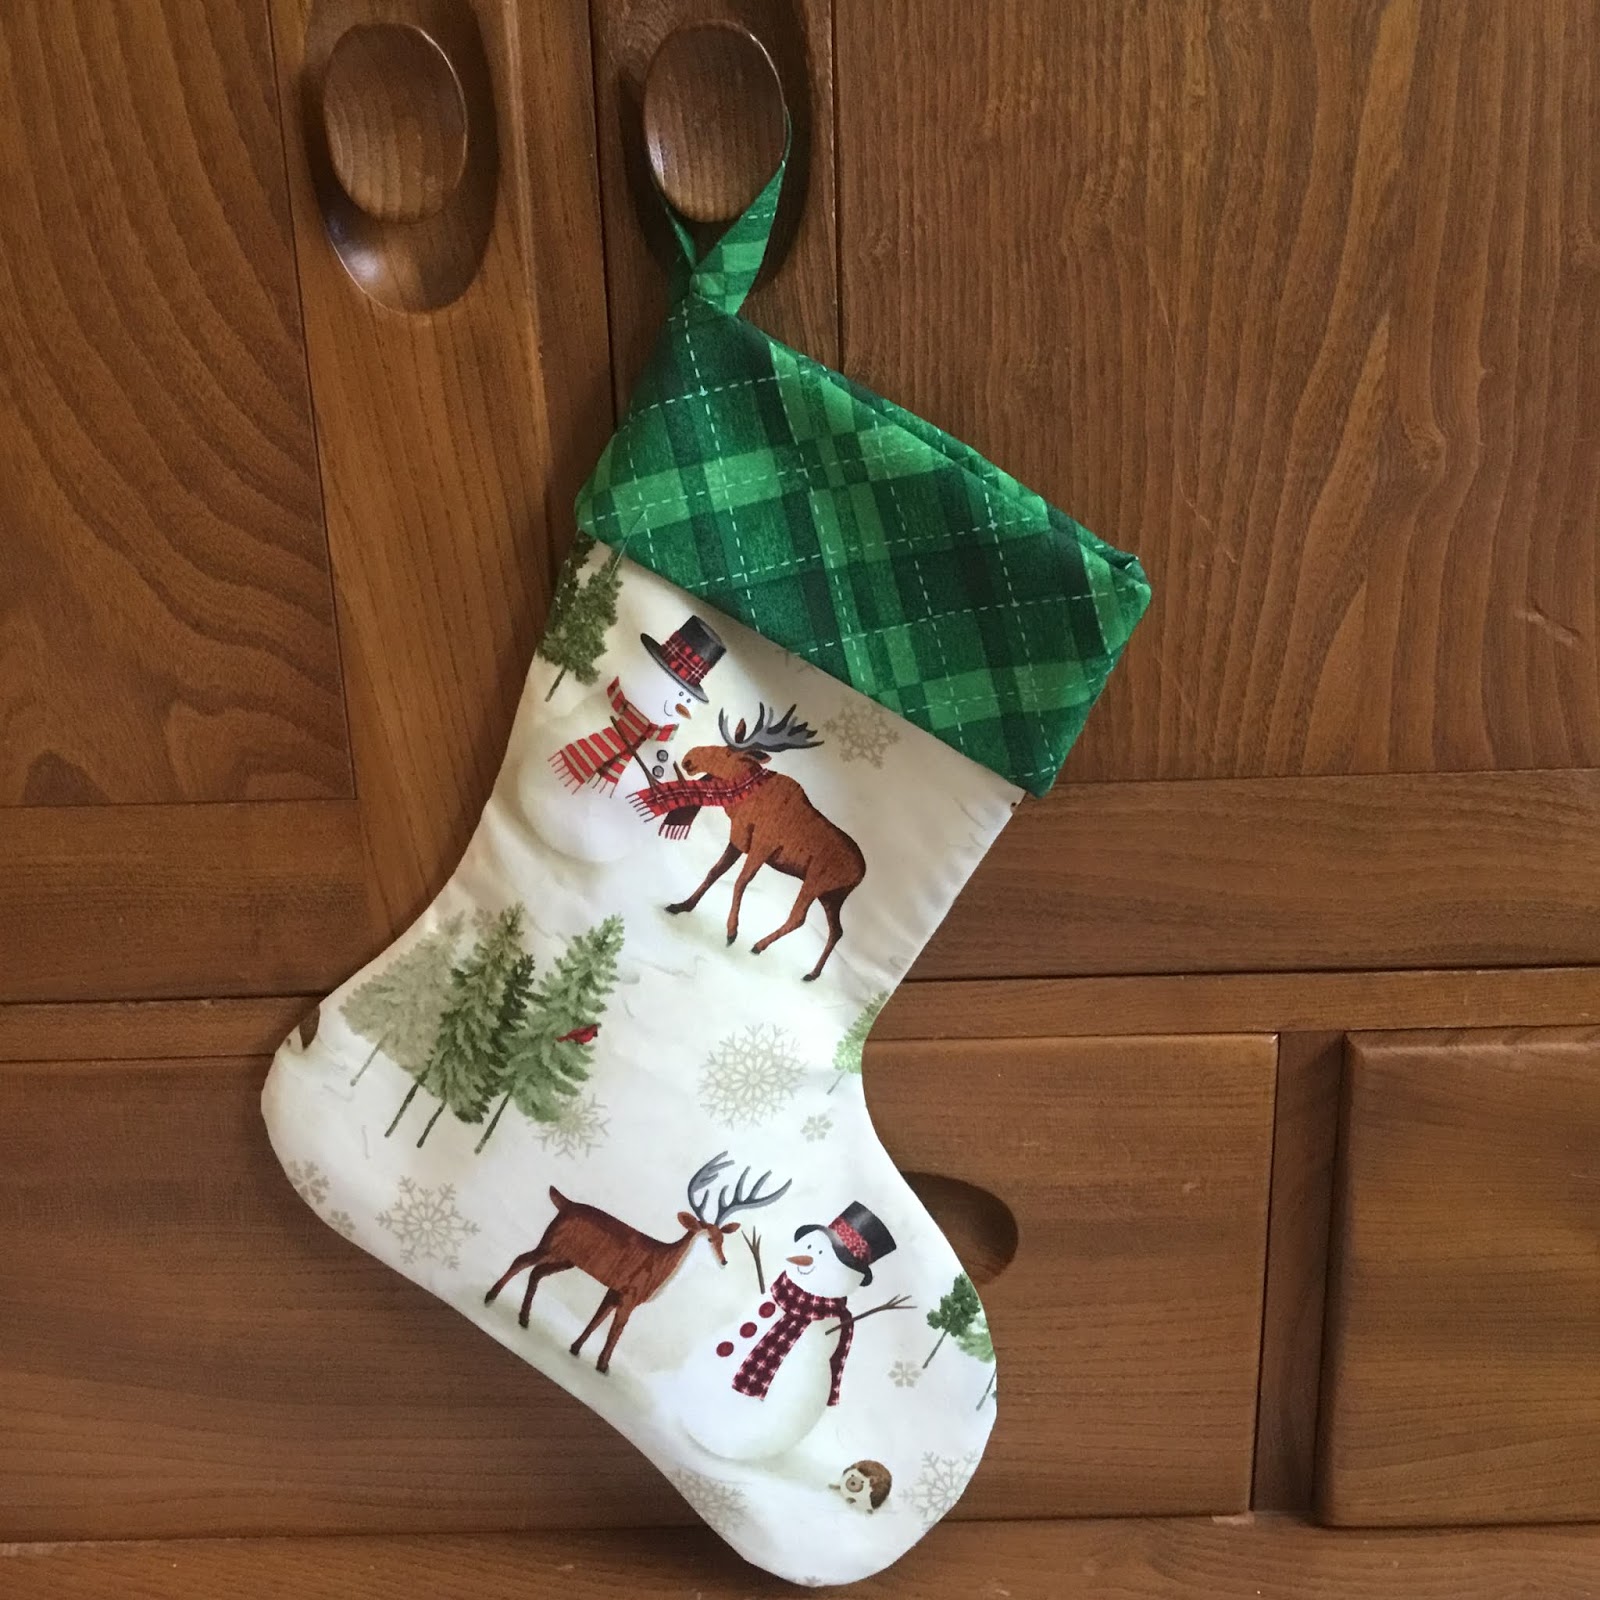
My first make was this Christmas stocking, using a fabric that was trational but still cute. I added the green cuff to be more Christmassy and fussy cut the characters to show them all. 


Next make was these 2 felt decorations, I chose the designs and cross stitched the centre panels. I added a felt border and back and blanket stitched together, also adding some stuffing for a plush feel.
 
 
Next was a partly bought and partly handmade gift. Since I didn't know her scent preference I purchased a selection of Christmas scented Yankee Candle tea lights along with a glass holder. I then made a hexagon shaped box for them to be gifted in. I added an acetate lid and some shredded tissue to give a more professional feel.
 
 
I made a zip pouch with a matching key fob for her next gift. I used a variety of coloured fabrics to make a patchwork panel and mixed it with some linen/calico fabric. I added a wipe clean lining and one of my handmade labels inside.
 
 
I chose a bright coloured zip that I felt worked with my fabric choices. The final touch was a charm for the zip pull. I used some jewellery supplies and chose this fun bead that matched the colour of the zip.
 
 
I screen printed a tote bag with a kitten design, using my screen sensation system, kipton the kitten screen and potting shed ink.

 
The next two gifts were a pin cushion and a needle book. I created the pattern for the pin cushion a few years ago and have made a couple before. For this one, I chose some bright coloured vintage sewing themed fabric and added lace and purple ribbon trims to the jar. 
 

I used the Aneela Hoey pattern for the needle book, doing the same adjustments as I did for the one I made in the sew along. I used the fabric to match the pincushion and combined it with some cream linen. I used some decorative stitches on my sewing machine with purple thread to add some detail on the pockets and on the front. 

 
The other gifts I included were a map puzzle, lindt chocolate, an organizer, loccitane soap and hand cream. I also sent some haberdashery items that I thought she might like; a needle egg, sparkle embroidery thread packs, vintage lace (that I found at a antiques fair) and some vintage buttons (that were from my granny).
 
I love gifts to be perfect for the person receiving them so I always put a lot of thought into gift giving. I was rather stressed at times about this swap, but was happy with what I sent. Thankfully Helen likes hers gifts and I even managed to choose some of her favourite things. 
 
These items were also on my finish a long list and although I knew I needed to finish them, it was quite hard not sharing any progress so this was an extra bit of motivation. You can read more about that here.
 
Mx

Diamonds for Christmas...


I made this cushion as a gift for my friend Zena for Christmas. I used cotton and steel fabric in pink and red tones. I mainly used the Noel and tinsel fabric ranges but added some off their basics to break up the prints. I knew she loves diamond patchwork so it was an obvious design choice for her cushion. I cut quite a few diamonds then played around with the layout until I was happy. I took a picture as reference and began sewing. I found it a little confusing to sew together at first, but I soon got the hang of things. I was quite pleased with how it came together and that most of my points matched. I used some fusible batting on the back and quilted using some verigated thread. I chose to just do a straight line of quilting either side of the seams. I made up the back of the cushion in the light pink colour and included a zip. I couldn’t decide which colour/fabric would look best so opted to make this cushion using the turning out method instead of binding it like a quilt.


I also added some extras to my parcel, a haberdashery design biscuit tin with cookies inside, a winter scented reed diffuser. I cut some low volume fabric to make a mini hexie charm pack and made a couple of felt decorations for her tree. I included this cute Christmas card that I made too, which used the perfect image since Zena loves deers. 
Mx


Wednesday, 2 January 2019

An owl stocking


I chose this beautiful owl fabric to make a stocking for a friends baby. I opted for a large stocking to hold plenty of presents. I used some coordinating red fabric for the cuff and appliquéd her name and blanket stitched it in place on the front. I added some quilting with sparkle thread to the main stocking too. I think all these little touches make this an extra special stocking. 
 

I’m not sure what Annie will think to it since it’s only her first Christmas, but hopefully in a few years she will like it. 

This is also one of my finish-a-long projects, you can see more about this here!

Mx