
Following on from last months step by step pouch project, I thought I would show you how to make a pouch with a boxed base. With just a few more steps than a basic zipper pouch, this is a great way to create a pouch with a little more room inside. I have used a colourful printed cotton for the outer fabric and sections of a fabric shower curtain for a waterproof lining, perfect for a wash bag or cosmetics pouch.

Cut your 2 x fabric and 2 x lining pieces to 7 x 6 1/2 " rectangles. You will also need a zip at least 8" long and coordinating cotton. As an optional extra, I cut a piece of ribbon to create a 'handmade' tag for inside. Once you have your rectangles of fabric, cut away a 1" square from each of the bottom corners, (see image above).

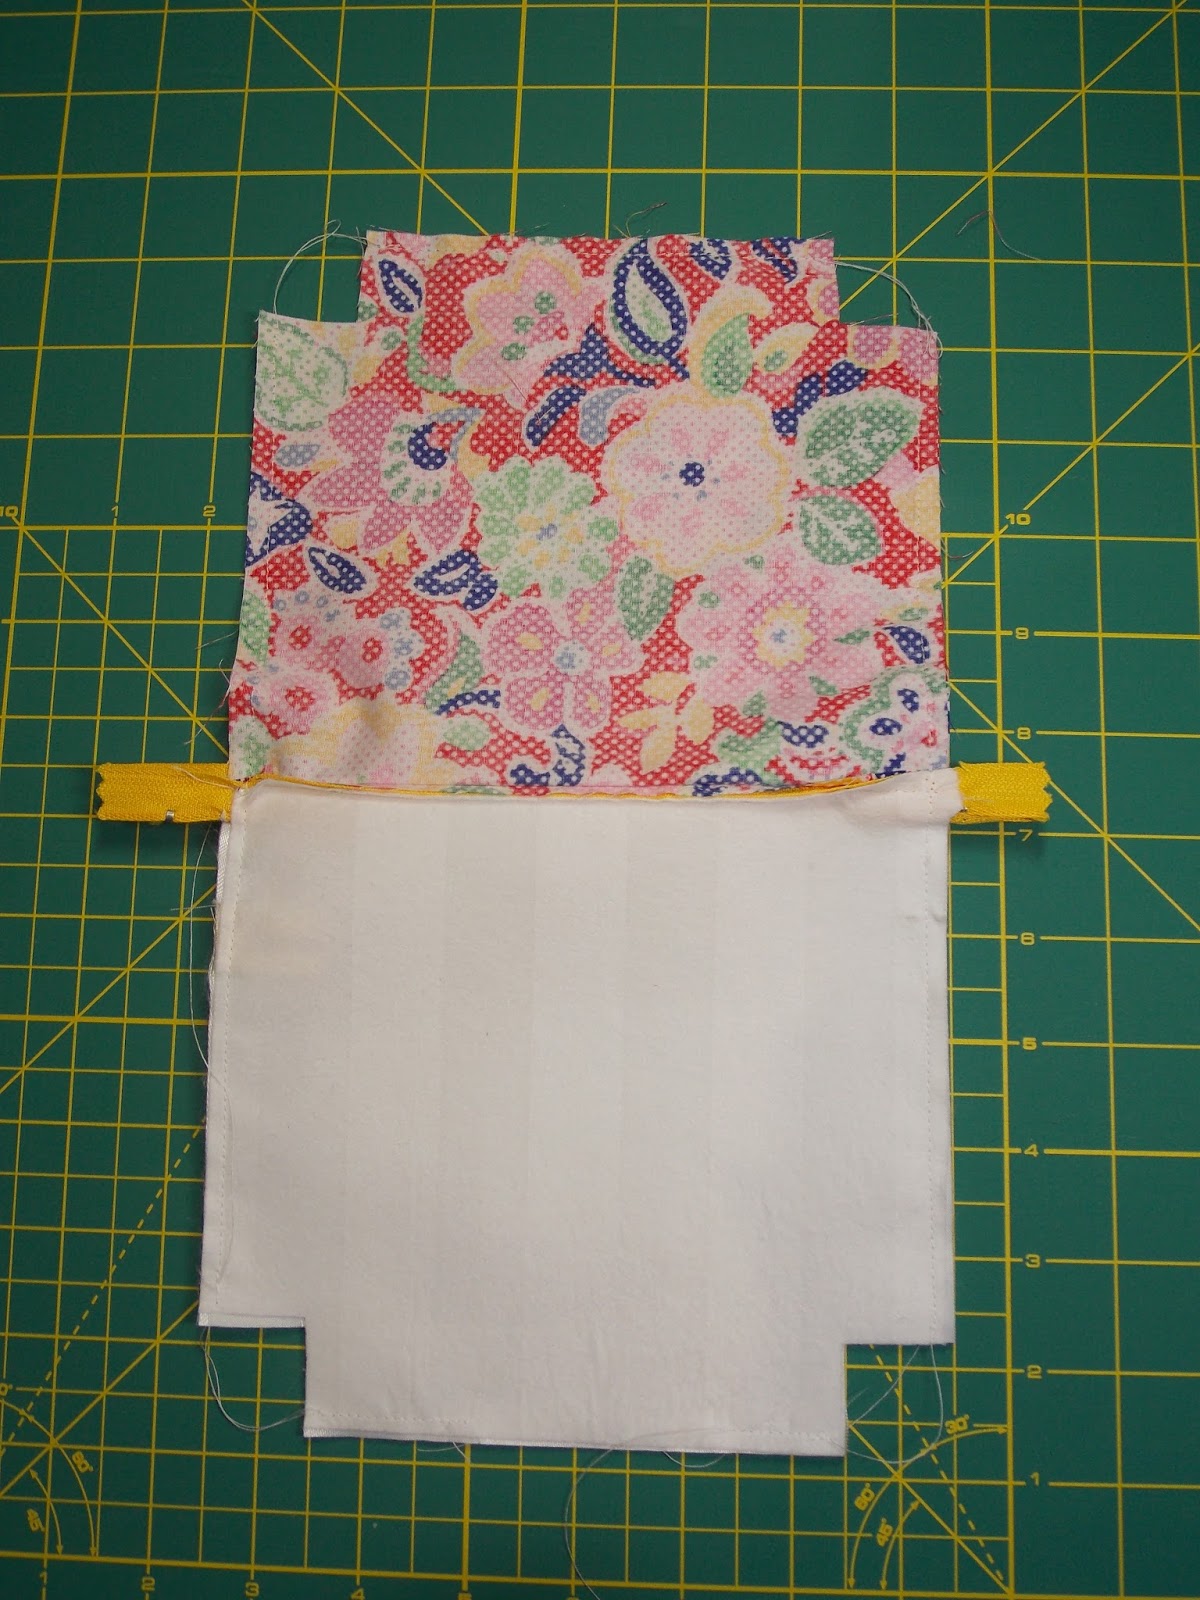
You can now begin construction. Start by layering the zip between the right sides of a lining piece and an outer fabric, ensuring the top edges line up before pinning and sewing.

Once sewn, press and turn so right sides face outwards then top stitch along the zip edge for a neat finish.

Now repeat for the other side layering the other half of the zip between the right sides of the lining and outer fabric. Don't forget to press and top stitch.

Open up the zip to enable turning through, then pin around the edges with lining to lining and outer fabric to outer fabric, right sides together. Make sure your zip is held down towards the lining. If adding a tag, now is the time to pin in place so it will become trapped in the side seam of your lining.

You now need to sew around the edges of the rectangle making sure you leave a gap in the base for turning through and do not sew the square corner cut-outs... the corners are sewn afterwards to create the boxed shape! Press and trim any excess from the ends of the zip.


Next, shape the boxed corners by opening the fabric out where you have a gap in the stitching, then pinching the seams together to create a flat edge, (see above image). Try to ensure the side and base seams align before pinning and sewing.


You will need to sew each of the 4 corners, then press by folding the base down flat and running the iron along (see outer fabric in image).


Turn through and slip stitch the gap in the lining before giving it a final press. You now have one completed boxed base zipper pouch. As always, you can play with the starting measurements to create different sized pouches to suit your needs.
Mx
No comments:
Post a Comment