Monday 9 September 2024

Salvedge chair Part 3.


If you don’t have the original cover to follow, or you have altered the shape or padded out your chair, you will need to create a pattern or toile. I made mine using a paper pattern. I used tissue paper taped together but newspaper would probably work too just be aware of the print transferring. Pin the paper to the chair back smoothing out so it’s a good fit. Wrap all the way to the back inside the frame where you will be stapling. You can fold, pleat and pin in place to get the shape you need. You may want to cut some excess away at the corners (that is a benefit of paper as it’s cheaper if you make a mistake and need to redo). Once you are happy with the shape, make sure you have drawn on and traced any markings, such as where to pleat or the point where the fabric will overlap, you think will might need later. Then remove from the chair and flatten out gently. Use this paper pattern to cut out your fabric. If you’re not doing patchwork, just cut out the upholstery fabric. You will need to add seam allowance at corners if you plan to sew these bits, which I did as it gives a much more professional look than just a tuck. If you are doing it patchwork, add extra allowance for shrinkage when quilting and start with cotton as a lining/backing, avoiding anything thin or lightweight. I chose a heavy weight cotton as it provided a nice stable base for the top patchwork fabric.

Instead of making a paper pattern, you could go straight to lining fabric if you wanted to. Just be sure you add enough fabric for shrinkage when quilting and have enough to go around the back for stapling. If you are going to do the design in 2 pieces like me, make sure you account for seam allowances at any joins. The best way to create a fabric toile is to cut separate panel pieces and tack together to refine the shape on the chair, mark each piece and ensure you label which way they go before splitting back up into panels. 

Creating my chair cover was time consuming. I did the quilt as you go method that meant my quilting gloves were on and off and I was back and forth to the ironing board. Add in the fact that I changed the thread to match every selvedge so I was constantly re threading my machine and you can appreciate how it took a while. You might ask with the amount of time and effort, do I regret it? No. Knowing how long it took would I go back and do it again? Yes, because it looks how I imagined. Could you do it differently to save time? Definitely. It really depends how you want your chair to look. You could easily create a patchwork top then quilt as normal and it would be a whole lot easier. I could have also just used one thread, many people thought I was crazy switching threads. I did consider a variegated thread but knew I wanted the thread to match so it blended and didn’t take away from the selvedge’s. 

To create the chair cover, first cut your bottom layer/ lining fabric, using the paper pattern as mentioned above. I cut slightly larger than my paper pattern, adding extra to the centre for joining later but also a little extra all around for a bit of quilt shrinkage. Then regular 80/20 batting layer. I considered using the fire retardant stuff but I preferred the density and familiarity of the 80/20. Then do the patchwork and quilting as desired.

 I chose quilt as you go, working bottom to top. If you don’t know how to do this, I’d recommend a quick look on YouTube, but I will give the basics. Lay down the first starter fabric right side up, lay a selvedge right side down on top, so the bottom of the selvedge is at the top of the first piece. Sew along this edge to join all the layers, going just underneath the wording. Flip the selvedge up and press, then choose a matching thread and sew along the edge between the fabric design and the selvedge pattern. Repeat adding selvedges in the same way until you reach the top. Repeat again for the other side. The main reason for doing the design in two halves is that most of my selvedge’s were from fat quarters and wouldn’t be long enough if I hadn’t. I’m decided to make a feature of it with the chevron effect. I have been asked how much fabric I needed and how I calculated it. The truth is I didn’t really. I had my lining and batting layers flat on the desk or floor and laid the selvedges on top. I was careful to consider seam allowance so I would have enough to cover when quilted. I laid mine out so I knew how many I’d need, and so I could see how the colours and patterns would work together to hopefully create a nice overall balance. I also wanted to use all the different fabric ranges I had collected over the years, with as few repeats as possible. I did need to use selvedges from the same range a few times but each were from different fabrics within the range. Once it’s sewn in place it’s a lot of unpicking if you don’t like it so best to lay it out and plan ahead. 
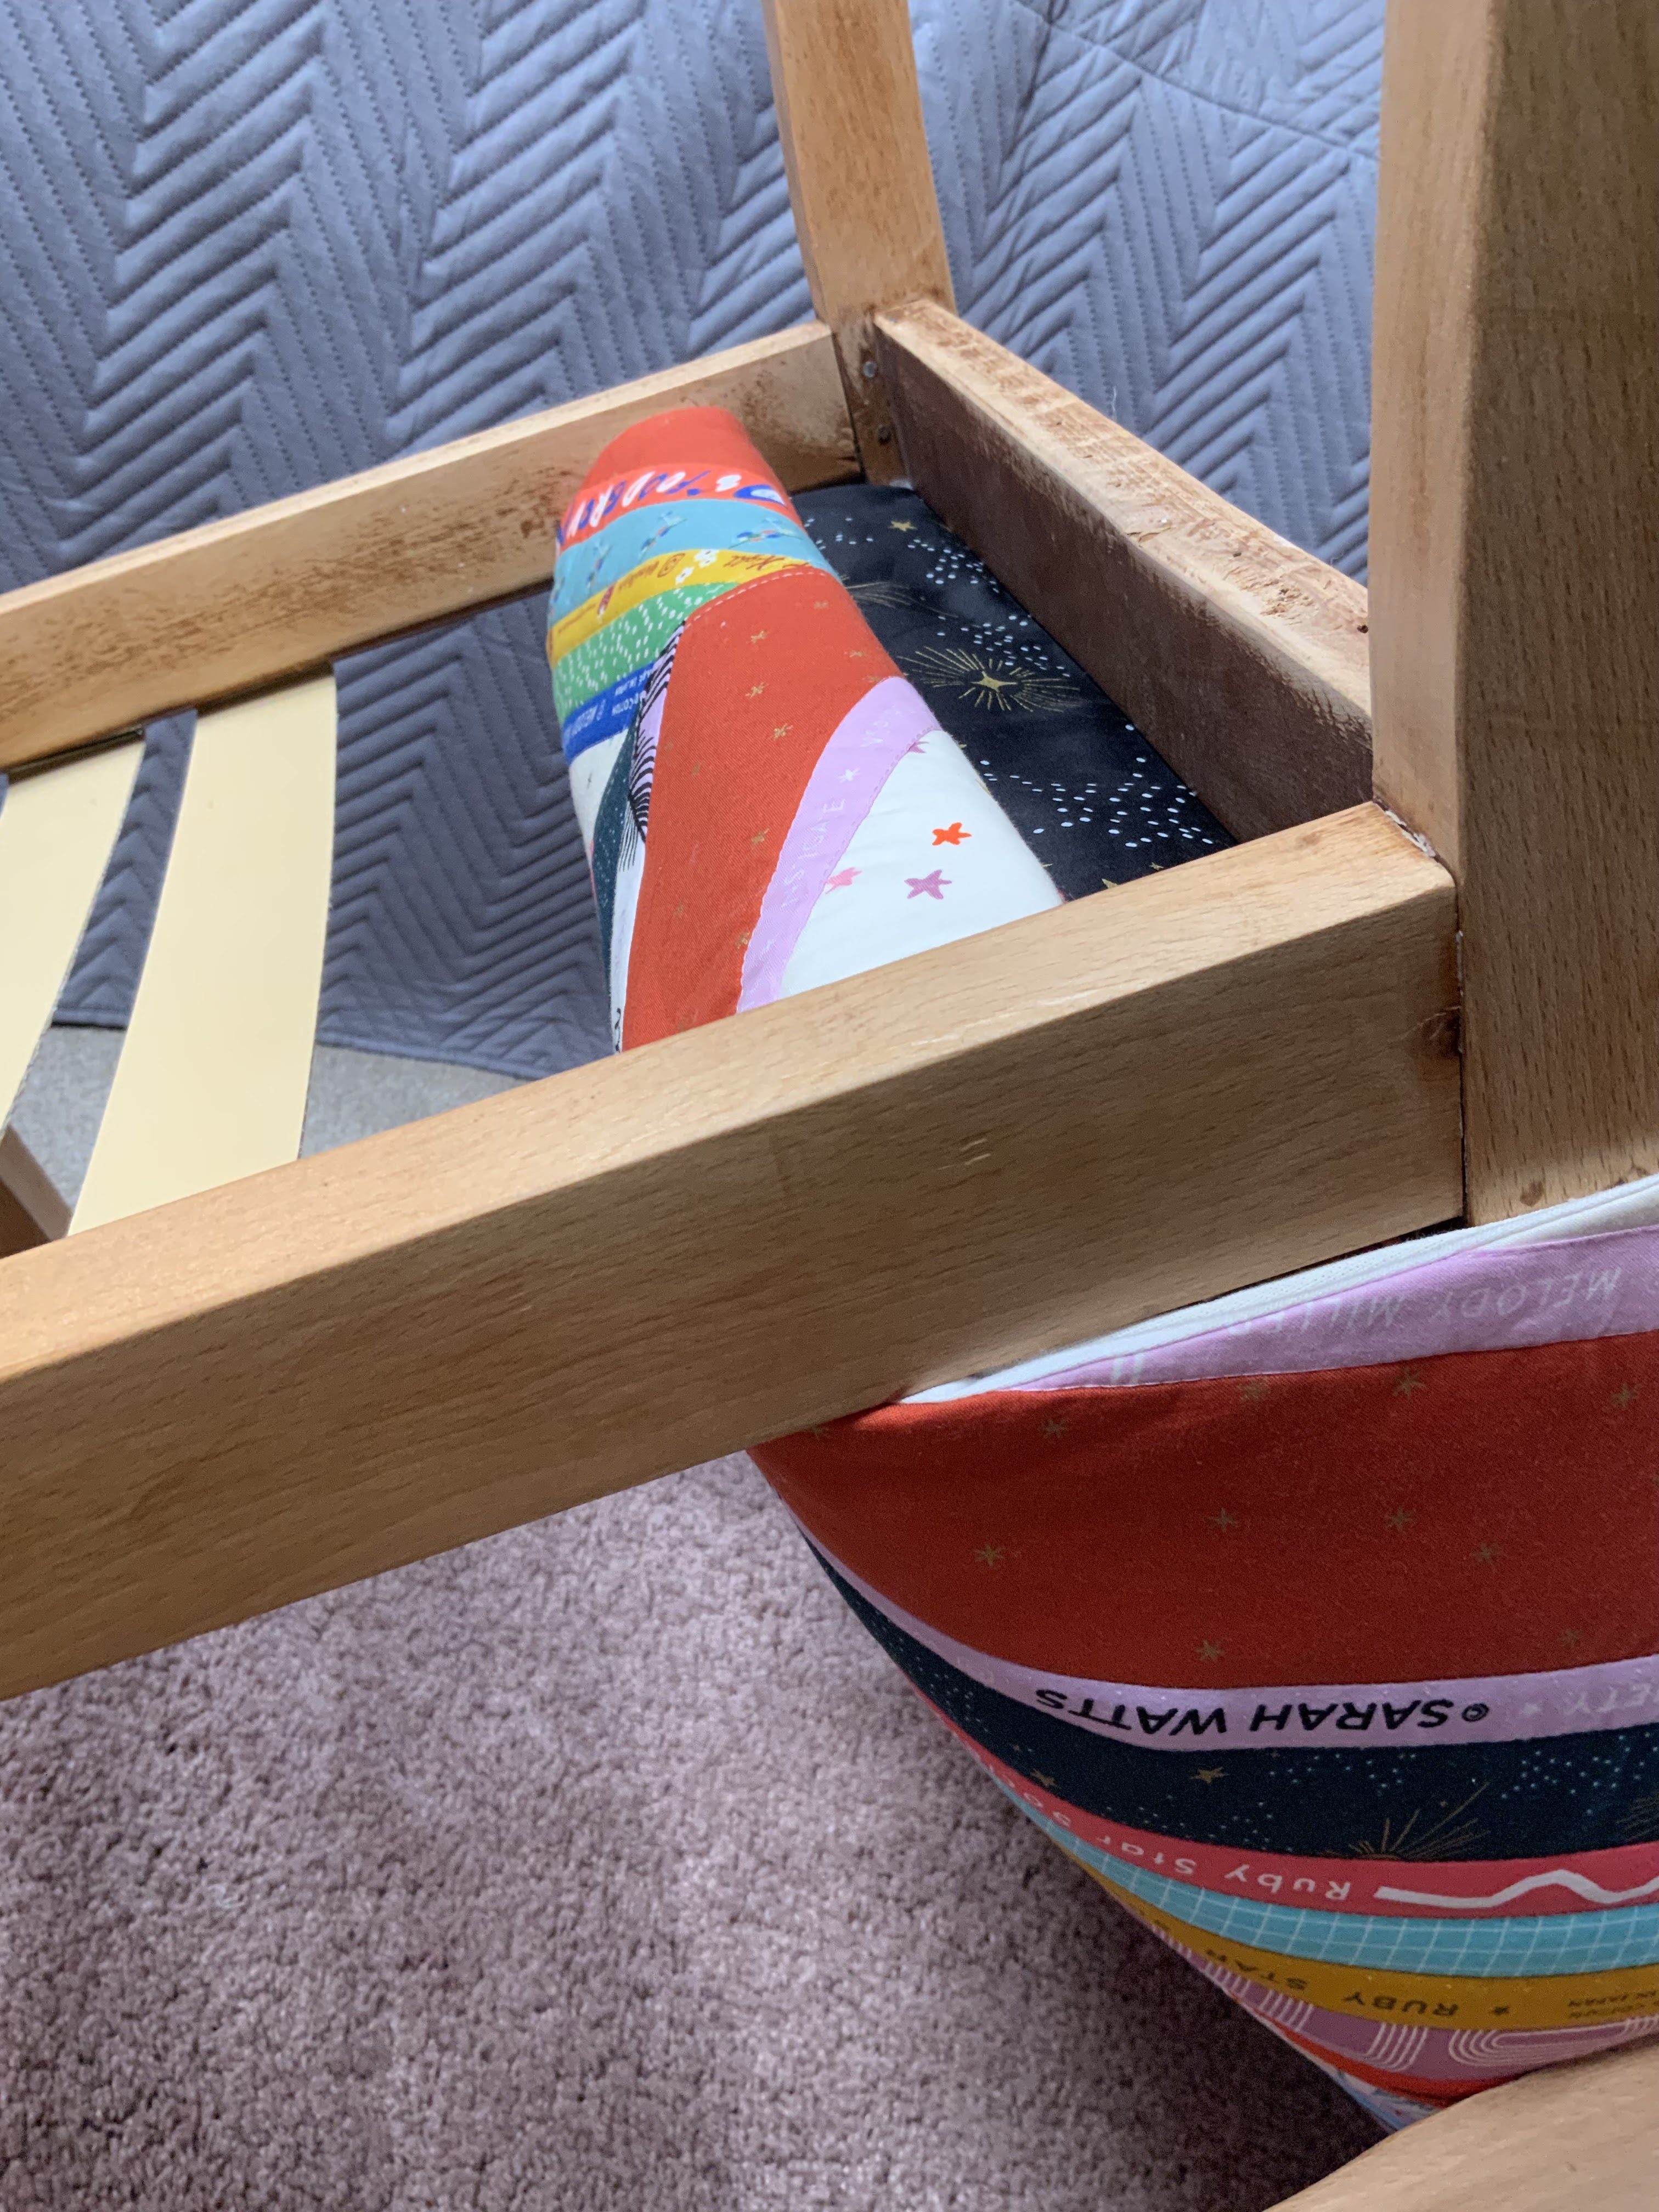
My chair used 102 selvedges. I will note here that I cut off my selvedges to include some of the fabric as well. Some people cut close the the selvedge, so they don’t lose usable yardage but I like to see the fabric too. It also means it takes less selvedges to cover a bigger area. I didn’t cut all the selvedges uniform widths. The minimum fabric was cut to 1/2”, a few were cut to 2 1/2”  but most were between 3/4”- 1 1/2”. Basically the rule is the less fabric, the more selvedges needed, which means the more sewing and time it will take. However, keep too much fabric and you will loose the selvedge effect and look. I think it worked well to do a mixture of fabric widths and am happy I did it that way. It does mean I can’t give exact requirements without measuring all 102 selvedge's and life is too short, sorry. Every chair is also different,so mine is only ever going to be a guide as to the amount. Really, measuring once you have the calico layer is the only way to work out the area you need to cover. You will need longer lengths for the back though so be sure to save those. Shorter ones can be added at the top and on the seat pad. You may want to lay out all the panels for tactical use of your pieces rather than just working on one section at a time … it entirely your choice. 

Speaking of the seat pad, I made the panel for this in two parts as well. I wanted the centre line to run all the way down to chair but meet in the centre as a cross. Measure the seat pad again, this time front to back adding 1" and from one side to the other. Divide the width in half then add 1". I'd add an extra 2/3" lining and batting for shrinkage, but make sure the to cover the area needed and trim to size after quilting. If you are doing it in one piece you don't need to divide the width in half but will still need to add 1" for 1/2" seam allowance at each side for joining. I chose to add a zip at the back,  it will be easier to clean as the seat panels will probably need it. It will also be neater than hand stitching the turning gap closed too. Once the long panel (or two panels in a long piece) is finished and trimmed to size it’s time to add the zip. To insert the zip, first create a fabric loop by joining each short end/ the back edge right sides together where the zip will be going, sewing with a 1/2" seam allowance. Use a short stitch length at the edges and a long stitch length in the middle where your zip opening needs to be. I'd recommend leaving at least 1" at each side of the opening with fabric securely joined. Open the seam and press well. Lay the zip, teeth down along the seam, where the longer stitch length/opening will be and hand baste in place. Now with the fabric is right side up topstitch a neat box around the zip, back stitching at each end for added security. You need to be sure to catch the zip tape to hold in place securely. Once the zip is in place, you can unpick the basting and longer length stitches to reveal the zip opening. Now turn so the right side of the fabric is inside, with the zip (partly open) at the back, sew the side seams to create the cushion cover. Then box the corners to the same measurement as before. Remove excess fabric at the corners (you may want to try the cushion pad before doing this to check the fit) and insert your seat pad. 

You can do any patchwork and quilting you want to do, you could even use a quilt you have already made. You simply need a big enough piece to cover your chair. I will explain the process of covering the chair back in the next blog, so come back for that.

Mx


Tuesday 20 August 2024

Salvedge chair Part 2.

Once you have your chair, next is taking it apart. Take photos along the way, it will help to remember how to put it back together. Remove staples carefully as you can use the original cover as a pattern. I didn’t have that luxury this time but have done with previous projects so know from experience it can make it a lot quicker and easier. If it’s an arm chair, you will most likely need to unscrew the arms to get all the fabric off. Just save the screws for later and take care when handling the chair as it will be more unstable without them, keep popping them back in when you don’t need access to the sides to put less strain on the structure. Definitely put the screws back in while working on the frame and woodwork. 

Woodwork on old furniture generally needs a good wash with sugar soap (diluted as the back of the bottle suggests) and wipe down. Sanding is usually required, the amount will depend on the degree of wear and tear. I got lucky as mine was done for me this time so I just gave it a light sand with very fine grit paper before waxing. I used Annie Sloane clear wax as I had some from previous projects and liked the original wood colour. You could paint or use a coloured wax, depending on how you want your chair to look. 

If your chair is in reasonable condition when you remove the covering, you don't have to strip it back any further. It might need new batting, foam or uncovering further. Use your judgment on how it looks and stop when you’re happy. 

Mine needed taking back to the springs. I added strapping/ strong webbing to the frame to add support and hopefully make the chair last longer. If the springs seem strong and you're not worried, skip this step. Then was a layer of hessian. This stops the springs from damaging the foam and protects them. I stapled this on the inside edge of the frame, as you don’t want to be stapling everything in the same place. Keep staples off the back edge as much as possible until the back needs putting on. 

Next is a layer of fire-retardant upholstery foam. You can choose the thickness and density: Standard is firm blue high density, medium is grey and soft is yellow/white. The thickness is generally sold by inch. You can buy as a sheet you cut or some places sell some cut-to-shape pieces. With the foam, you need to consider how deep you want the seat and how firm you like the seat. There are options to stack different foams to layer a firmer base structure with a thin soft top layer for comfort. I used 1" blue foam for the back, cut to the size of the frame. To fix, add glue (upholstery spray adhesive) to the back and edges of the foam. Put the foam flat to the hessian, then create a curved profile working around the edges by tucking the flat edges under so they stick face down to the hessian base.  Add staples along the edge to hold firmly in place, how many staples you will need to add will depend on how well the glue has gripped. If you want a more boxy profile, only glue the back of the foam, as the tension of the fabric covering will soften the hard edges later. 

Now add a layer of fire retardant batting/wadding. These come in different weights and widths too. I used polyester 4oz wadding. Stick down with spray glue onto the foam, smoothing the wadding into place as you go. Take care to shape the corners without adding extra bulk, cut away excess and lightly glue the cut edges together as needed.

The final preparation layer is the fire-retardant upholstery barrier cloth. I found a heavy-weight fire retardant cotton calico. Take your time to put this layer on neatly as this forms the foundation of the chair before the final layer. Measure your chair, going around to the back of the frame, and cut your fabric roughly to size, allow extra to hold as you staple and trim away excess when everything is stapled in place. Start in the centre at the top and add a few staples along the top edge to hold in place. Smooth down and keep tension on the fabric pulling down to the bottom, underneath and around to the back, then hold in place with a few staples along the bottom edge. Now do a few on each side with an even tension, keeping the fabric taut but not overly tight to dig in or make the foam bumpy. Continue adding staples working outwards from the centre on all sides until you come close to the corners. You will need to create a tuck or tiny pleats to gather the fabric smoothly around the corners. 


I chose to work on the back of the chair and then the seat pad. Hopefully, you will have a seat pad you can work with, again just judge this by look and comfort. As mine was completely missing, I had to start from scratch layering 3 layers of foam: grey then blue then yellow glued together. 2 layers could work equally well, 1 firm and 1 medium or soft depending on how you would like to sit. You will need to cut the foam to size and might want to round off the corners for a softer shape, though I chose not to for this one. The foam needs to be covered in fire retardant batting and calico. I use Gutermann upholstery thread for the calico as it is thicker and stronger than regular cotton thread. 

As my seat was a simple block shape, I could create a simple calico cover, however, if you have rounded off your seat, you might need to contour your calico further to match. I measured the circumference of the foam pad by wrapping the tape measure around the width and length. Half these measurements and add 1” then cut 2 pieces of fabric to size. Sew the pieces together along 3 sides, leaving a large turning gap at the back/4th edge, using 1/2" seam allowance. Then box the corner by the depth of the seat pad, like you would a boxy pouch. Fold the side seams to match to create a triangle at the corner and pin to hold. Measure and mark at the size you need, so that the sewn line will match the depth of your seat. Now sew across the corners and cut away the excess. It's a good idea to check the fitting before you cut away excess. When removing excess, if possible, cut one seam allowance slightly smaller than the other, as it will be less bulky and have a neater finish. Squeeze the batting-covered foam seat pad through the turning gap and hand-stitch up the hole once you're happy. 

You will now have a chair effectively, simply needing a fabulous cover/jacket. So, you can pick a wonderful fabric and cover the chair with the final top layer, or as I did patchwork and quilt your cover. 

Mx

Sunday 18 August 2024

Salvedge chair


Welcome to my salvedge chair blog series. Basically I salvaged a chair and used selvedge's to give it a new life and space in our home.

House renovation is expensive and since I love old furniture, I am more than happy to save some pennies buying old and up cycling. Last year I have discovered Facebook marketplace. It’s fair to say it’s been amazing if a little bit dangerous. I will get around to doing my other bits of furniture but with a good wash they are usable so painting can wait. However I spotted a chair for free! The magic word is free. Did we need another chair? Probably not but I couldn’t resist. In fairness I had been looking at chairs when searching for our sofa and had tried to buy a couple of others but was too far or had gone already. It was local and all the woodwork had been prepped and sanded, which was an amazing time saver. The lady had started recovering the chair but had got stuck and abandoned the project. It looked a bit of a mess and was missing the seat entirely but I hoped I could just either finish it or more likely recover it. I have done a few bits of re upholstery before so wasn’t worried. When it come to taking all the staples out and getting it ready, we discovered some random bits of foam tucked in and foam that had been added to the back which was making the shape of the chair very dated. The more we took off the worse it got so we took it back to springs. That was a little bit more scary and required a touch more research, it also meant the project got moved up the to do list. 
I have always fancied putting a quilt in the festival of quilts and had decided this was the year. Then after starting to sew my Ruby Star Society stash this year I wanted a selvedge's project. Me and Abbie were chatting one day and decided a quilt coat made from them would be fun, and different for the entry too. When we went to collect the chair, I joked with the lady about maybe even doing it patchwork and Abbie said no! However after me suggesting the selvedge's would be quirky she liked the idea, it would mean I couldn’t do the coat and enter the competition. It is a quilt creation category though and maybe a chair would count, after a quick email I got my response… Yes, you can enter a chair! That moved it up the to do list, to the best get started list, as the festival of quilts deadline was soon. 
There was some struggles along the way. My health conditions mean I’m not very strong, I wasn’t strong enough to use even the electric stapler we bought. So Abbie was on staple duty, both pulling out and putting in. We actually used a regular hand held stapler for most of it in the end and think the electric one isn’t worth buying if you only plan on doing a couple of small projects. The arm fell off and when it come to getting it back together we couldn’t manage it. My neighbour ended up helping and putting a fresh screw into it to fix it, we used the original screws for everything else though. I had an accident with the seam ripper, which followed with many tears and hours of redoing things to mend that. This added to the stressful deadline that was getting close. However we got there in the end and it looks fabulous (if I am allowed to say so) so well worth all the effort. I have had many lovely comments before and after on Instagram and at the festival of quilts, with many people wanting to do one for themselves. I never expected it so hopefully this blog series inspires and helps if anyone wants to have a go. 


Firstly you need a chair, ideally one that’s free or cheap. You might even have one that’s at home you love but needs a facelift. Go for whatever budget suits you though, if you love a shape or style it may be worth the extra cost. Remember as well as money for supplies and fabric, you will be adding time and energy, you need to like the shape and style ideally before you start. You can pick whatever style you would like, some will just be a bit more of a challenge than others. Some chairs will be in better condition, they might be more money, but won’t need taking back to springs so you can save on supplies. 

Stay tuned for the next blog, with hopefully some helpful tips on putting the chair back together.
Mx